Best food to eat high
Video Best Foods to Eat High The link between marijuana and munchies is the same as bacon and eggs. For those who have even only an informal knowledge of weed, the notion that this herb makes one instantly crave a snack is already ingrained in the mind. However, one symptom of cigarette smoke that we cannot avoid is the smell of old school smoke! Readings: The Tastiest Food to Eat Highly Definitely hashing strains will trigger you to grow into extreme hunger. Regarding this work situation, it’s a royal pain to be caught not snacking when it’s excessive. In the event that you bake completely, chances are you don’t need to go to the store and buy the meals, then you can have a gradual amount of snacks available as the cakes cook. On this information, we identify 5 of the best meals to eat while overeating. We may even show off some honorable mentions. First, let’s look at some cannabis strains that are more likely to induce hunger and those that are not.
Hashish strains are virtually guaranteed to activate Munchies
Contents
Although everyone seems to be completely different, there are particular strains that are more likely to cause consequences in munchies than others. We now have an article that provides a scientific look at why we get munchies. In short, it’s down to how THC interacts with the mind. The cannabinoid binds to receptors in the mind and affects two hormones involved in hunger, ghrelin and leptin. Changes in these hormones stimulate the urge to eat and give warnings about the need for more meals. It happens whether you want to eat more or not. Here is a list of 5 strains that are most likely to land you in the fridge or freezer:
- lavender
- Jack Herer
- Vital Kush
- Mazar
- Afghan Kush
Cannabis strains easily perpetuated the Bay’s famine
Let’s say you’re watching your weight or would be inclined to skip the snack inventory. Maybe the summer months are coming, and you need to be prepared to go to the beach, too. You will ruin a period of a disciplined weight loss plan by eating post-workout snacks before bed. If the concept deters you, it might require you to look for weeds that don’t trigger munchies. One of the best hashing strains for the job are the CBD and THCV overkill strains. In the current circumstances, there is a suggestion that CBD might be a useful weight loss supplement. The analysis means that this non-intoxicating cannabinoid supports this process in the following ways:
- Decreased desire to eat, resulting in reduced calorie intake.
- Normalizes insulin range to help burn body fat.
- Helps our metabolism and mitochondria better.
A 2010 examination by Morgan et al., published in Neuropsychology, examined marijuana and appetite. It found that cannabis smokers who used CBD excessively, low THC strains tended to be less attentive to meals and drug stimuli. That is when compared to people consuming too much THC, the CBD strains were low. In essence, the presence of CBD reduces the desire to eat. THCV is another cannabinoid well known for suppressing appetite. The difficulty is that you only discover it in minimal amounts in most hashish types. Here is a list of some cannabis strains that have a better THCV stage than regular ones:
- Moby Dick
- Crimson Congo
- Jack the Ripper
- Skunk #1
- Energy Factory
However, in case you are not thinking about doing or actively adopting this method, here is a meal option for you to enjoy.
#1. Pizza – Legendary snack
Have you ever wondered why pizza is so scrumptious AND so addictive? There seems to be a scientific motive. Did you know that people are attracted to greasy, candy, rich, and fussy meals? In pizza, the toppings are high-fat (and fatty) meats, fatty cheeses, and sauces that are often candied. Read more: Best espresso machines for iced coffeeIn addition to this divine trio of ingredients, the coating often includes glutamate. Typically you’ll detect this compound in cheese, tomatoes, sausages, and pepperoni. Our brains get excited when glutamate hits our senses and we want more. Our mouths are often watery in anticipation of the next chew due to this compound. The latest knowledge means that everyone eats together 350 slices per second! In addition, cheese and ketchup include flavor compounds that are more stylish when eaten together. It’s like they have their very own ‘entourage effect’. But another reason we love pizza is that it turns brown and crispy in the oven. It is due to a pair of chemical reactions: Caramelization and the Maillard Reaction. Pizza makes many different decisions. So far when customers are into cannabis, the fact that they will have it delivered to their doorstep has been extremely helpful.
#2. Ice cream – Dessert King
When receiving the savory toppings on the pizza, the next logical step is to adhere to it with a candy. The cream marks almost the entire container suitable. It’s cold, creamy, and comes in dozens of flavors. There can be a real sense of style to each palette. The key here is to separate the high-quality ice cream from the much less appealing ones. Most individuals want to depend on a model like Ben & Jerry’s or Haagen-Dazs.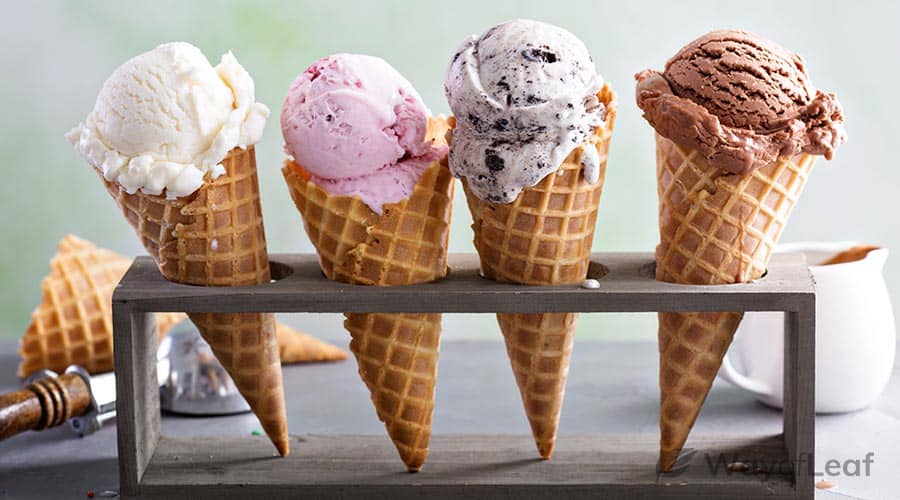 There’s a lot to think about when it comes to making the right ice cream. Step one, after assembling the uncooked ingredients, is pasteurization. Make it inconsistent, and you can create an overripe flavor. During homogenization, problems can actually arise. Then these creepy cream crystals come into play and mess up the sensations. These are chemical proteins that prevent the formation of most crystals. However, even the best stabilizers sometimes fail to do their job. Additionally, if an organization allows an excessive amount of air to hit the ice cream, the product will turn into a frozen milk dessert as an alternative to ice cream. There can even be a problem of increased lactose molecules due to thawing and freezing processes. Also, now you know why ice cream doesn’t look good whenever you refreeze it after it’s defrosted.
#3. French fries – Savory with
Much like pizza, there’s a logical reason why you can’t stop snacking on chips. Much of it is related to the raw material salt content. A survey by Bolhius et al, published in the March 2016 issue of the Journal of Vitamins, examined how salt impacts foods. The Australian test recruited 48 volunteers and measured their sensitivity to style.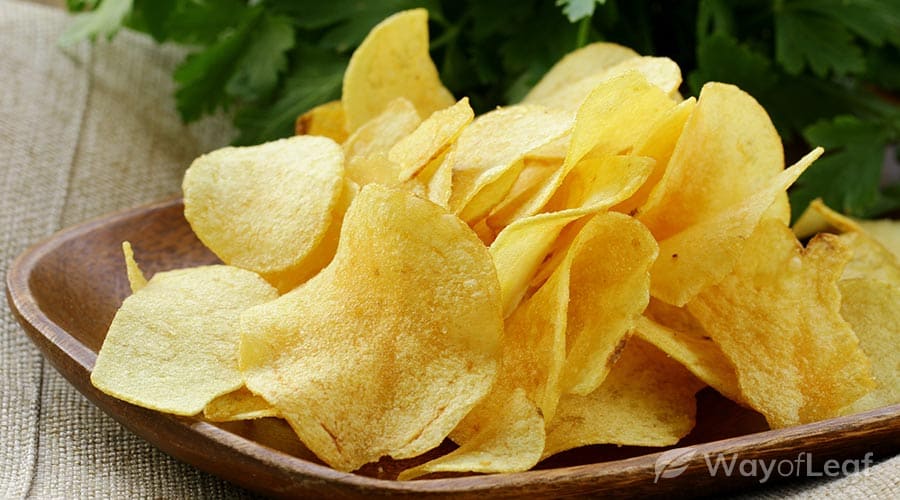 The group ate completely different lunches right after each week for four weeks. Meals are high in fat and salt. The researchers found that including salt in the meal increased how well the volunteers thought the meal would taste better. Salt helps individuals eat 11% more energy, regardless of the amount of fat in the meal. discover it’s hard to stop at one. As far as the use of hashish is concerned, you ease your inhibitions and self-control can become a pain. Quickly, you ate a large packet of chips, but felt really good afterward.
#4. Chocolate – A Must-Have Snack
Guess what? There’s a scientific motive to why we love chocolate, too! One test has found that allowing chocolate to melt slowly in your mouth boosts mental activity and heart palpitations like a passionate kiss! However, the sensation lasts more than 4 times.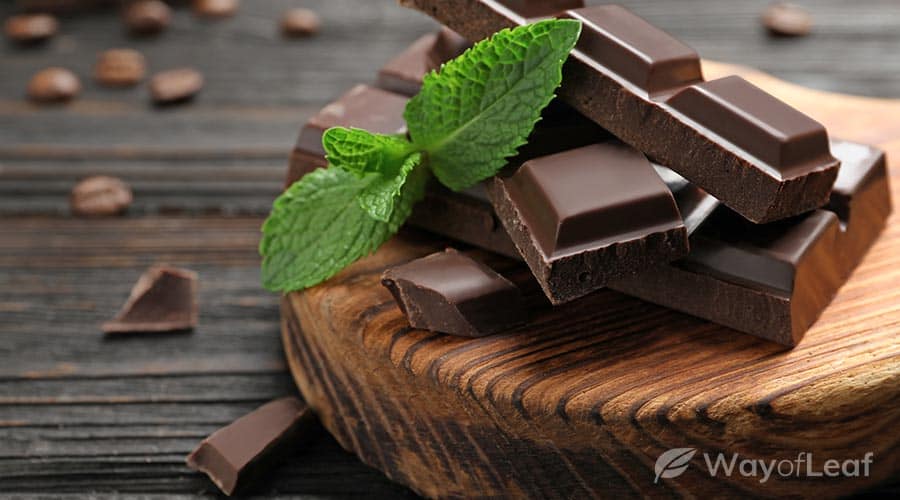 Additionally, chocolate contains anandamide, a feel-good chemical found naturally in the mind. It is like THC present in hashish. The chemicals in chocolate make the pure anandamide more linger in the mind, so we end up with lingering chocolate excesses. Anecdotes advise that including chocolate for at least one’s current excess would certainly be interesting. It is best to note that chocolate is one of the most flavorful foods in the world. Whether you need sour, nutty, earthy, smoky or caramelly, it’s got you covered. For example, milk chocolate goes well with Marionberry Kush. Meanwhile, Tremendous Lemon Haze is ideal with white chocolate.
#5. Cheeseburger – Stoner Munchies’ Giant Dad
The reason why we love cheese burgers is the same as why we love pizza. You’ve got a mixture of fatty meats, cheeses, a variety of sauces, and a confection. After all, there is a dramatic change from the usual of burgers out there. A surprising number of individuals are drawn to fast meals, regardless of the relatively low quality of the ingredients. of them solve what customers need. Other than that, they only offer burgers and scorching fangs and have perfected each one in return for their loyal followers. With the top 15 decisions, there are theoretically 250,000 combinations! More importantly, the beef’s usual is excellent.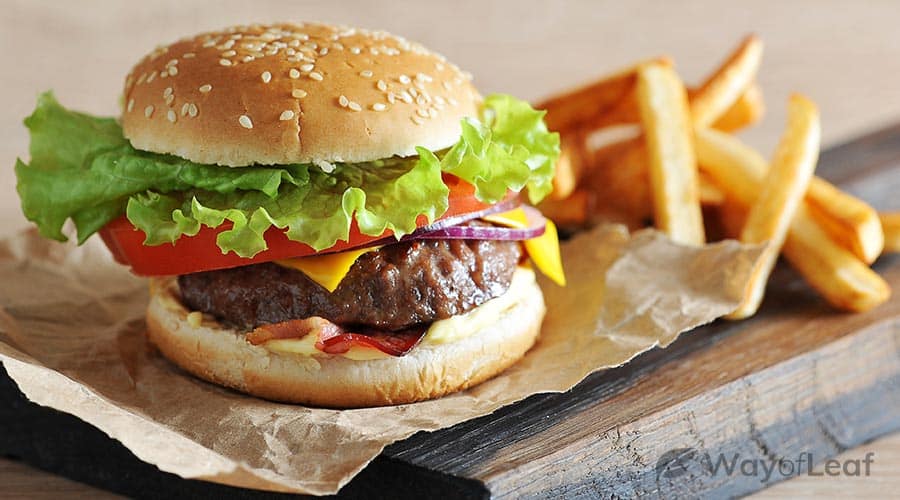 After all, there are dozens of options. The In-N-Out Burger is another favorite, as are Wendy’s and Carl’s Jr. When you don’t like beef or are vegetarian, there are plenty of choices to suit your taste. Best of all, you can decide to choose a mobile phone and many stores will deliver it to your door.
The ultimate idea of the best Munchies
When you don’t have a meal at any cannabis get-together, you may have a nagging feeling of hunger and frustration in your arms. Ready. The last thing you need is to start rummaging through your cupboards and consume those expired meals in desperation! Eat the meals above and prepare to deal with yourself when the munchies arrive. Listed here are some additional ideas: Read more: The best palm west beach restaurants
- Cookie Dough – Many pizza places advertise it as a dessert
- Nutella – When all you need is bread and some candy
- Cinnamon Rolls – Good for handling cottonmouth
- Oreos – Great Anytime
- Cheez Wiz – When you can’t transfer
- Donuts & Ice Cream – Prepare for a delicious meal
- Kraft Dinner – Quick and simple
- Pop-Tarts – Use as an alternative to bread; add Nutella in case you’re feeling naughty
- High Ramen – Once you need to fake to be a chef
- Chocolate Brownies – Stay away from THC until you need to overdo it!
Last, Wallx.net sent you details about the topic “Best food to eat high❤️️”.Hope with useful information that the article “Best food to eat high” It will help readers to be more interested in “Best food to eat high [ ❤️️❤️️ ]”.
Posts “Best food to eat high” posted by on 2022-02-04 20:55:13. Thank you for reading the article at wallx.net


