How long to cook skirt steak on grill
Video How long to roast beef steak Grilled skirt steak recipe Seasoned in an easy, yet sublime way and baked to absolute perfection. Really easy to grasp, you’ll burn the oven for weeks.Reading: How to Cook a Skirt Steak on the Oven Think, perfectly juicy and tender steaks seasoned in a scrumptious mix of sweets, salty, spicy and sour, grilled in just minutes over high heat. The heat is too high to create a wonderful caramelized finish on the skin… you can style it but? I’ve been INTERESTED with this recipe all summer long, and it’s time for you to be part of the obsession.
Distinguish between a skirt and a steak
Contents
What exactly is Skirt Steak? How is it different from Flank Steak? Can you use Flank Steak instead of Skirt Steak?Steak dress comes from the diaphragm mass of cows, contains many strong fibers and is usually quite thin. To the naked eye, it is best to be able to see these fibers in action by minimizing the beef.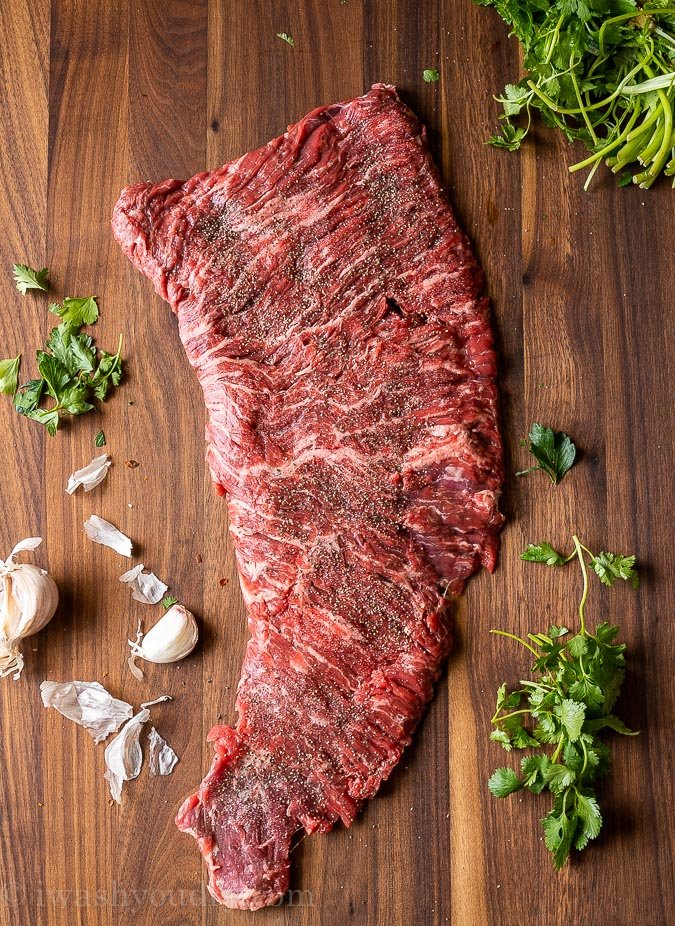 Beef ribsanother is coming from the space below the cow’s stomach, and usually the minified beef is very firm and thicker.
Can you swap?
These two steaks are essentially the most interchangeable, however in case you want to swap out the rib steak for a skirt steak, you’ll want to pound the steak to a more even thickness. . You’ll need to use a meat mallet or a heavy pin Read more: How long to bake because skirt steak is usually a lean beef, it just wants a few warm minutes on the grill to prepare dinner. Rib steak is usually a bit thicker and will probably want more time.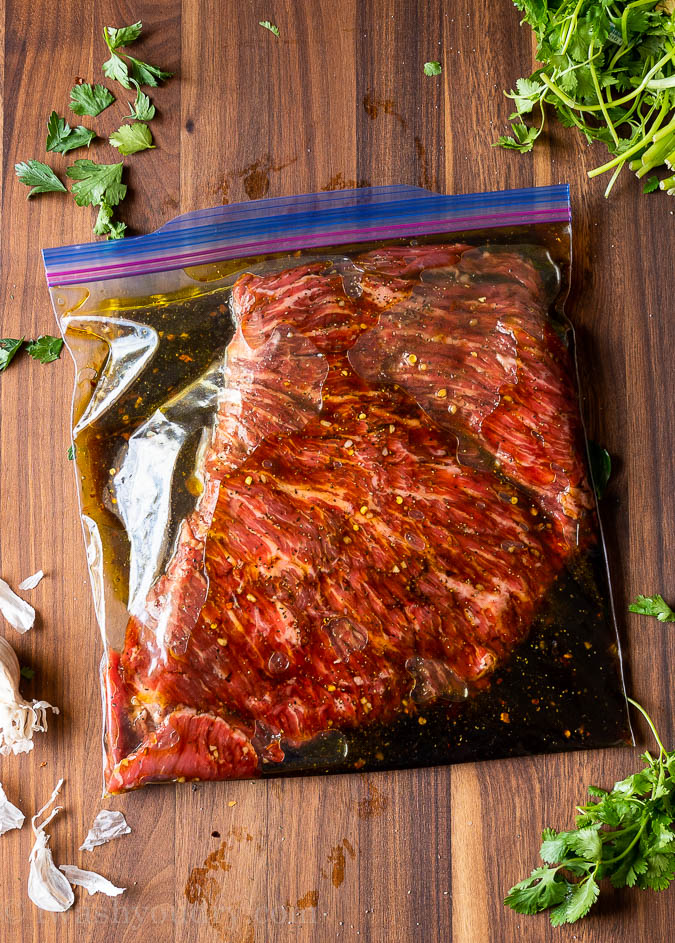
The best marina
Skirt Steak is seasoned very well, however you need to be careful not to leave it for more than 24 hours, as this may be overkill for minimizing the leanness of the beef. All you really need is no less than half an hour.
Factors:
- Olive oil
- Dried Sherry
- Soy sauce
- honey
- Garlic
- Crushed purple chili
This easy marinade provides just the right flavor to the steak, with just a touch of honey to help caramelize the steak’s skin.
How to prepare dinner on the grill
Since steak is a lean, heavily minced beef, it tastes best when cooked to medium-rare (130-135 F) or, at most, medium (135-145 F). delicious and tender on the grill, we have to prepare dinner at a High warmthI’m saying, overkill your grill. 500+ levels. My Baked Skirt Steak recipe requires just a few minutes per aspect, which is simply enough to caramelize the skin quickly, while keeping the insides juicy and tender. In case you overcook, the fibers that work at their best will become tough and firm.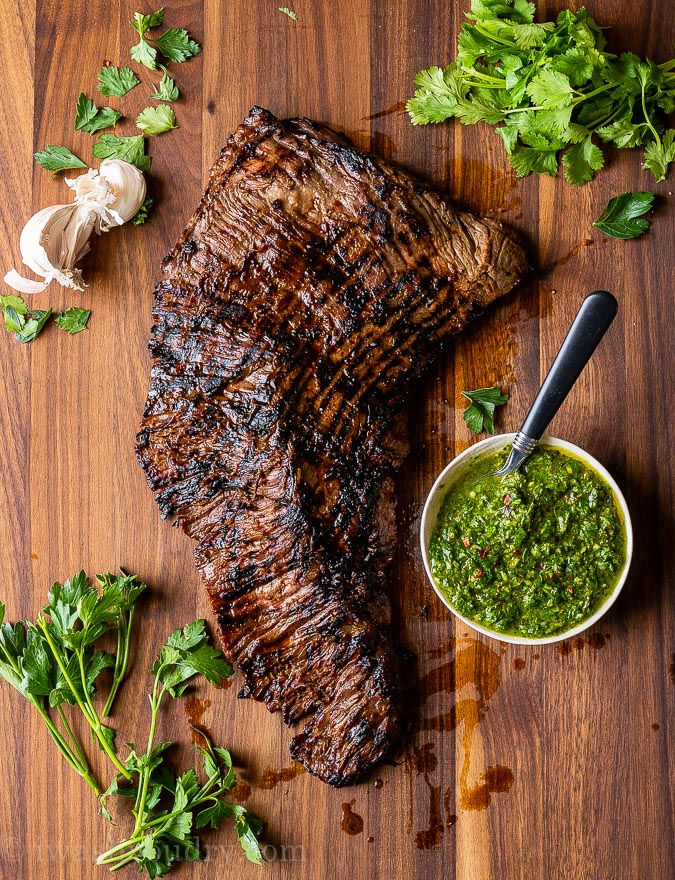
What temperature for steak?
Again, we ONLY cook this steak to medium-rare…medium at most (and I could be wrong to downplay the aspect of average). In case you are looking for a steak, you can prepare dinner for something better than this, this is not the recipe for you.
- Moderate-Less common: 130 – 135 F levels.
- Medium: 135 – 145 F level.
- Medium-Beautiful: Choose a unique minimal steak like a ribeye or loin.
- Beautiful: Put the steak down and make this Salisbury Steak Recipe as an alternative.
It’s my favorite find out now meat thermometerA reasonably priced device that can show you how to evolve into a better prepared dinner. Read more: How to smoke turkey breast on a pellet grillPRO TIP – let steaks come to room temperature in marinade for no less than half an hour before grilling. This can help it prepare dinner more efficiently.
Rest
Once your steak is done, let it relax no less than 5 to 10 minutes earlier than when slicing the steak. Do not wrap the steak in foil at this time as that may improve the internal temperature. As an alternative, if desired, cover loosely with foil provided what is absolutely important (ie: flies nearby).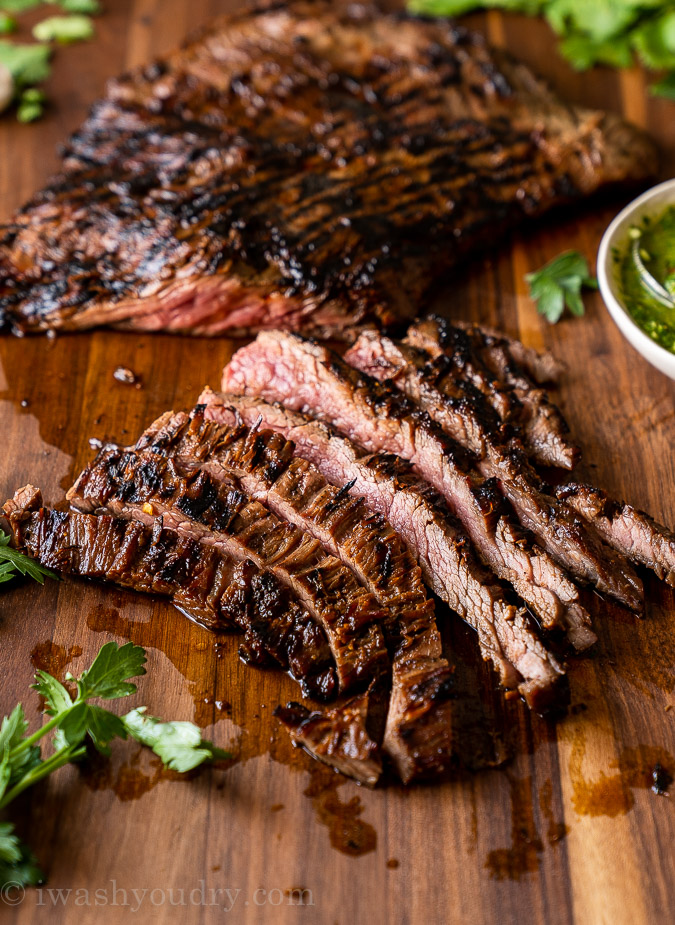
How to cut a steak the right way
One last bit of information before I send you your recipe for this scrumptious skirt steak recipe, and it might be the most important steps… Tips on how to minimize steak as soon as it’s cooked! You can clearly see the active fibers of the skirt steak (best to see before cooking), called the “grains”. You’ll be slicing the steak thinly in the least perpendicular direction, or “against the grain” to achieve the most essentially tender cut of meat.Eg: For this steak, I’ve scaled it down sensibly in the process of making the steak, splitting it up into two more manageable dishes. Then I flipped the steak 90 levels, letting the grain follow a line perpendicular to my cut.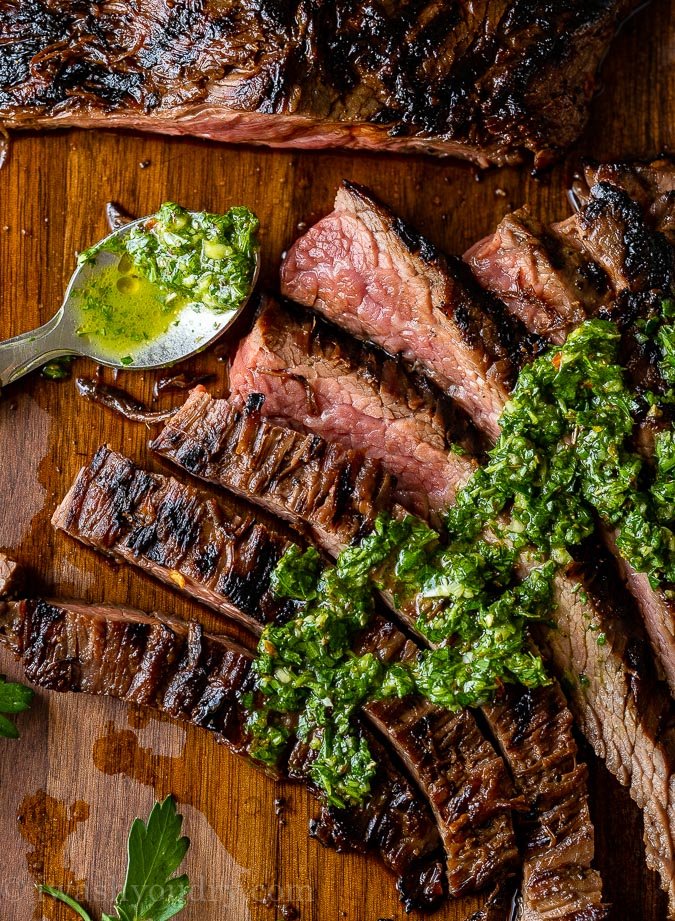
Serve with what?
Like I said earlier, we’ve made this permanent repeat steak recipe at our home. Listed here are some of our favorite sides to pair with it…
- Simple Chimichurri Sauce – enticing no-frills pictured above
- Garlic Parmesan Rice
- Baked potato
- Grilled Broccoli or Brussels sprouts
- Grilled Vegetarian Kabobs
I’m extremely, very supportive of pairing with chimichurri sauce, which is why I’ve included it in the recipe card below.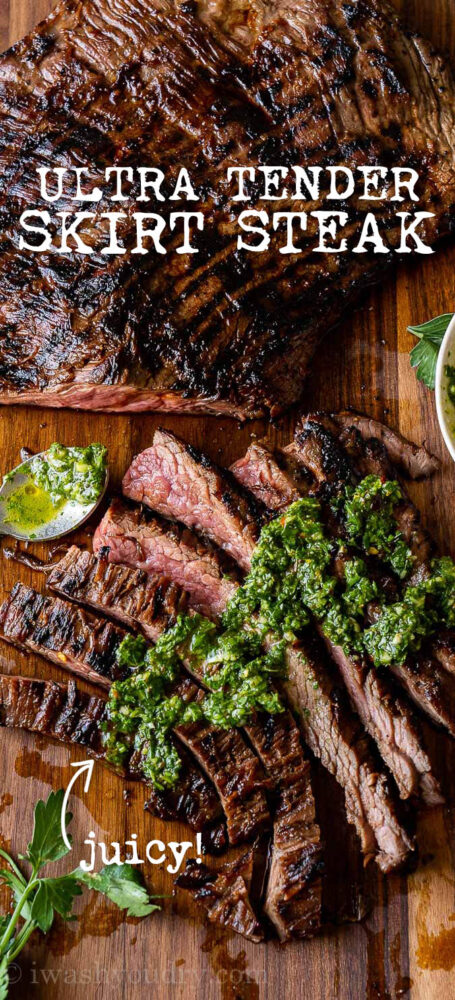 Read more: How to grill delicious ribs on a gas grill
Last, Wallx.net sent you details about the topic “How long to cook skirt steak on grill❤️️”.Hope with useful information that the article “How long to cook skirt steak on grill” It will help readers to be more interested in “How long to cook skirt steak on grill [ ❤️️❤️️ ]”.
Posts “How long to cook skirt steak on grill” posted by on 2022-01-13 20:30:20. Thank you for reading the article at wallx.net


