How to air fry butternut squash
Video How to fry pumpkin with air
Like the grilled squash however taller, this Air Fryer Butternut Squash is crispy, caramelized and easy to make!
Contents
Whether you’re looking for a whole new way to serve squash or are looking for a healthier holiday treat, this Air Fryer Butternut Squash Will definitely win! Just preheat your air fryer, toss the squash with oil and salt, and air fry until the veggies are golden brown and scrumptious! I also share more optional seasoning suggestions to take your squash to a later stage. Add this recipe to your menu tonight! Reading: Air-frying and a strong dietary profile this winter is a squash worth remembering. And revered not simply as a winter vegetable, but as a vegetable that rivals contemporary back garden tomatoes, inexperienced sweet peas straight out of the vine, and Broccoli. tender grilled greens (haven’t you tried it? Oh, make your own delicious and outstanding dish in this day and age).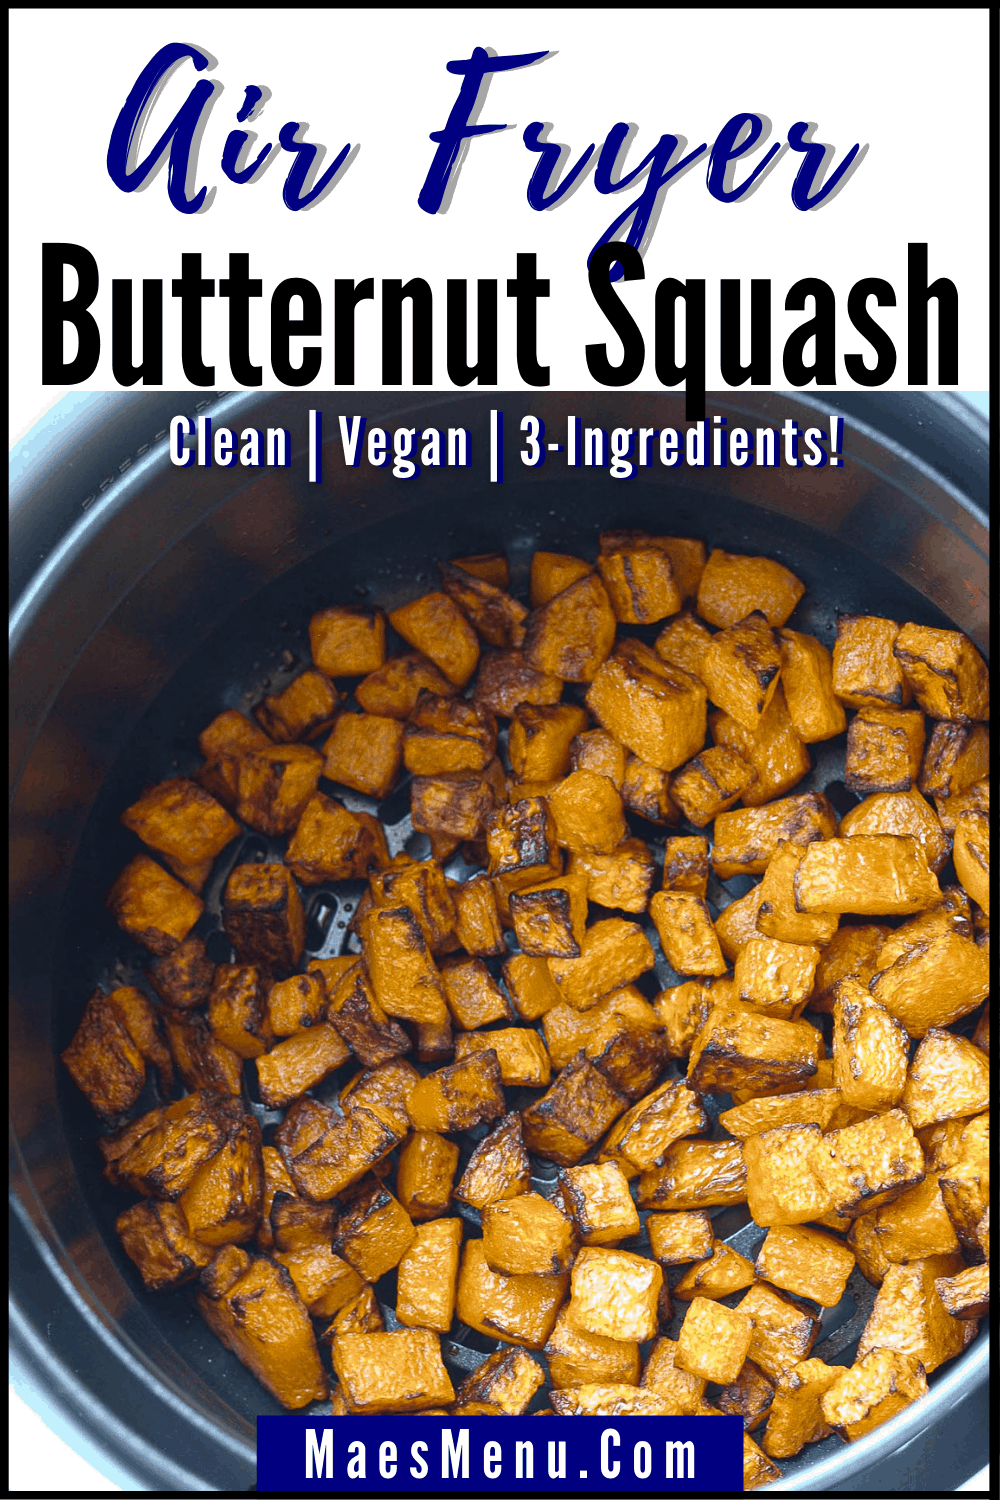 Who else is with me right here?! I mean a lot of people know by now that it’s easy for me to dive into rabbit hole meals, however this orange winter squash-inspired dish is one that I’m happy to go down to often. . . I mean, what stops when it takes just 3 elements, half an hour and creates a crispy, caramelized and nutritious dish?! This dish is ideal not just for the holidays (I’m considering you, Thanksgiving and Christmas!) but beyond this week’s dinners, you want some new side dish inspiration. me too.
This air fryer butternut squash recipe is…
- Crispy
- Caramel
- Customizable
- flexible
- Ventilation
- Made with just 3 elements!
- Vegan
- Gluten-free
- Natural candy
- Satisfied
- The right pumpkin for Thanksgiving!
Read more: How to Fry Frozen FriesI’m not sure in the world meals are much higher than when the appliance does all the grueling work giving you the results you want! Simply toss together vegetables, oil and salt, quick air fry and these crunchy veggies can be enjoyed!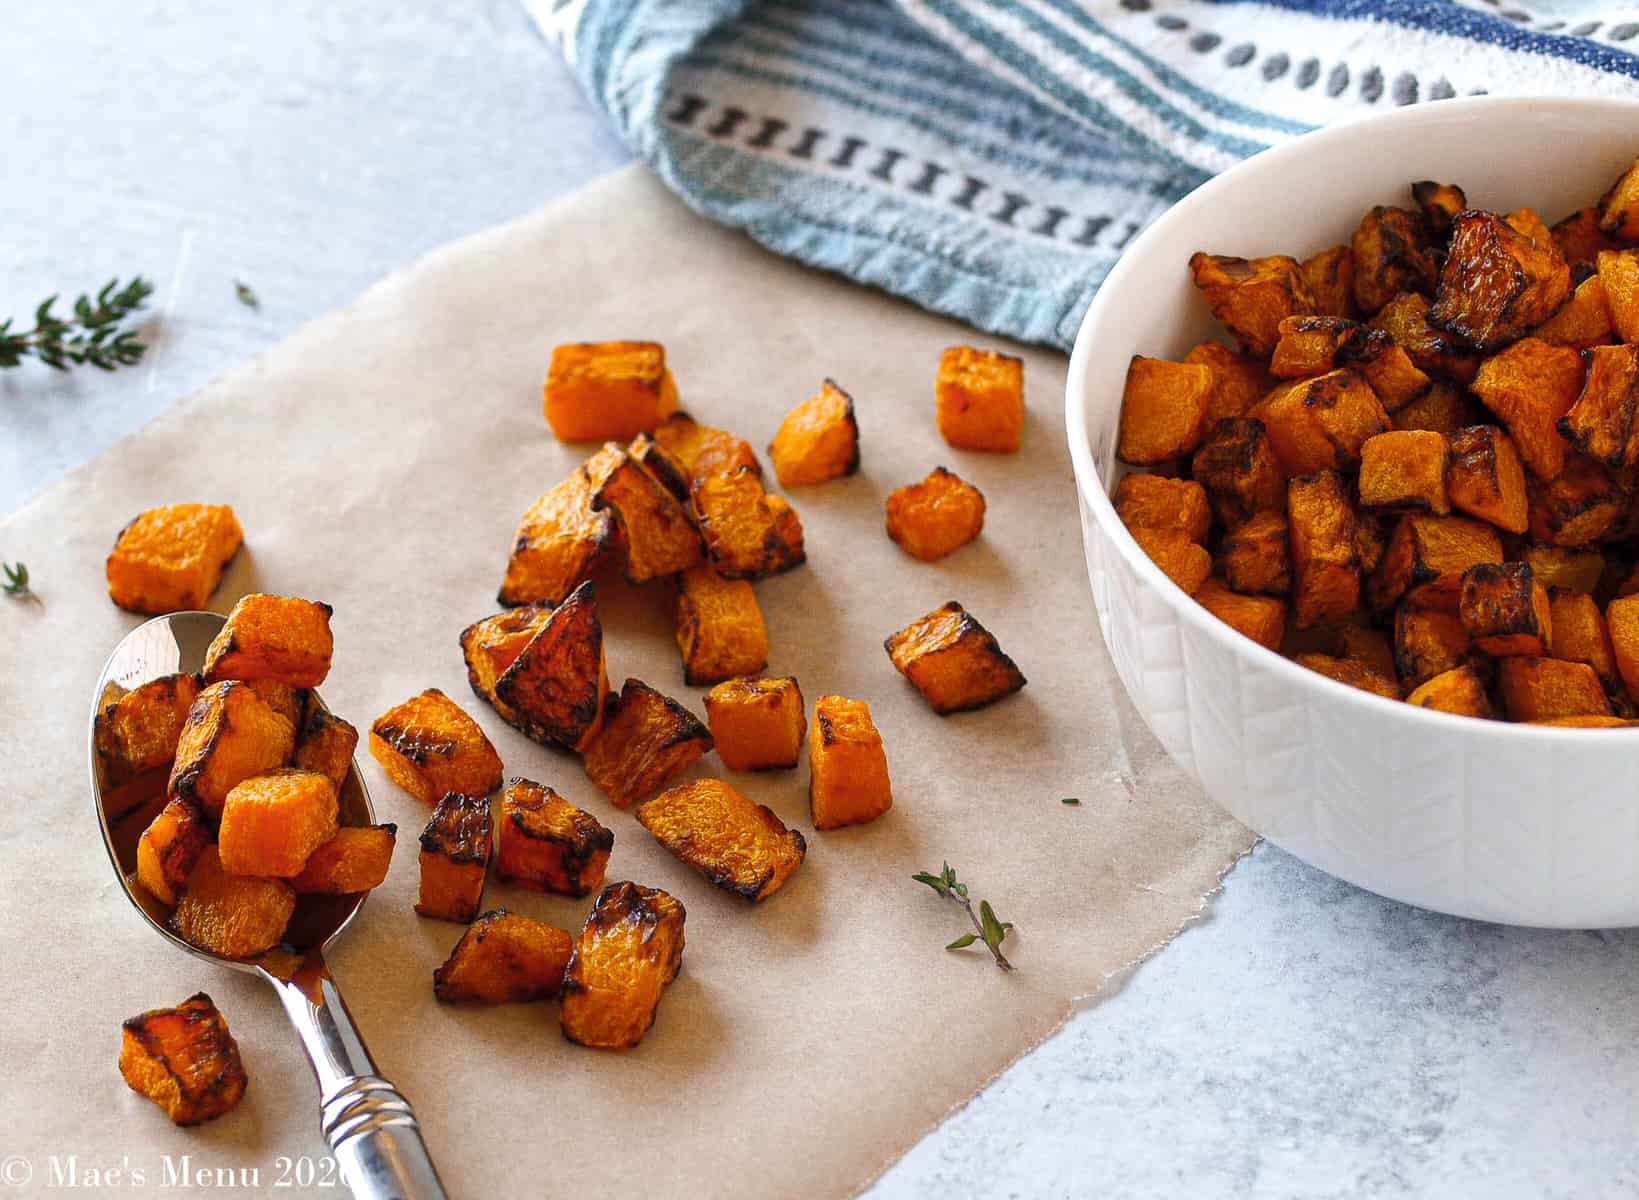
Formula elements:
- Pumpkin – decide one with easy pores and skin and orange pores and skin tone
- Olive oil – I like extra virgin olive oil for flavor
- Salt – sea salt or kosher salt is best, but table salt works too!
How about a concise ingredient checklist?! Easy, effective and great every time! See below for my checklist of ingredient substitutes.
Component replacement
- Squash – more naturally sweet and tired winter squash like kabocha orophiata may also work. However, lower your dishes to small and preview the time of frying in the air.
- Oil – melted avocado or coconut oil may simply work better than extra virgin olive oil
- Spice – see my checklist below for more optional spice mixes for this squash, though simply salting is absolutely perfect
How to cut a pumpkin?
Here’s the right way to minimize pumpkins:
Can you use pre-cut & peeled pumpkin for this recipe?
Well, you can certainly use peeled and pre-cut squash for this recipe. It can save you a bit of time and hassle, making this recipe more accessible. However, if you buy pre-cut squash, just make sure the pieces are the right size. So, if the pieces are 1-inch cubes, cut them into ½ inch-inch cubes for this recipe.
Would you like to peel the pumpkin earlier when cooking?
Is the squash ketchup pleasant?
Seek the advice of a nutritionist for an official verdict on this, however, pumpkin can fit into a low-carb or keto lifestyle if consumed in moderation. full estimates and recipe disclosure) to provide 15-20 grams of carbohydrates and 6 grams of fiber, making it low carb but not as low carb as summer squash like zucchini or yellow squash. Take your vitamin goals into account when figuring out if this recipe is right for your diet!
How did you learn that pumpkin is not healthy?
You understand that your pumpkin has been unhealthy when it exhibits any of the following characteristics:
How to choose a delicious avocado squash:
Read more: How long does fried chicken patties last?
How long does it take to cook a butter pumpkin dinner in an air fryer:
We’ll cook ½ inch cubed pumpkin dinner in the air fryer for 18-20 minutes or until the squash is cooked through and caramelized to your liking! In case your squash comes in larger or smaller cubes, increase or decrease the cooking time accordingly.
What temperature to cook butter pumpkin dinner in an air fryer:
For best results, we like to cook our pumpkin dinners to too high of a temperature, or 400 degrees F.
How to Cook Butter Pumpkin Dinner in an Air Fryer…
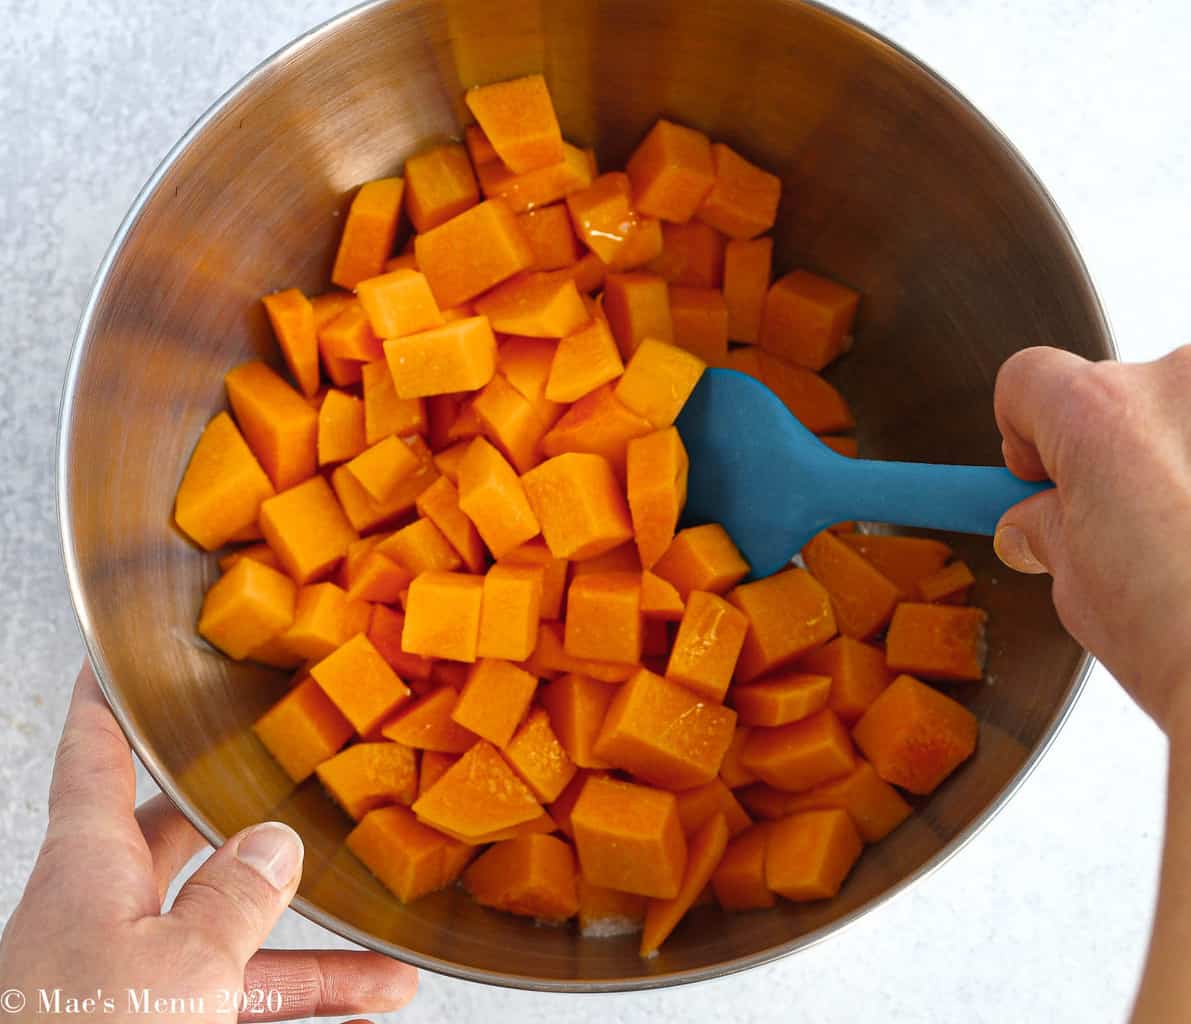
 Stir-fry together squash, olive oil and salt
 Put the squash in the air fryer
- Fry in the air until crispy and caramelized
 Stir-fry together squash, olive oil and salt
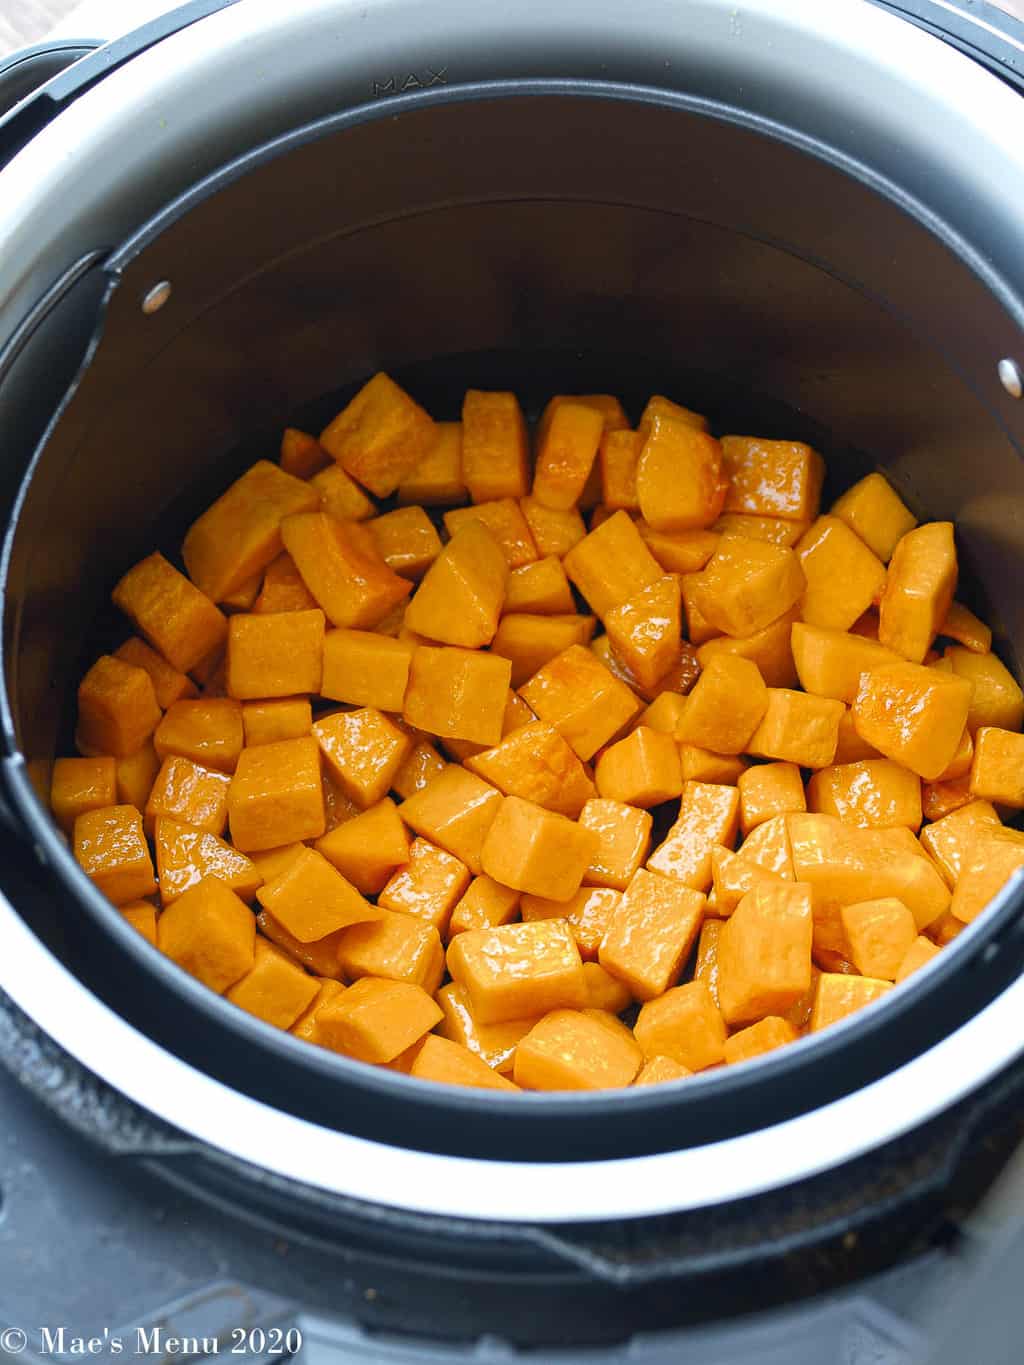 Put the squash in the air fryer
 Fry in the air until crispy and caramelized
What can you season this pumpkin with?
While this squash is delicious, you can also spice it up with two of my favorite additional spice combinations:
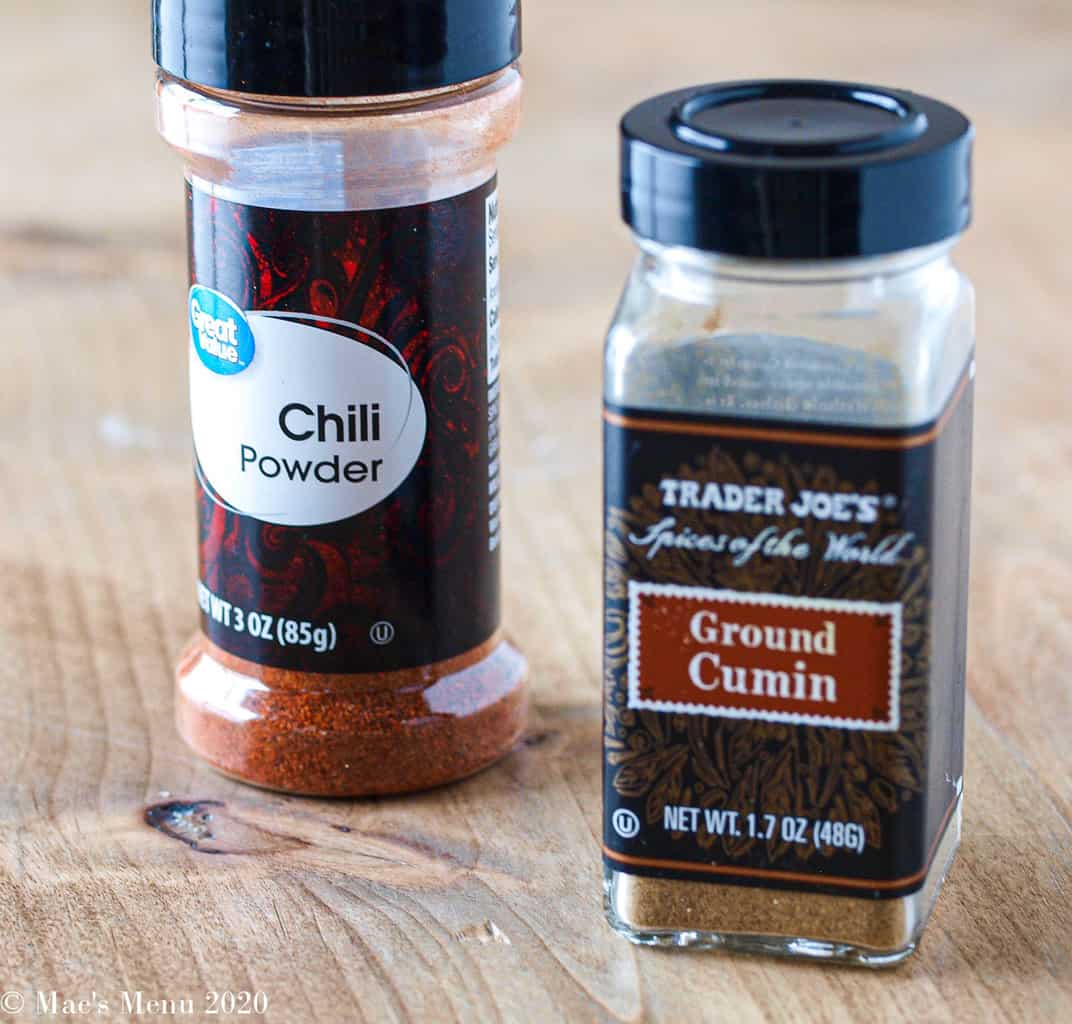
- ½ teaspoon of cumin + teaspoon of paprika – for a little salty seasoning
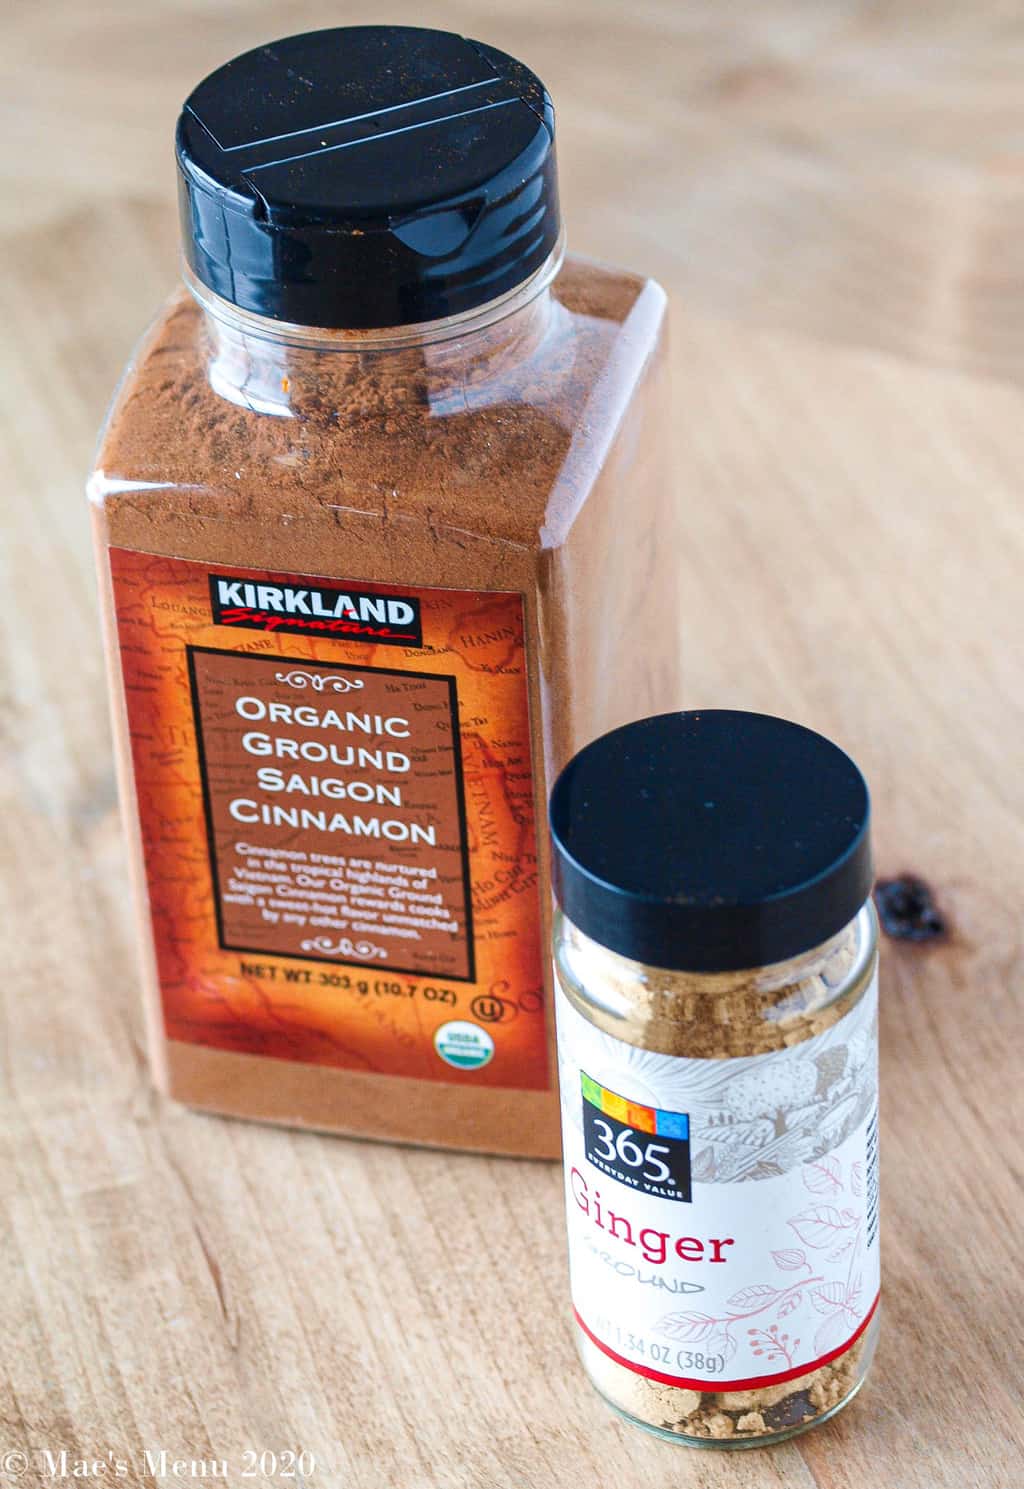
- ¼ teaspoon cinnamon + teaspoon ground ginger – for a warm and autumn-inspired taste
If using one of these blends, add it to the squash along with the salt before air frying and continue with the recipe as directed.
What good combination with pumpkin?
This air fryer squash recipe is so versatile. It’s quick and easy enough for a weeknight dinner, but it also has to be distinctive enough to be a Thanksgiving side dish. Here are some of my favorite dishes to serve it with:
- Brilliant turkey breasts
- Sliced cold meat
- Roast pork tenderloin
- Grilled salmon
It is also delicious when served with…
- Blistering green beans
- Roasted Broccoli
- Mashed potato
- Cranberry sauce
- Unleavened quick roll bread + no knead
Can you use frozen pumpkin in this recipe?
Tools you want to do this recipe:
- Plywood
- Vegetable peeling machine
- Chef’s knife
- Measuring spoons
- Mixing bowl
- Air Fryer (I use Ninja Foodi Tendercrisp)
- Burgers Air Fryer Turkey
- Air Fryer Greens
- Air Fryer Salmon
- Air Fryer Zucchini
- Air fryer Beans inexperienced
- Mashed potato air fryer
- Air fries
- Brussels Sprouts Air Fryer
- Prompt Pot Apple Butter
- Pumpkin noodle sauce
- Cranberry Apple Sauce
If you happen to make and like this recipe, please rate and rate it 5 stars on the high section of the recipe card. This helps different people to find recipes and also helps this publication be supported by readers!Many thanks for your suggestions and help about Mae’s Menu! Read more: How long to fry crab cakes
Last, Wallx.net sent you details about the topic “How to air fry butternut squash❤️️”.Hope with useful information that the article “How to air fry butternut squash” It will help readers to be more interested in “How to air fry butternut squash [ ❤️️❤️️ ]”.
Posts “How to air fry butternut squash” posted by on 2022-01-10 21:20:29. Thank you for reading the article at wallx.net


