How To Make An Oboe Reed
Learning how to make oboe reeds is an exciting step for the developing oboist. It is also one of the hardest things to master, and involves a great deal of persistence.Reed-making starts out as a science, following each step like a recipe for bread. The more experienced you become, it turns into an art. You start to make it your own “recipe” – you learn to make adjustments that fit you as a player.Reading: how to make an oboe reedThis is why you find conflicting information on how to make a reed – there are many different factors that can impact the personalization of reed-making style and practice. What you find on the internet are all of the different opinions of what works best for that particular oboist.In fact, the oboists in the videos that I link in this article do things a bit differently than I do myself. The key is to keep variables consistent as you hone this craft.Don’t get me wrong, there is definitely a wrong way to make a reed. There are certain steps and measurements that cannot be changed, because the integrity of the reed will then suffer.For example, do not use the WikiHow article on how to make a reed. There are so many errors in the information presented, and would not make a working reed. The internet is full of many other resources that are accurate, and much more helpful.As a beginner, it is extremely important to follow each measurement and step exactly how you are taught. Ideally, you should start reed-making with someone that knows how to make reeds. Think of this like an apprentice position – you are trying to gain the wisdom and knowledge from this experienced professional.The reason I stress starting reed-making with someone else is primarily for safety. You will be working with sharp and potentially dangerous tools. Learning how to work with them in a controlled and safe manner is imperative.I would even recommend having bandaids nearby while you are making reeds. In my five years of reed-making, I have only cut myself once. I learned how to do things safely, which is why I haven’t had more slip-ups while working on reeds.Lastly, before the steps to making an oboe reed: be prepared to make 1000 bad reeds before they are good. It takes a long time to build up your technique and consistency. Be patient with yourself. Reed making is a lot like any other skill – in order to get better, you have to practice, practice, practice.
Steps To Make an Oboe Reed
Contents
Before you start making a reed, you need the right materials. Look at my Beginner Oboe Reed Making Kit article to make sure you have all of the necessities.As a beginner, I would recommend starting with cane that is already shaped for you. You have all of the tools to go from shaped cane, which looks like this.Personally, I use 10-10.5 Brannen-X Shaped Cane.10-10.5 refers to the diameter of the cane. Certain diameters work better for certain climates, so for me in the Midwest United States I use 10-10.5. Beyond that, I would recommend getting the least expensive cane as a beginner – you will ruin plenty of pieces of cane before you make a solid reed.
1. Tie a reed blank
First, soak shaped cane for 30 minutes in warm to hot water. Make sure that the cane is fully submerged in the water during this time so that the cane soaks completely. I usually use a larger Tupperware container for this process.Once the cane is soaked, you should prepare the rest of your station for the tying process. Take your thread and tie to a stable surface – I often use a leg of a table for this process. Many oboists use a c-clamp to tie onto, and would highly recommend this myself. This is an item that I will be purchasing myself in the near future!I use some beeswax on the thread to help solidify the knots that I put in. The thread has to be extremely secure, because you don’t want the thread to slip off the table while you are tying a reed.Sit directly in front of the leg of the table, sitting perpendicularly about a foot away. Pull the spool of thread towards you, and use the beeswax to coat about eight inches of the thread. To coat the thread with beeswax, run the block all around the thread.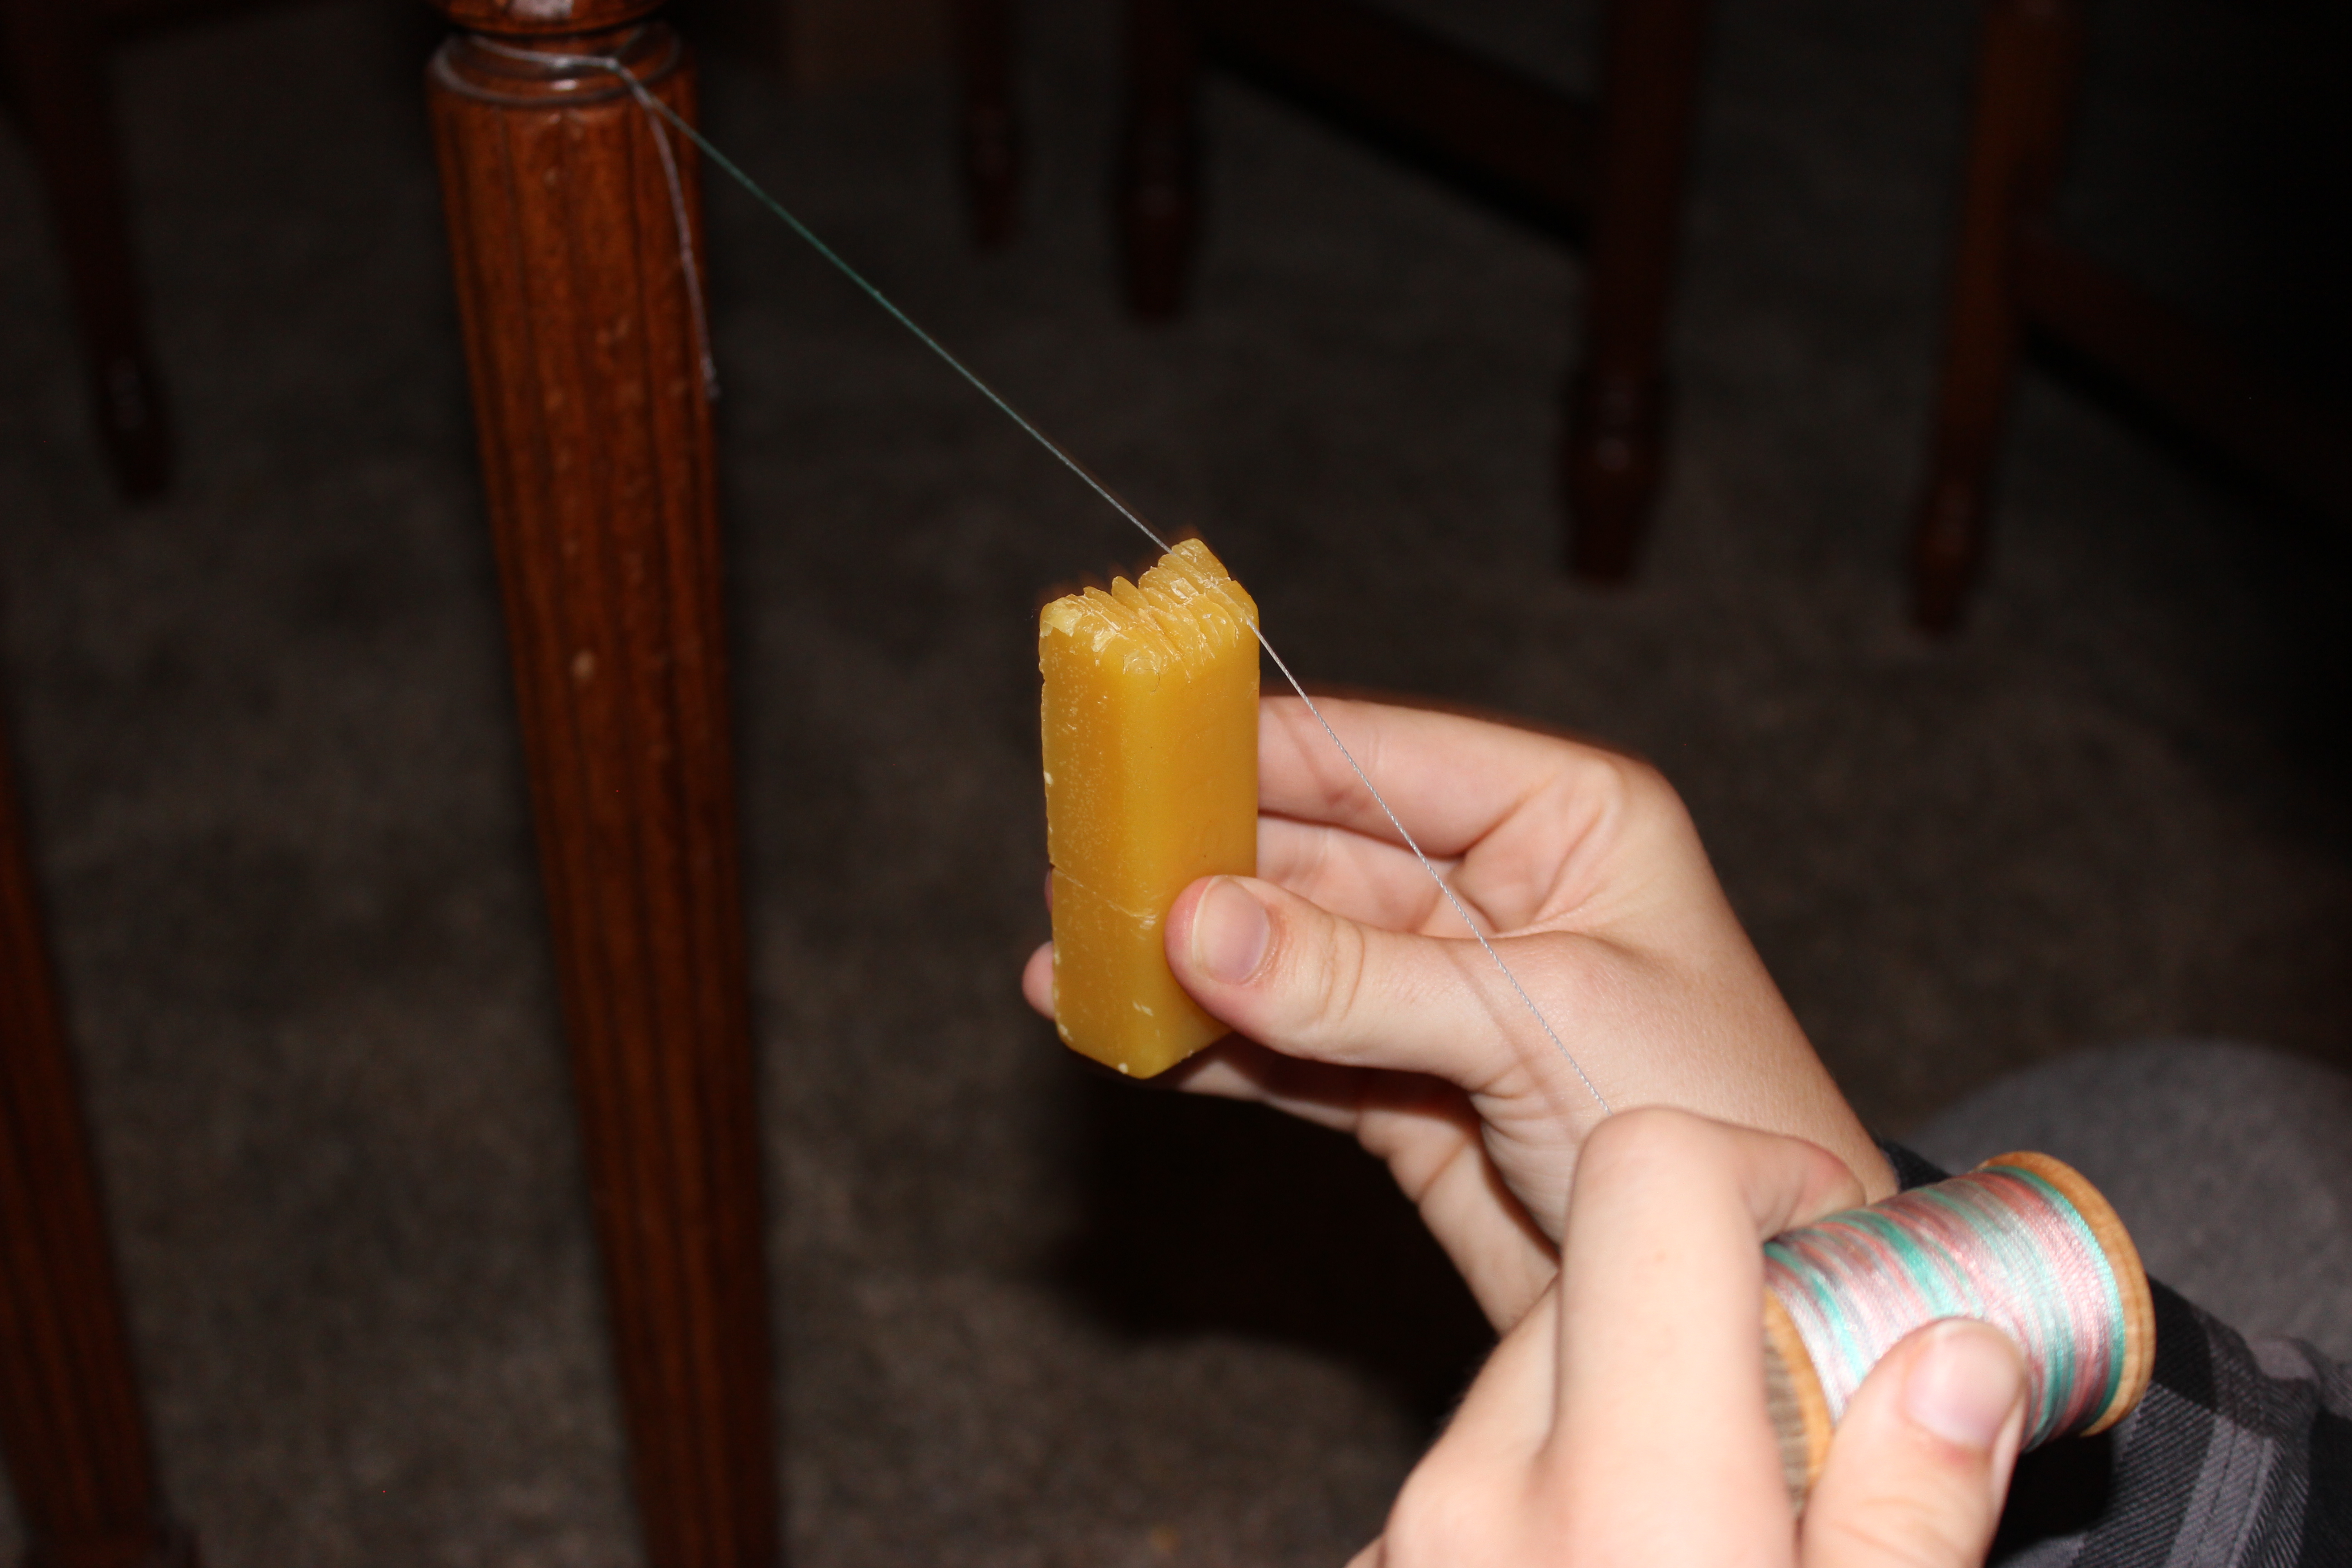
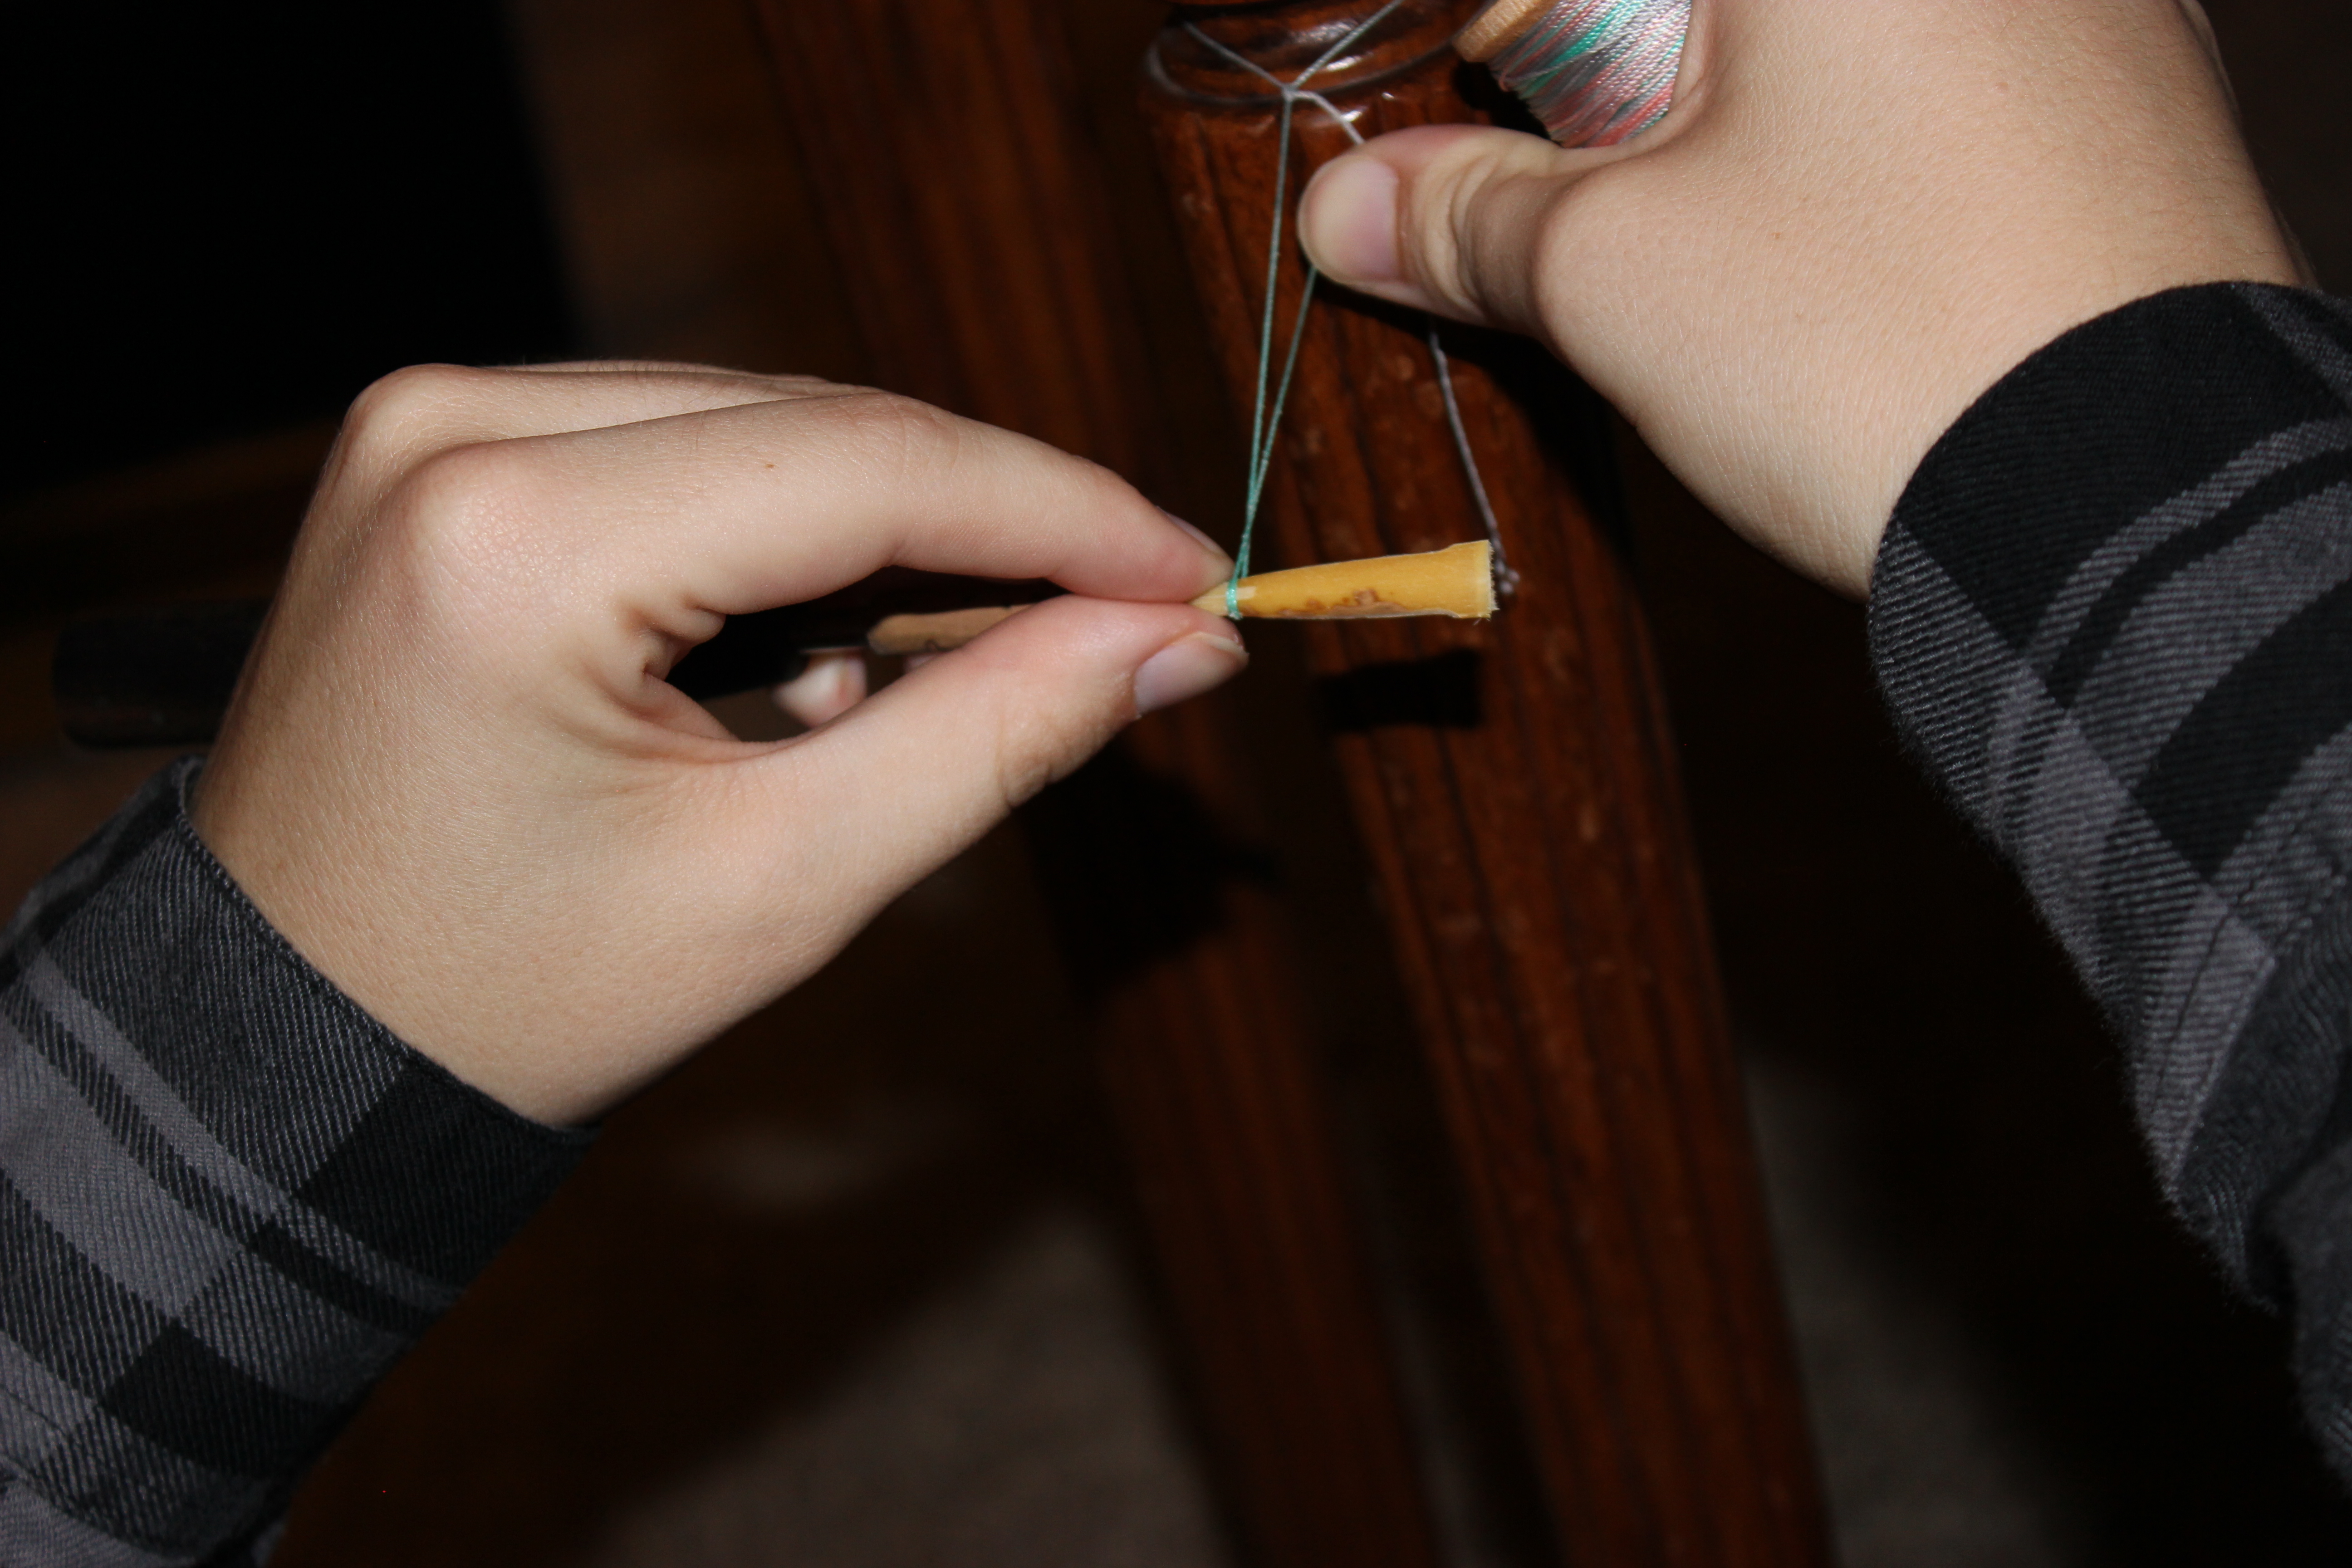
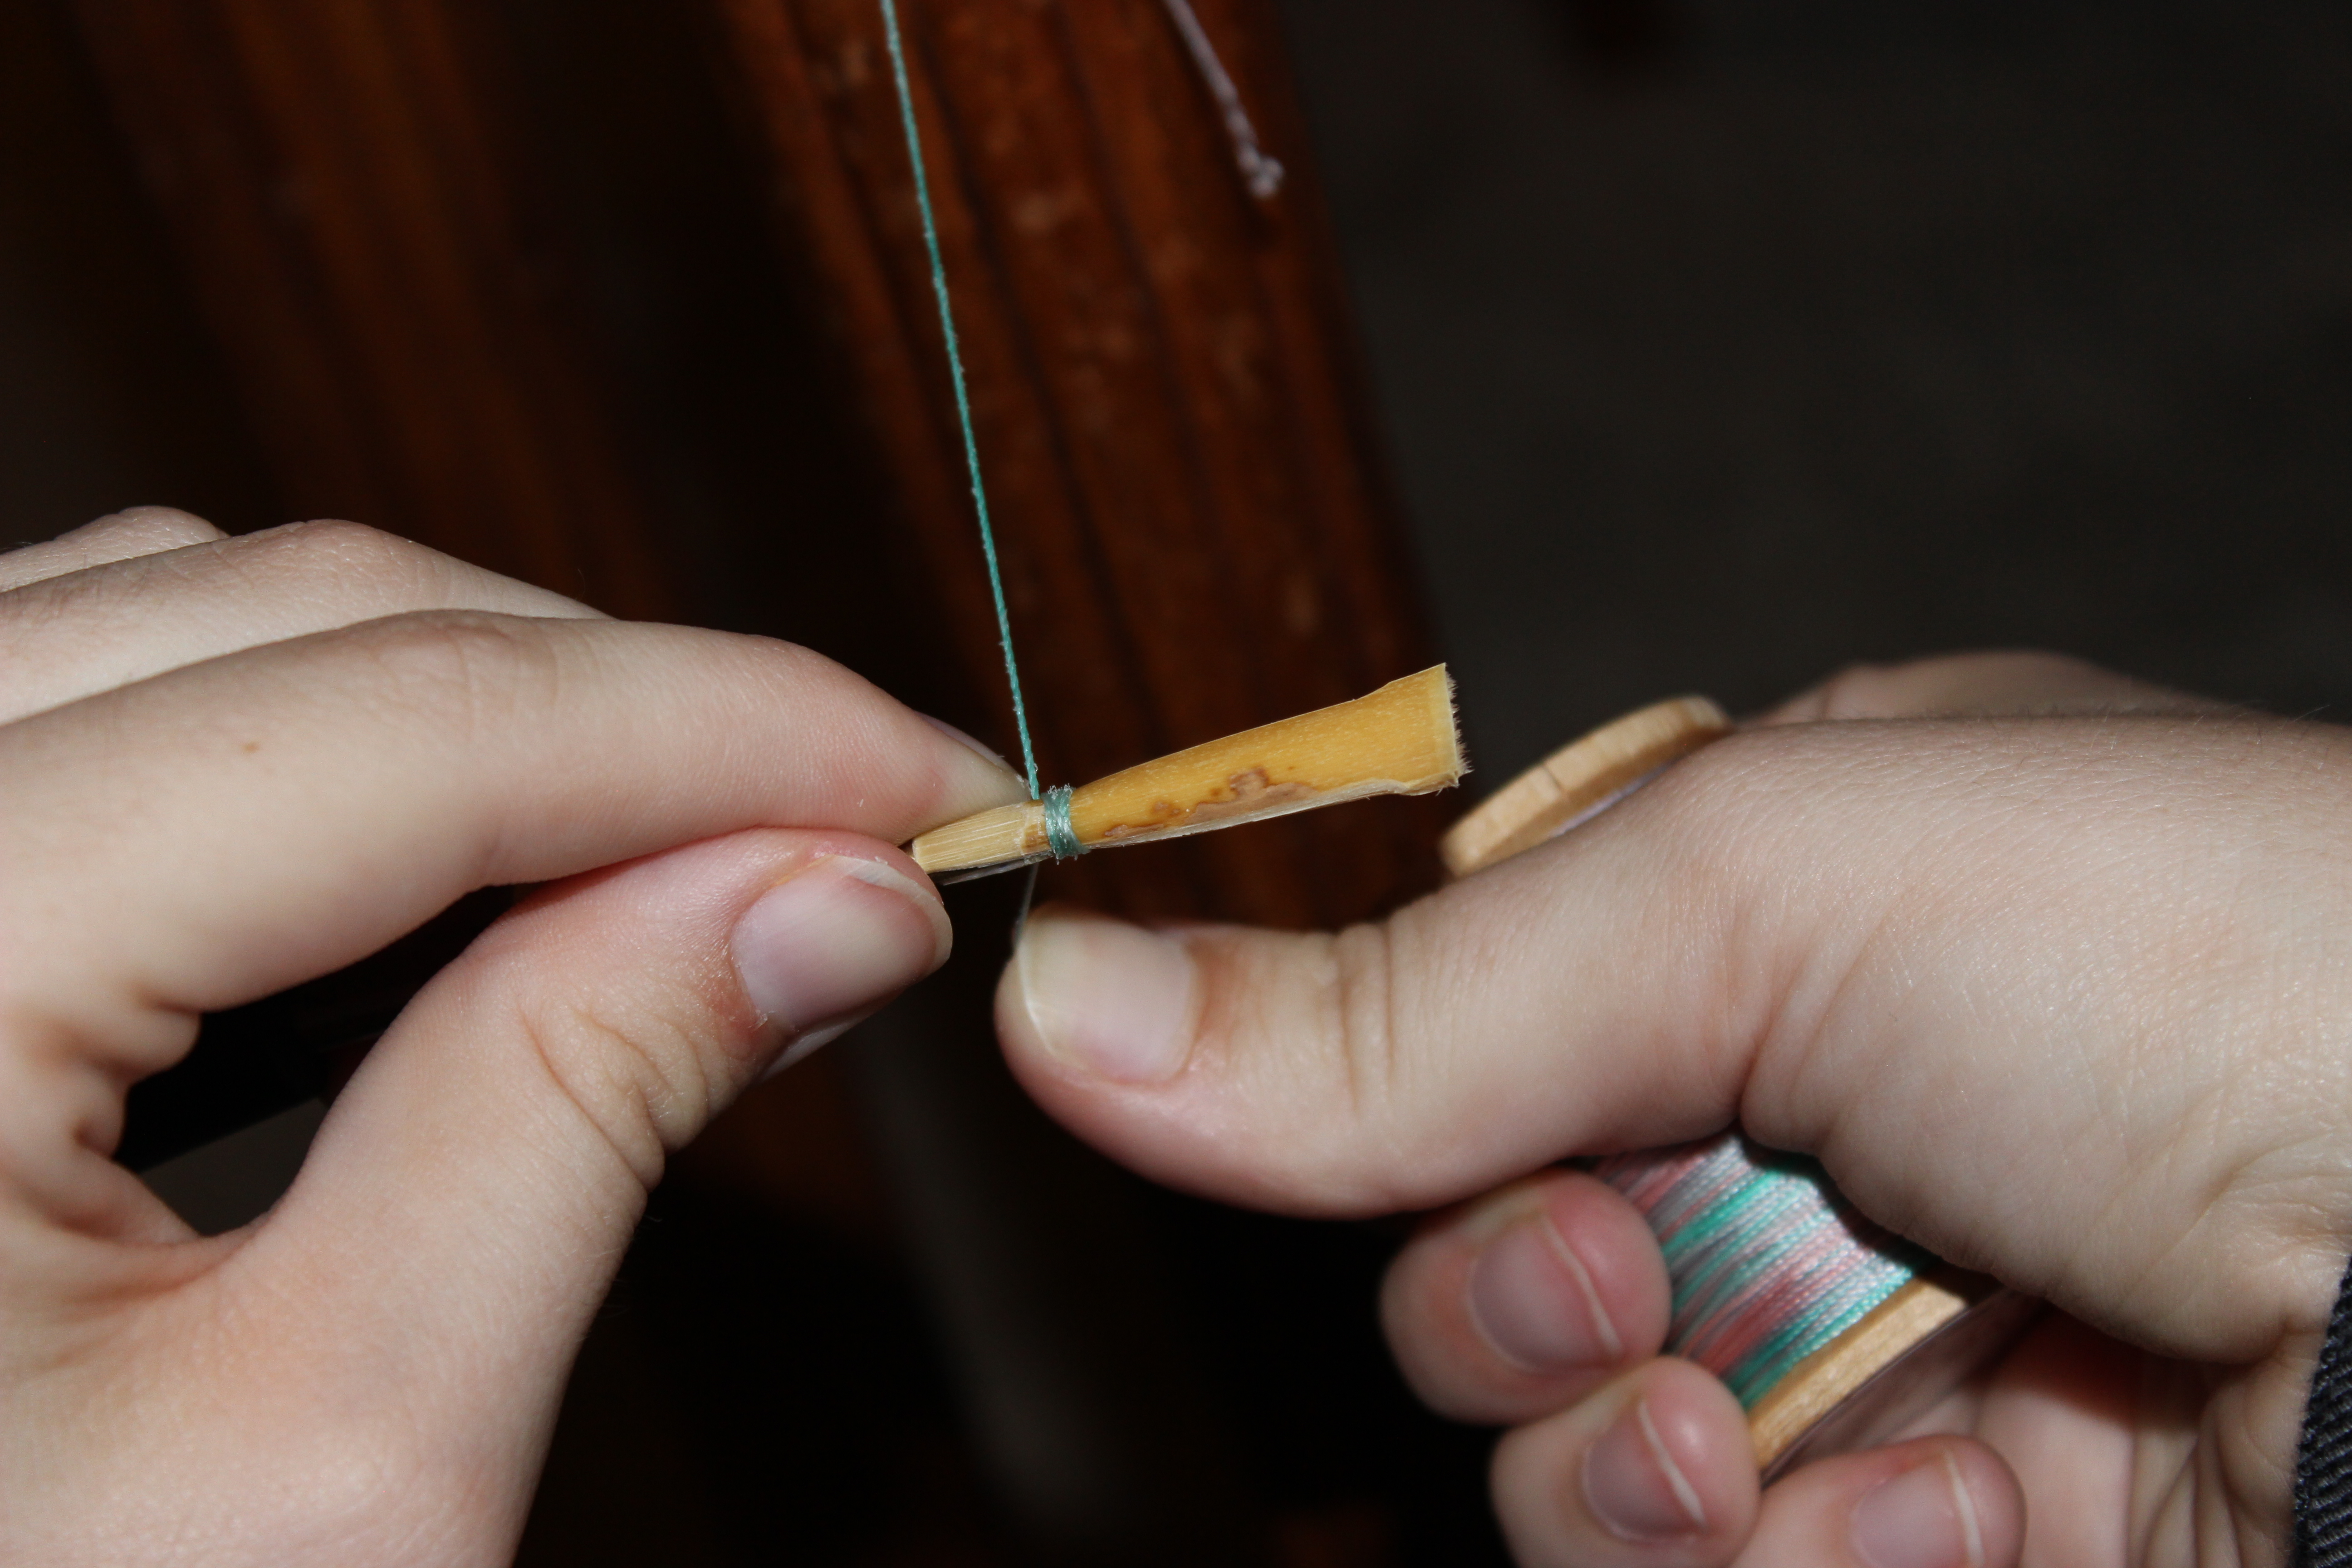
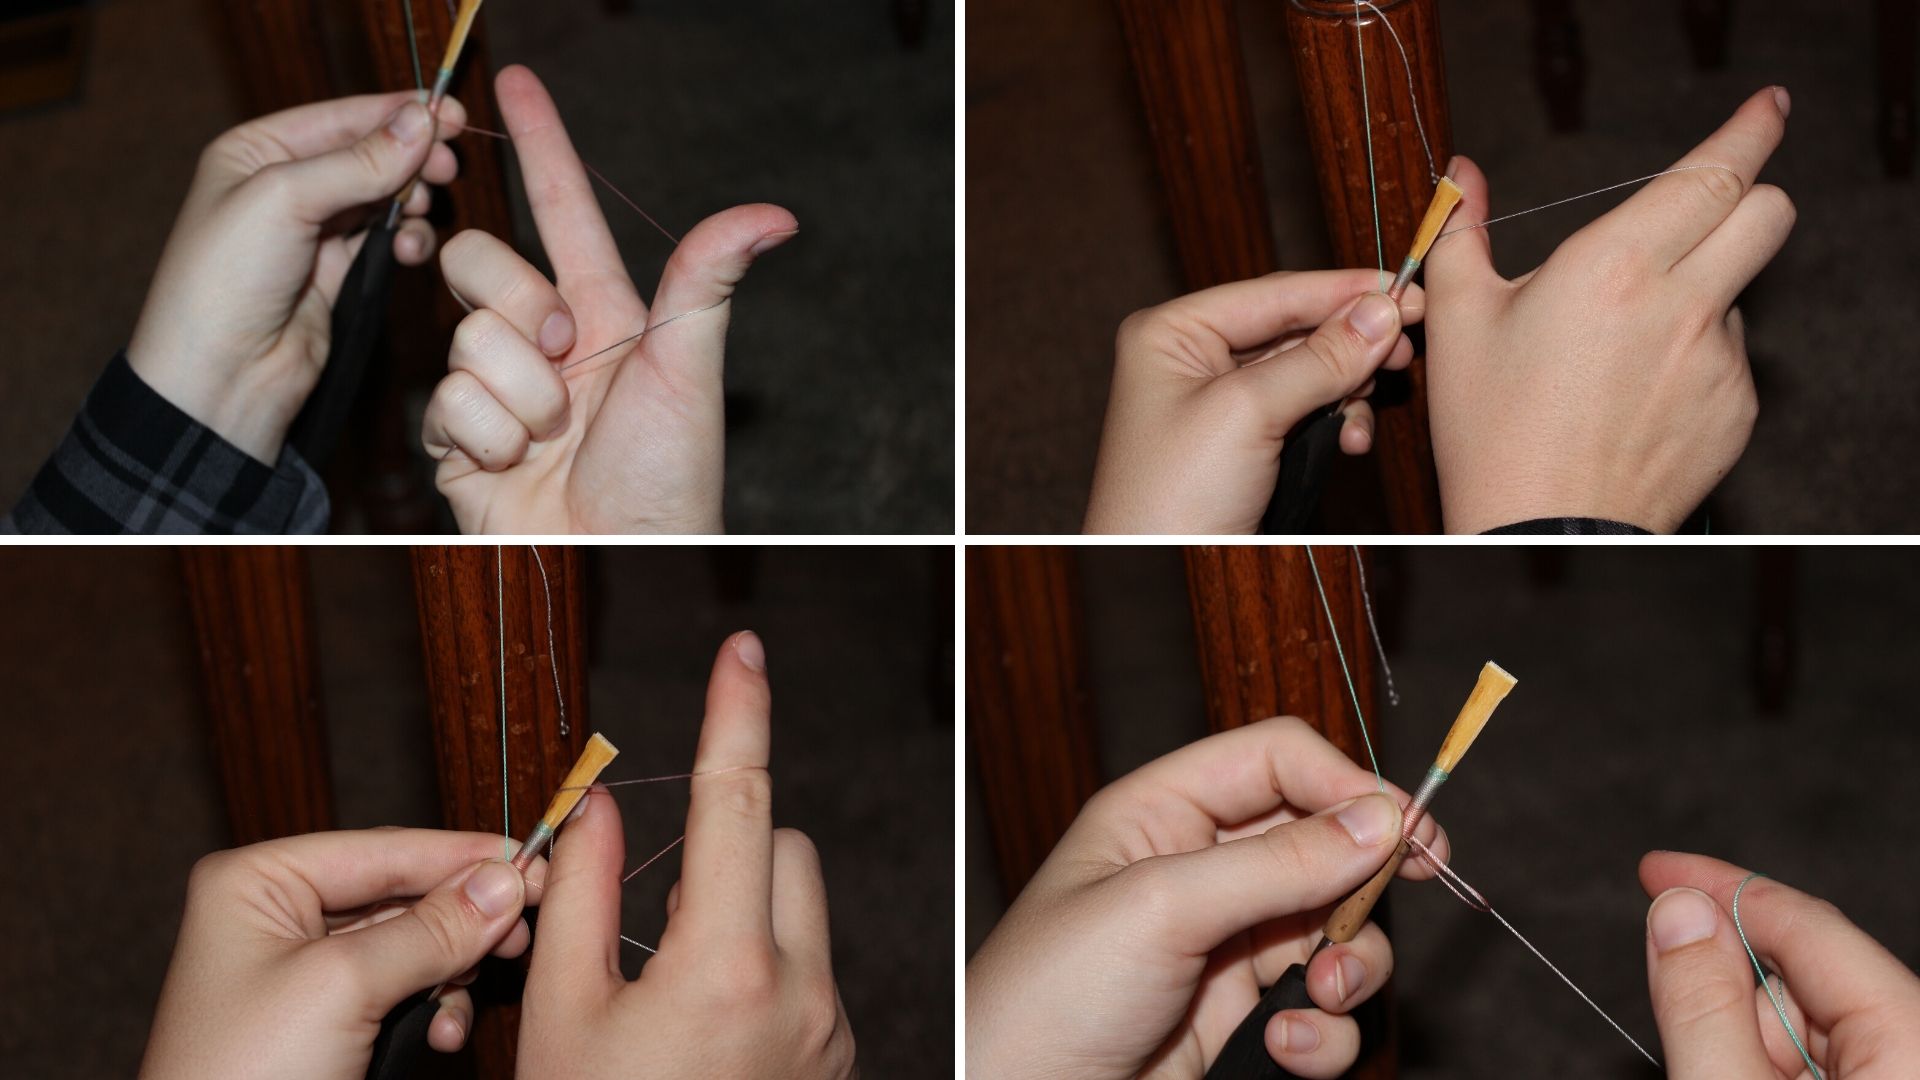
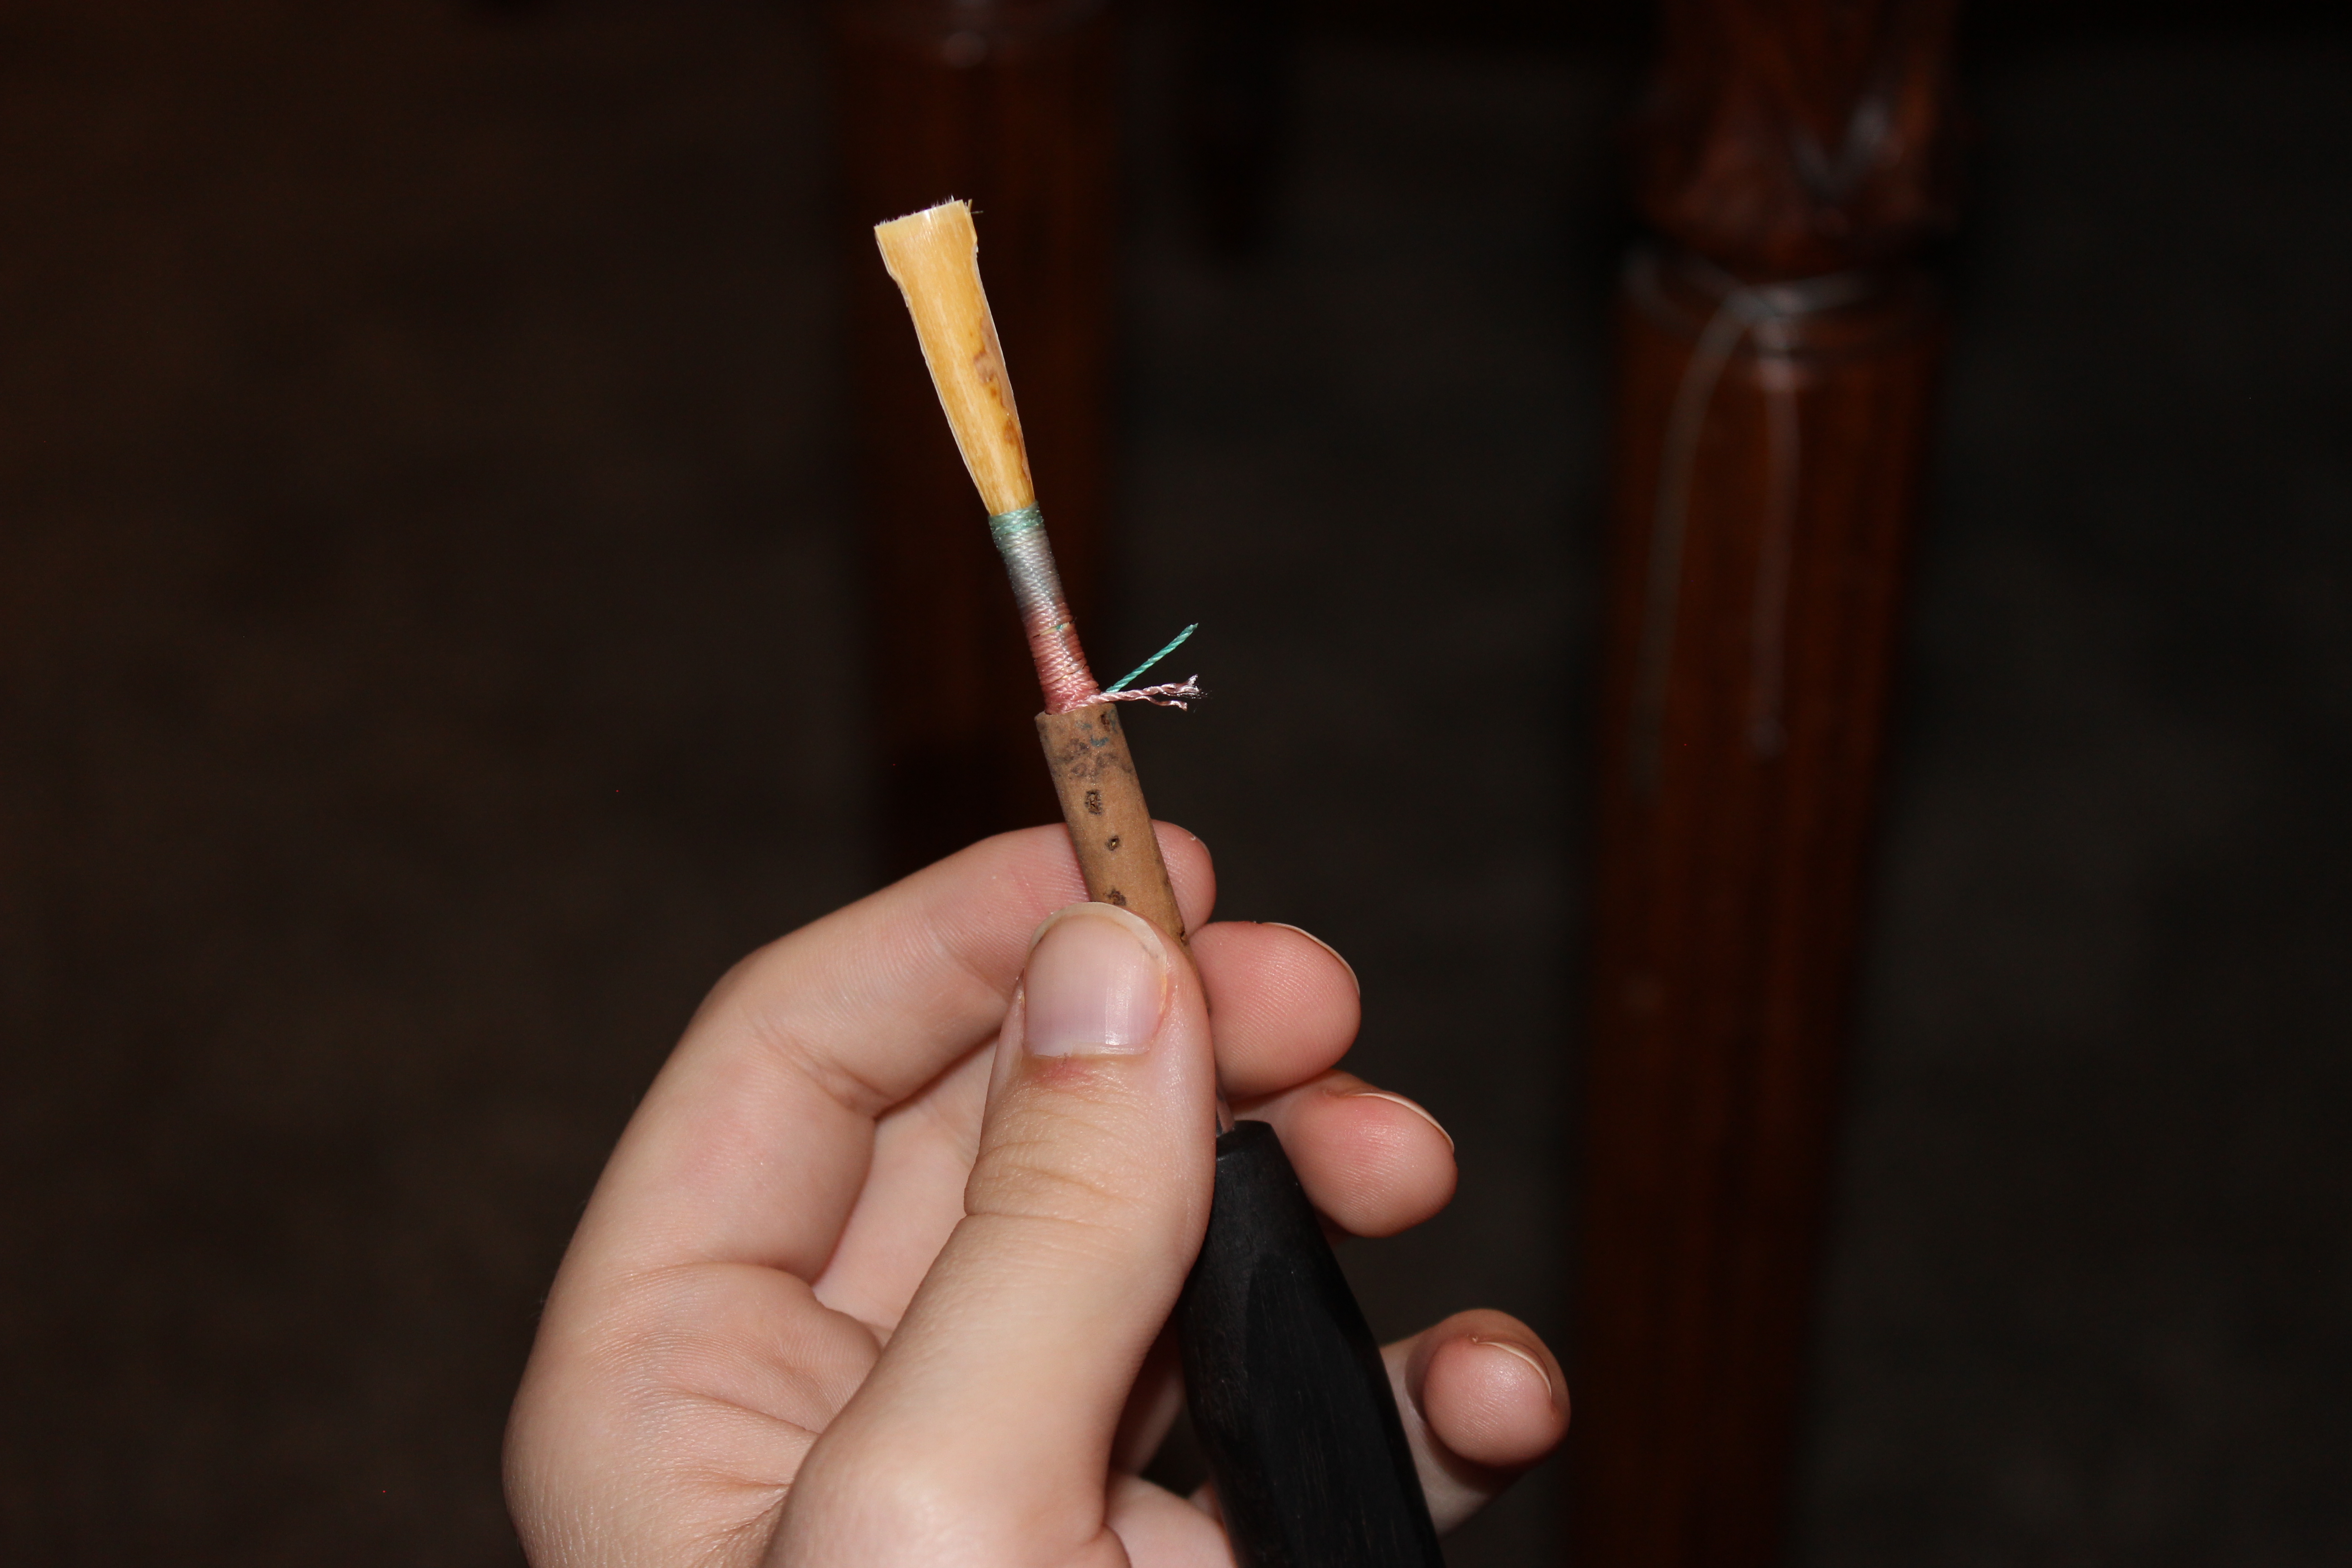
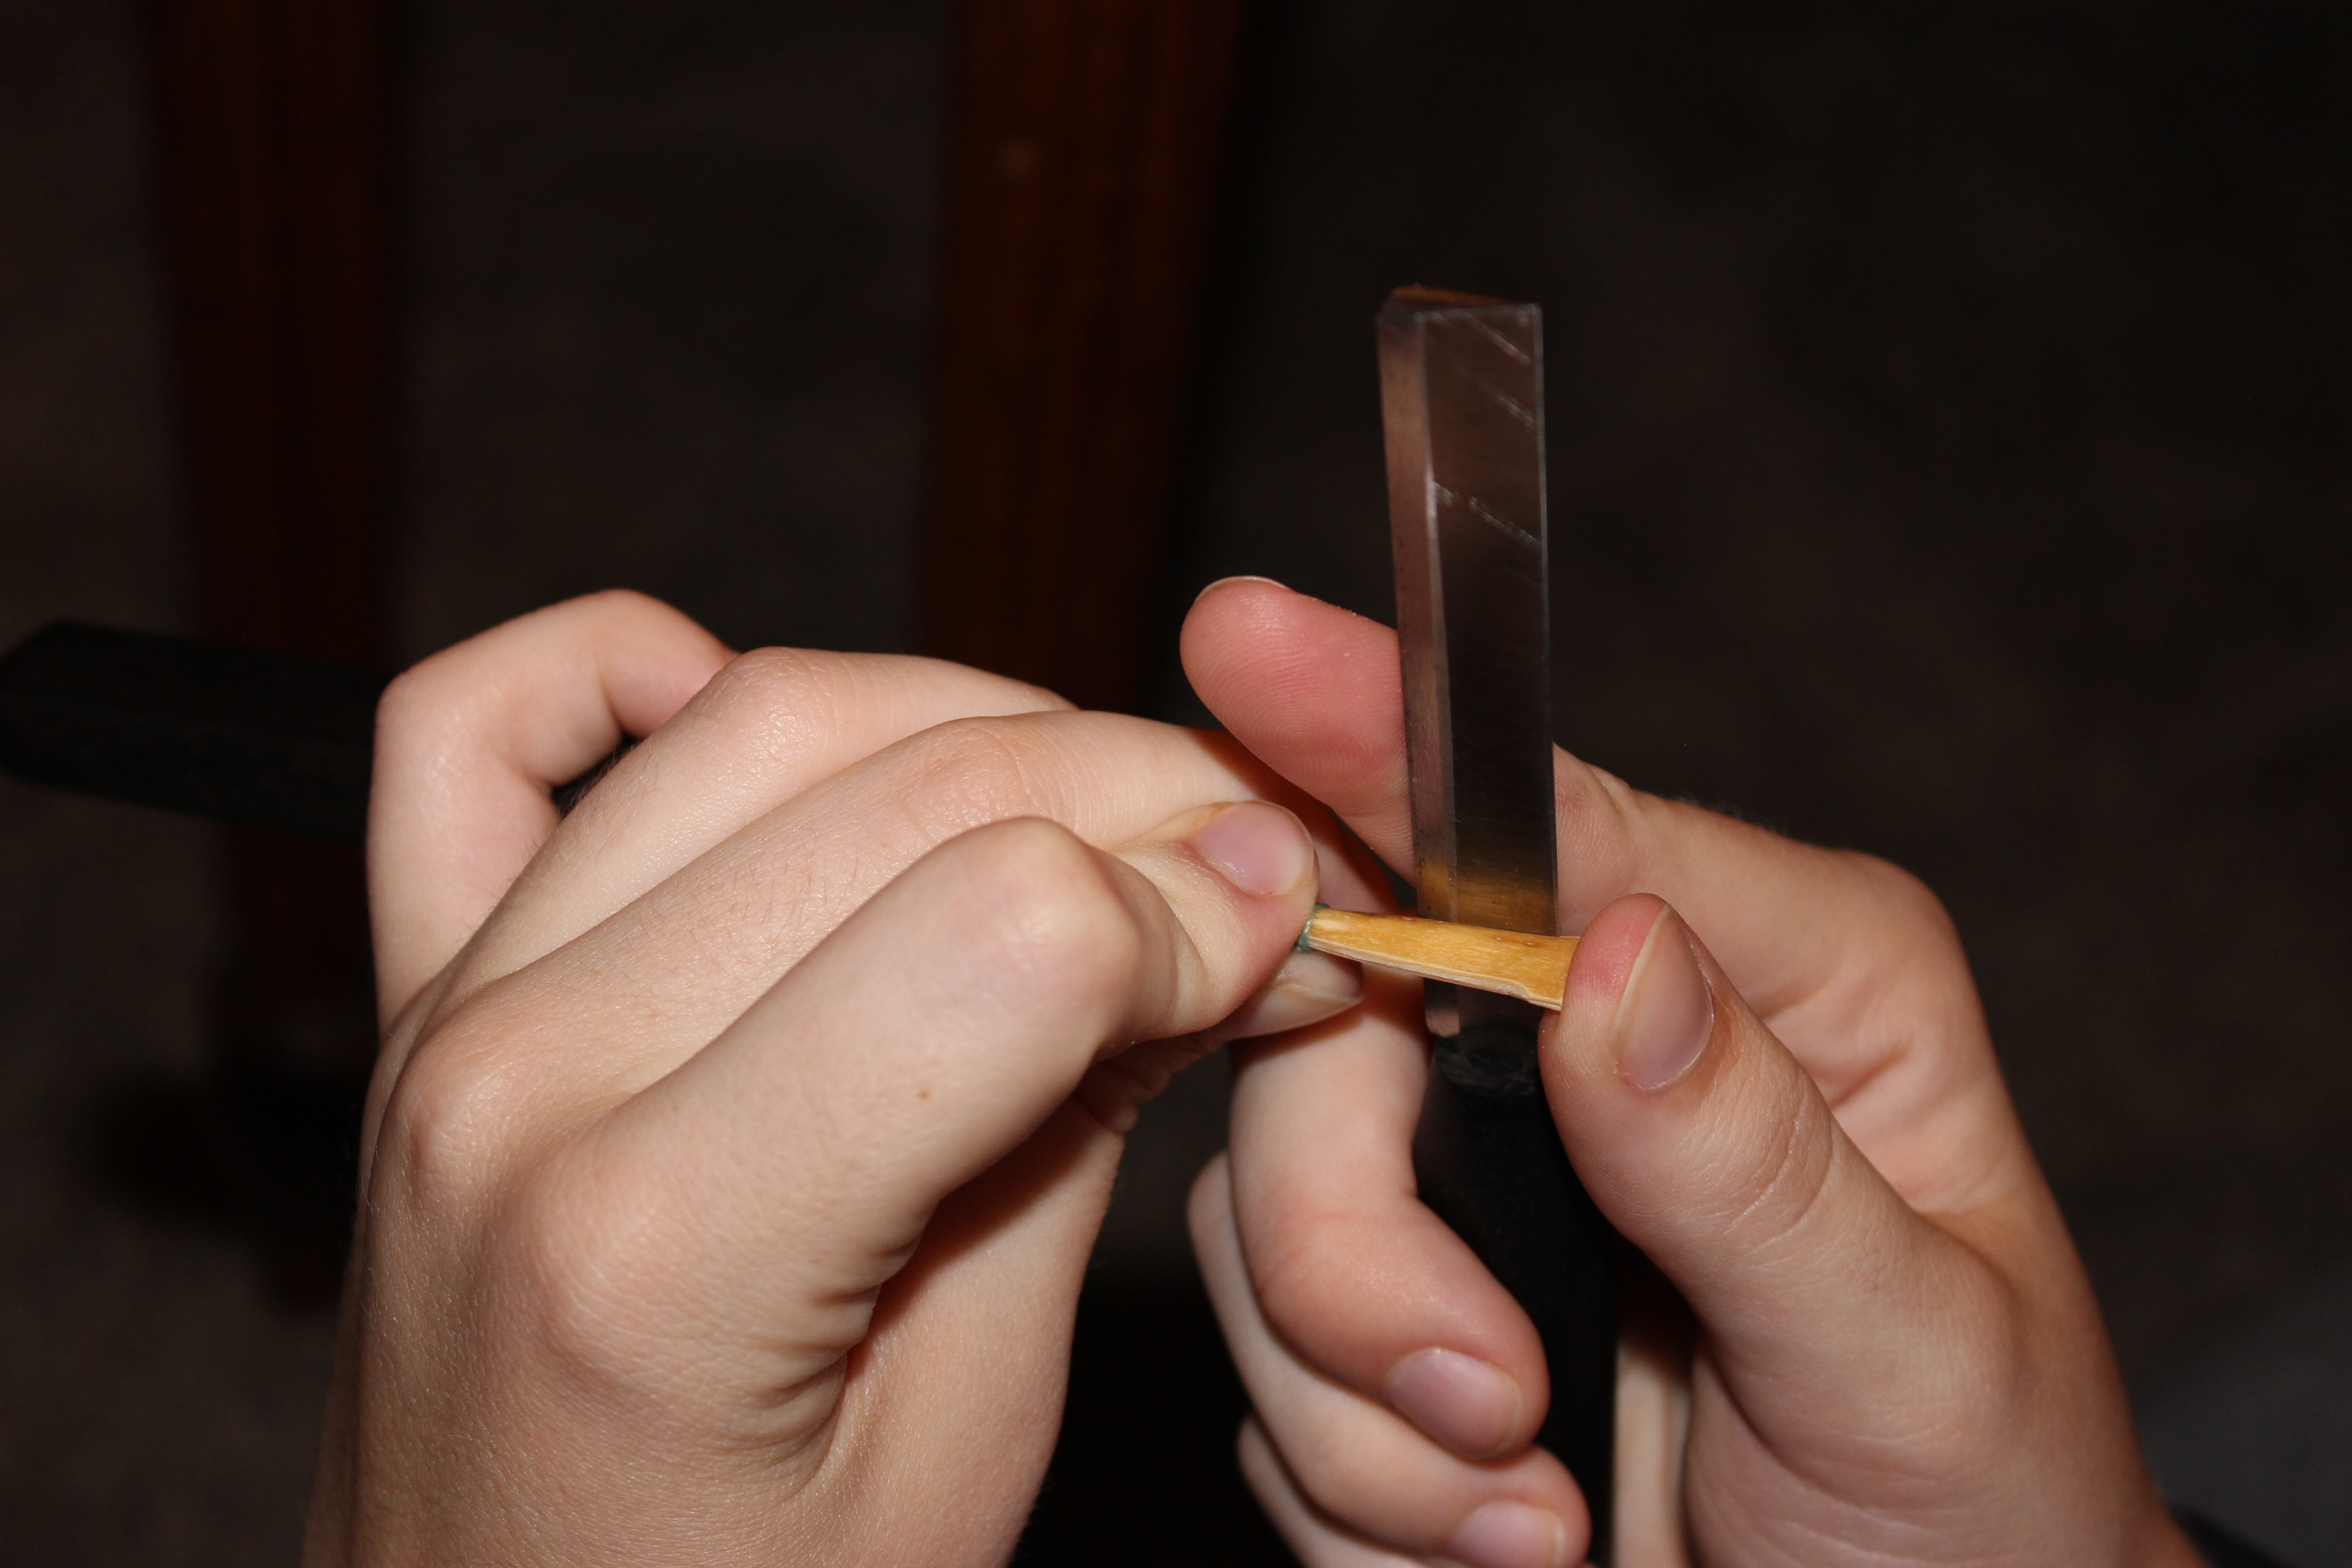
2. Remove bark
The next day brings the next stage of reed-making: taking off the bark. To start this process, soak the reed blank for 10 minutes in hot water. The reason it is called a reed blank is that there hasn’t been any scraping done on it yet.Here is an image of the “anatomy of a reed.” This will help you to understand what part of the reed I am talking about.When I remove the bark, I like to keep track of the number of strokes I make with the knife.For example, I first scrape on the upper left of the cane for six strokes, then the upper right for six, then I flip it over to repeat. By keeping the number of strokes uniform, the reed will stay close to symmetrical which is important for balancing the vibrations.After a few sets of that, I like to remove the bark of the back and some of the rails by using long strokes. This is different from the strokes you were using for the tip of the reed.Do no more than six strokes on either side. The cane that you are removing at this point in time should be focused on the tip. The other parts of the reed will be scraped more in the balancing process.It is even more important to keep the knife moving over the top layer of cane at this point in time. For now, it is really important to protect the spine of the reed.Try not to take too much cane out of the center of the reed. This is the part that keeps the opening of the reed open and provides structure.Here is another youtube video by Oboe Files that walks you through the first day of scraping.
3. Thin Tip
After the initial scraping of the reed above, go back to thinning the tip. When in doubt, thin the tip. Once you get to a point where you think the tip is thin enough, scrape some more.While working on the tip, you will probably run into a lot of problems. You will lose corners, scrape off too much, or make the tip ragged or frayed. As you develop your knife skills, you will start to do these things less and less. Don’t be too harsh on yourself though. After five years of reed-making experience, I still run into these problems.While working with the tip of the reed, you need to be very gentle. It is like you are brushing off atoms of cane. You are gradually making the reed weaker as you take cane off, which will make it possible for the reed to vibrate freely.Read more: how to repair a snow globeThe tip of a reed is thinner than a human hair, so it will get to a point where scraping on the tip is uncomfortable – you may feel nervous that you will ruin the tip. That’s how you know it is time to move onto the next phase of reed making.
4. Clip the reed open
You’ll notice that the tip of the reed blank is closed, and doesn’t have the two separate blades of cane like a normal reed. After this step is done, you will have the two separate blades of cane.Once the tip of the reed is thin like mentioned above, it’s now time to clip open the tip of the reed. You know that it’s time to clip the reed open when it is so weak that you want to put a plaque in it.Take your cutting block and a razor blade. Place the reed on the cutting block, and cut off the smallest amount of cane at the tip. You want to take just enough off to open up the tip of the reed.
5. Establish Heart
In this phase of reed-making, you are creating the base of your sound – the heart. The cane needs to be thick enough to support a rich sound, but thin enough to let vibrations flow through it.One of the most important parts of reed-making makes an appearance at this stage – the crow. Crowing the reed shows the bare bones of what a reed is without the impact of any embouchure.You place your mouth up to the thread of the reed and blow. This creates a sound that, much like it’s name suggests, sounds like a crow.You want to be able to hear a C (the pitch) when you blow lightly, and then as you increase the air speed a C an octave lower appears. The high C happens in the tip of the reed, whereas the lower C happens in the heart. The heart provides the support needed to allow for the lower C to appear in the crow.This phase of reed-making is the hardest to understand without seeing a teacher do it. Learning how to respond to the way an individual piece of cane is reacting takes lots of practice and messing up.Do your best to protect the spine throughout this process. The middle of the heart is the thickest part, with the reed sloping downwards as you move out towards the edges.Oboe Files has one more video focusing on the second day of scraping, which is helpful for both this phase and the next one.After this phase is done, I would set the reed aside to relax and take it’s new shape. When you return to the reed the next day, it will have settled which is prime time to finish the reed.
6. Balancing and Finishing
Now that you have a reed that vibrates, the task becomes making the reed both comfortable to play and one that sounds good. Priorities to keep in mind for the finishing/balancing process is as follows (in this order): response, pitch, and tone quality.Response means that the reed feels easy to play on – the vibrations should move freely. You shouldn’t feel like you are blowing too hard to make a sound. When you play the reed, it should be able to make sound without you even having to articulate.The pitch refers to both the crow and how it plays on your instrument without having to baby it or put extra effort into bringing it to pitch. The crow should sit at a solid ‘c.’The least important part of this process as a beginner is focusing on the tone quality of the reed. This is the part where you need to actually put the reed in your oboe and scrape in specific places to achieve your desired effect. Like all of reed making, this takes practice, time, and experience to be able to identify what a particular reed needs.An example of a specific place to scrape is for the darkness or warmth of a reed. These things often come from taking more cane out of the back.That is just one example, but there are many other very specific places that you can look at while finishing a reed. Here is a great video outlining some of the aspects of finishing a reed, presented by performer and educator Jennet Ingle.Here are some things to keep in mind while you are finishing the reed. Taking cane off of the tip lowers pitch, but allows the reed to vibrate more freely.The biggest aspect of this phase of reed making is thinning the tip and then clipping it. Thin and clip. Thin and clip.Clipping the tip brings the pitch up, but makes the reed less responsive. In other words, before you decide to clip the tip, make sure that the reed is overly responsive.In order to make the reed more responsive, thin the tip!Reeds can be really open when they are brand new. Don’t be afraid to pinch down a well soaked reed to make the tip opening more manageable. This will help to make the reed less wild and bring the pitch up.There are many more things that you will run into while reed-making, but those are some of the basic principles of finishing a reed.
Final Thoughts
In general, reed making involves a lot of trial and error. The goal is to gain experience. Go sleuthing on youtube for reed making tips, go to camps that involve reed making, try to get in contact with an experienced reed-maker, and/or find a friend to make reeds with. Reed-making can feel like a very isolated activity, but it involves a lot of conversations with other reed-makers.Reed-makers are like scientists. They try out a bunch of different methods to see what makes the best reed for them. This can change over time, if you move to a new place, when the season changes, etc.I would recommend keeping a reed journal for this very reason. Keep track of the different things you are doing. What type of materials did you use, like specific cane or staples? When did you make the reeds? What exact measurements did you use? Any specific observations to make note of? etc.It is easy to become emotionally attached to this glorified piece of dried grass that you have given so much time to. When a reed is not a success in terms of playability, reframe your mind to focus on what that particular reed taught you.You learn more about the process each time you make a reed, and you get additional practice on those incredibly fine motor skills involved with scraping cane.Eventually you will gain experience and pick up some stories along the way. Enjoy learning about this new side of the oboe, and have fun honing this craft.I learn something new every time I sit down to make a reed or talk about reeds with another oboist. Be patient, and remember – a reed is just an inanimate object.Read more: How to sharpen drill bits
Last, Wallx.net sent you details about the topic “How To Make An Oboe Reed❤️️”.Hope with useful information that the article “How To Make An Oboe Reed” It will help readers to be more interested in “How To Make An Oboe Reed [ ❤️️❤️️ ]”.
Posts “How To Make An Oboe Reed” posted by on 2021-11-01 01:01:24. Thank you for reading the article at wallx.net


