How To Make A Mini Smoke Machine
After creating my Orc Death Knight cosplay, I had an inbox that was pretty much flooded with requests for different tutorials. By far and away, the most requests were for a tutorial on how I made the little smoke machines inside my shoulders. The total materials cost for me was around $28 per machine, which is shockingly cheap given the effect they have, but that will vary depending on shipping and what batteries you choose to use.I would also recommend this tutorial for experienced cosplay electronics enthusiasts only. That said, it’s easier to make these than it is to solder EL wire, but the risk of burning yourself on this project is pretty great. Always practice safety in the workshop.Reading: how to make a mini smoke machineI got my basic information for making these primarily from this tutorial over on Instructables, but there was a lot left out of that tutorial, and a lot of modifications I had to make to make these suitable for wearable projects like my Orc armor. There are also a number of extreme limitations on using these, due to the fact that they use e-cigarettes as a base – you can’t just walk around a convention all day with smoke pouring out of your cosplay – so I’ll go through those in this tutorial.
Things You’ll Need
- A Kanger EVOD Bottom Coil Clearomizer. I got mine from Vapeking, here in Australia, and their shipping times were phenomenal. I’m pretty certain other e-cigarettes will work too, and experimenting with those is something I’d like to do later, but you need an e-cigarette that will screw into an eGo Battery Connector. Speaking of …
- An eGo Unsealed Battery Connector. I got mine from Stealthvape, who were amazing with their customer service responses, since I was working on a tight deadline. This absolutely must, must be an unsealed connector, since this is what you’ll be connecting the tubing from the air pump to. A note on these – you can get away without using a battery connector and just solder your power directly to the terminals on your clearomizer, it just becomes a huge pain afterwards to swap out clearomizers when they run out of fluid, which can be a problem when you’re out and about in cosplay for the day.
- A 3V mini aquarium air pump. I got mine on eBay from China – be warned, sometimes these can take a while to ship. Allow at least a month, although mine came in around two weeks.
- A 3.7V Power Source (and holder, if you opt for Li-ion batteries). The original tutorial I used said 5V, but that will burn out your e-cigarettes (I know from experience). I went with a 3.7V rechargable Li-po battery because I was pushed for time, but I would advise going for a different power source, like 18650 Li-ion batteries – you can get a holder here, and the batteries and charger here.
- Aquarium tubing. I used some old 6mm tubing I had lying around the house. It fit neatly over the center of the battery connector. You only need a tiny amount, less than 10cm per smoke machine.
- Hot glue
- Electrical tape
- Hookup wire – I like the 2mm stranded stuff in red and black, so I don’t get my polarities confused.
- Fog juice. I just used some from a party supplies store. It’s strawberry scented, because even Death Knights need a little pampering.
- Heat Shrink. I used 5mm heat shrink in black.
Optional things:
- Male and female AC/DC Jack plugs. I love these and use them constantly in my cosplay projects because they’re easy to repair (if wires come loose, just screw them back in) and solderless. I use them liberally in my projects almost every time I have electronics I want to be able to remove, or armor pieces that need to come apart for transportation.
- Switches. These aren’t necessary for wiring up the project and testing things, but I highly recommend installing a switch in an easy to reach part of your cosplay – for me I included two of these on my orc cosplay, hidden out of the way on the back of the horns of the skull on my belt. Left switch was lights, right switch was smoke. I like these little in-line switches (often used on lamps) because they’re incredibly easy to wire up, and they’re low profile without being fiddly to use while wearing cosplay gloves.
Tools you’ll need are:
- Soldering Iron (and stand, little sponge etc). You will not be able to make this project without one. Invest in a good soldering iron
- Helping Hands. I used to do electronics projects without a set of these, but they’re invaluable now. No, not the ones from Labyrinth. These ones.
- Hot glue gun
- Wire cutters
- Wire strippers
- Scissors
Making the Smoke Machines
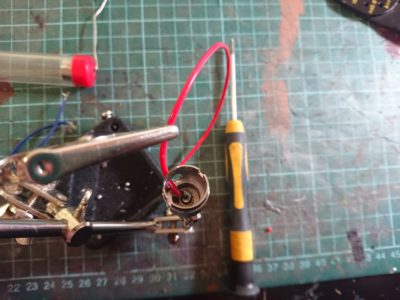
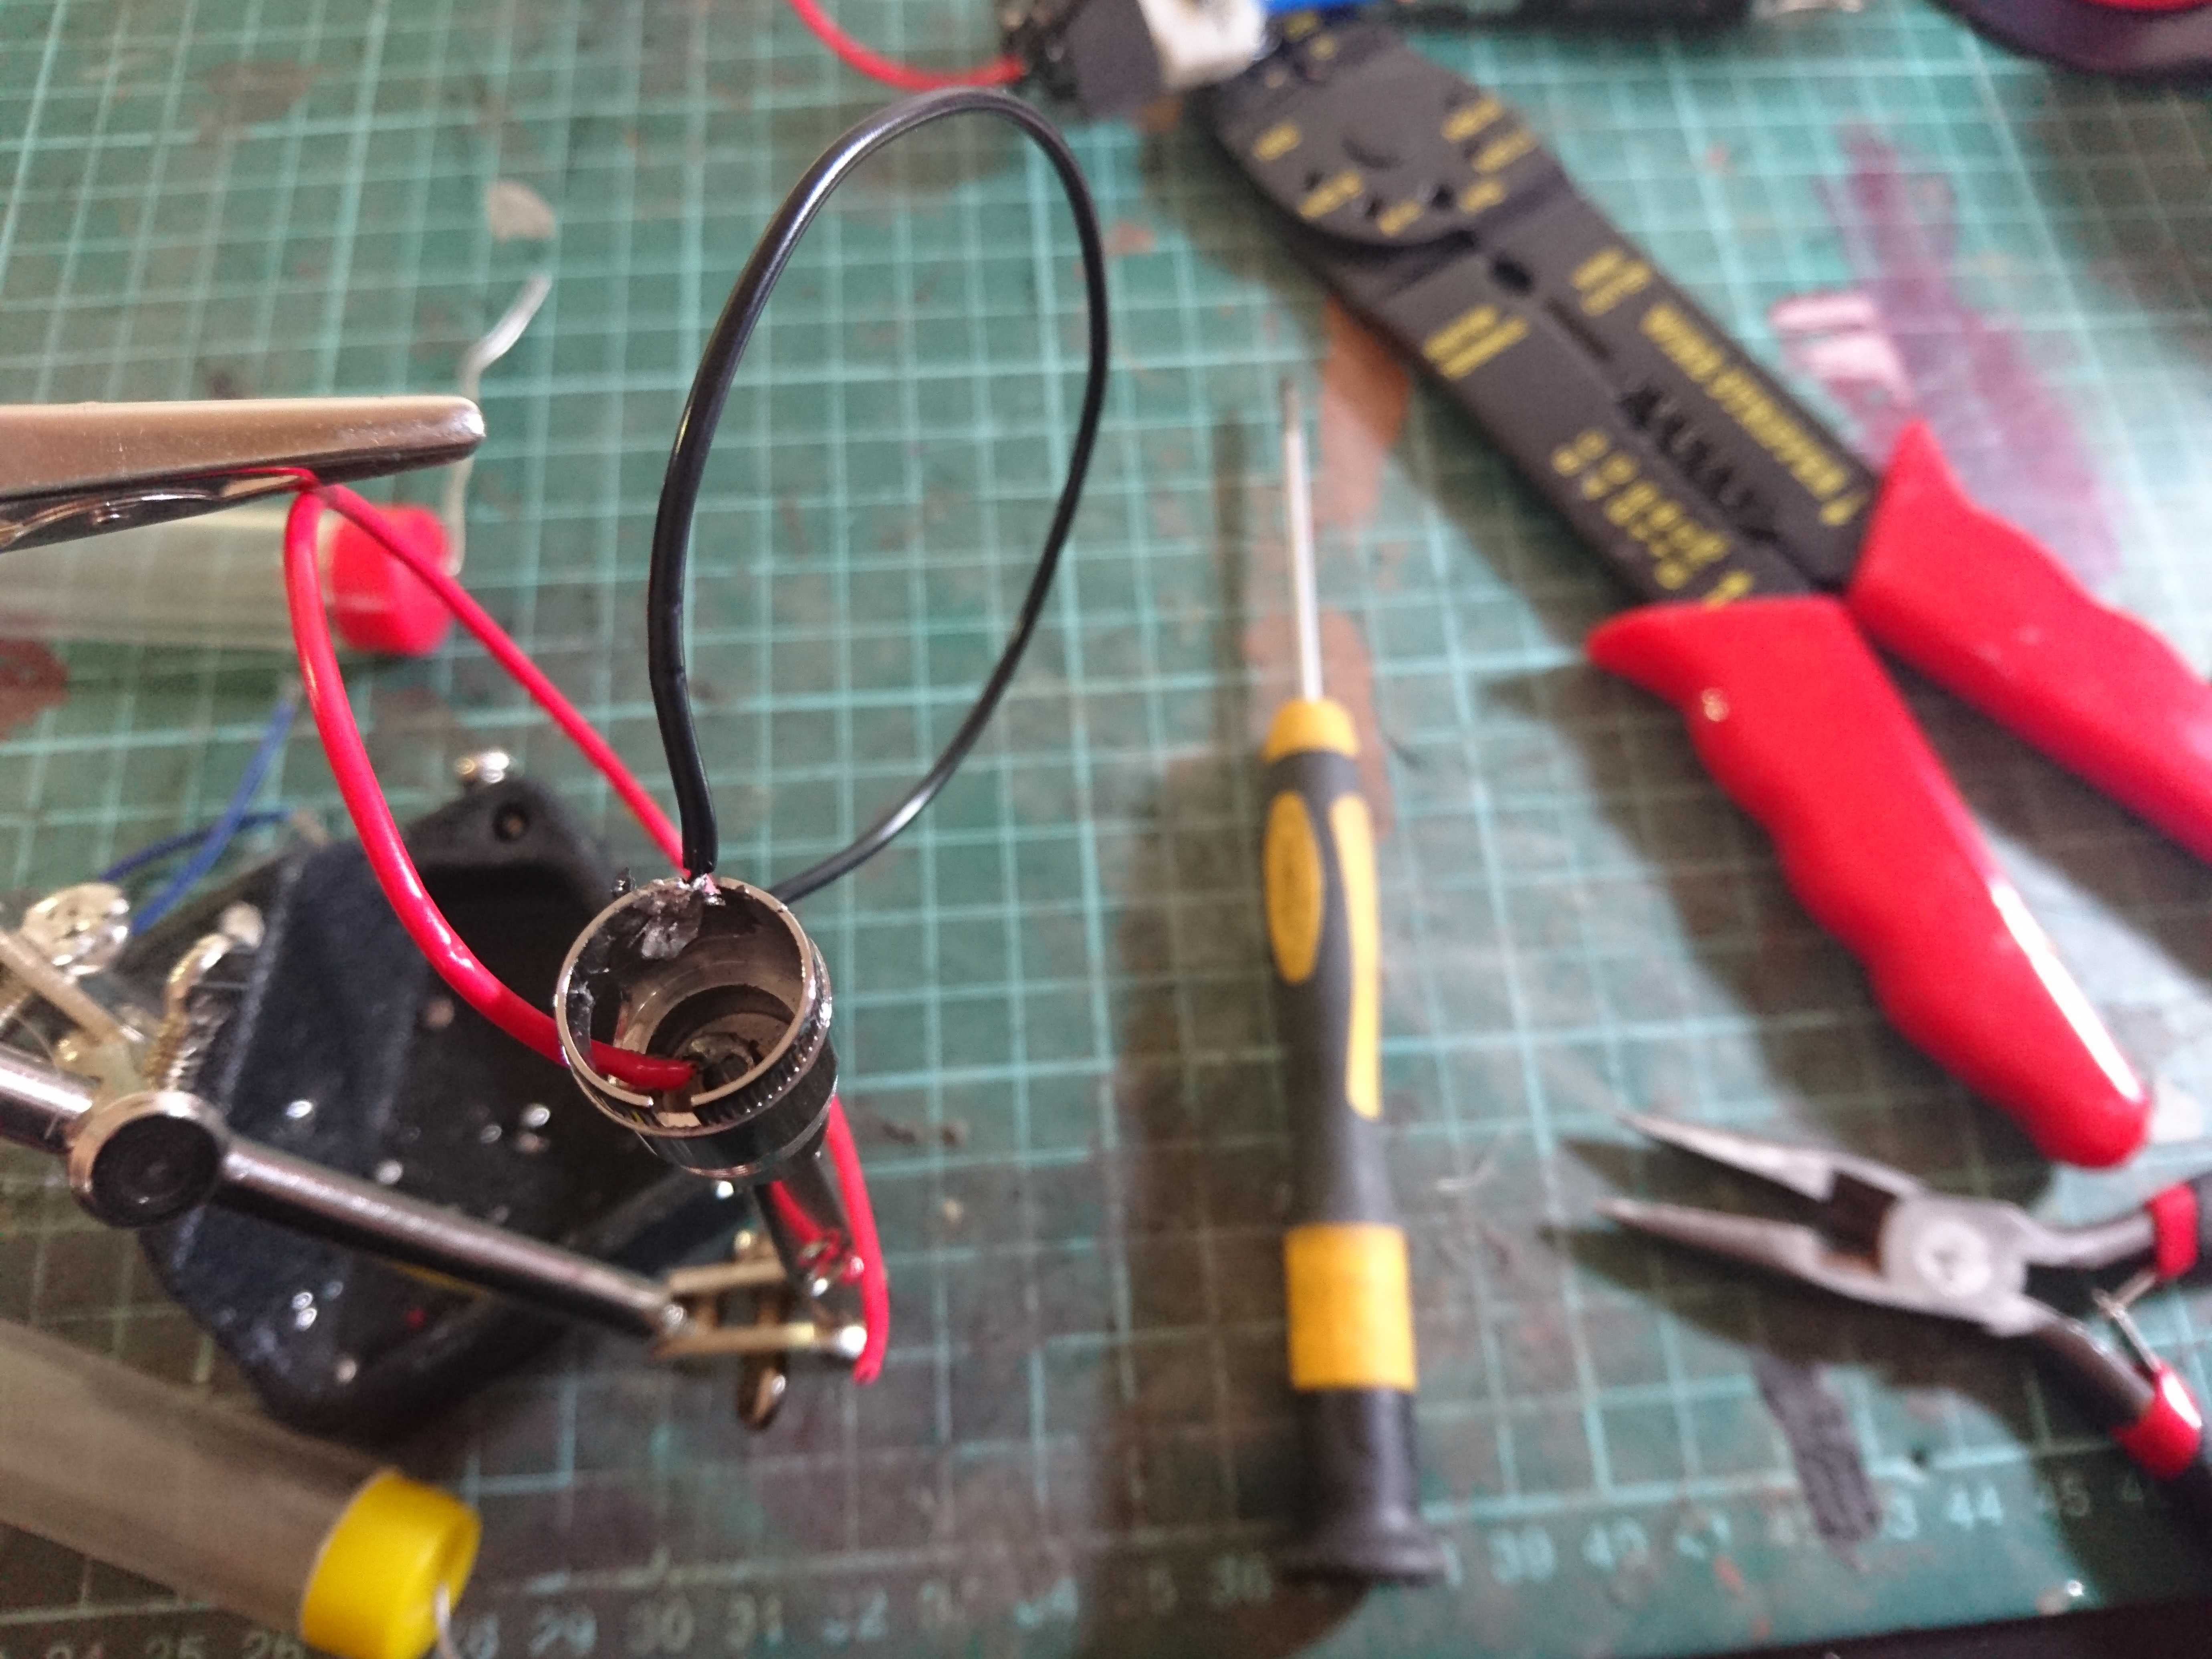
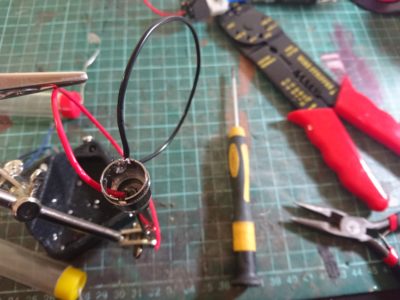
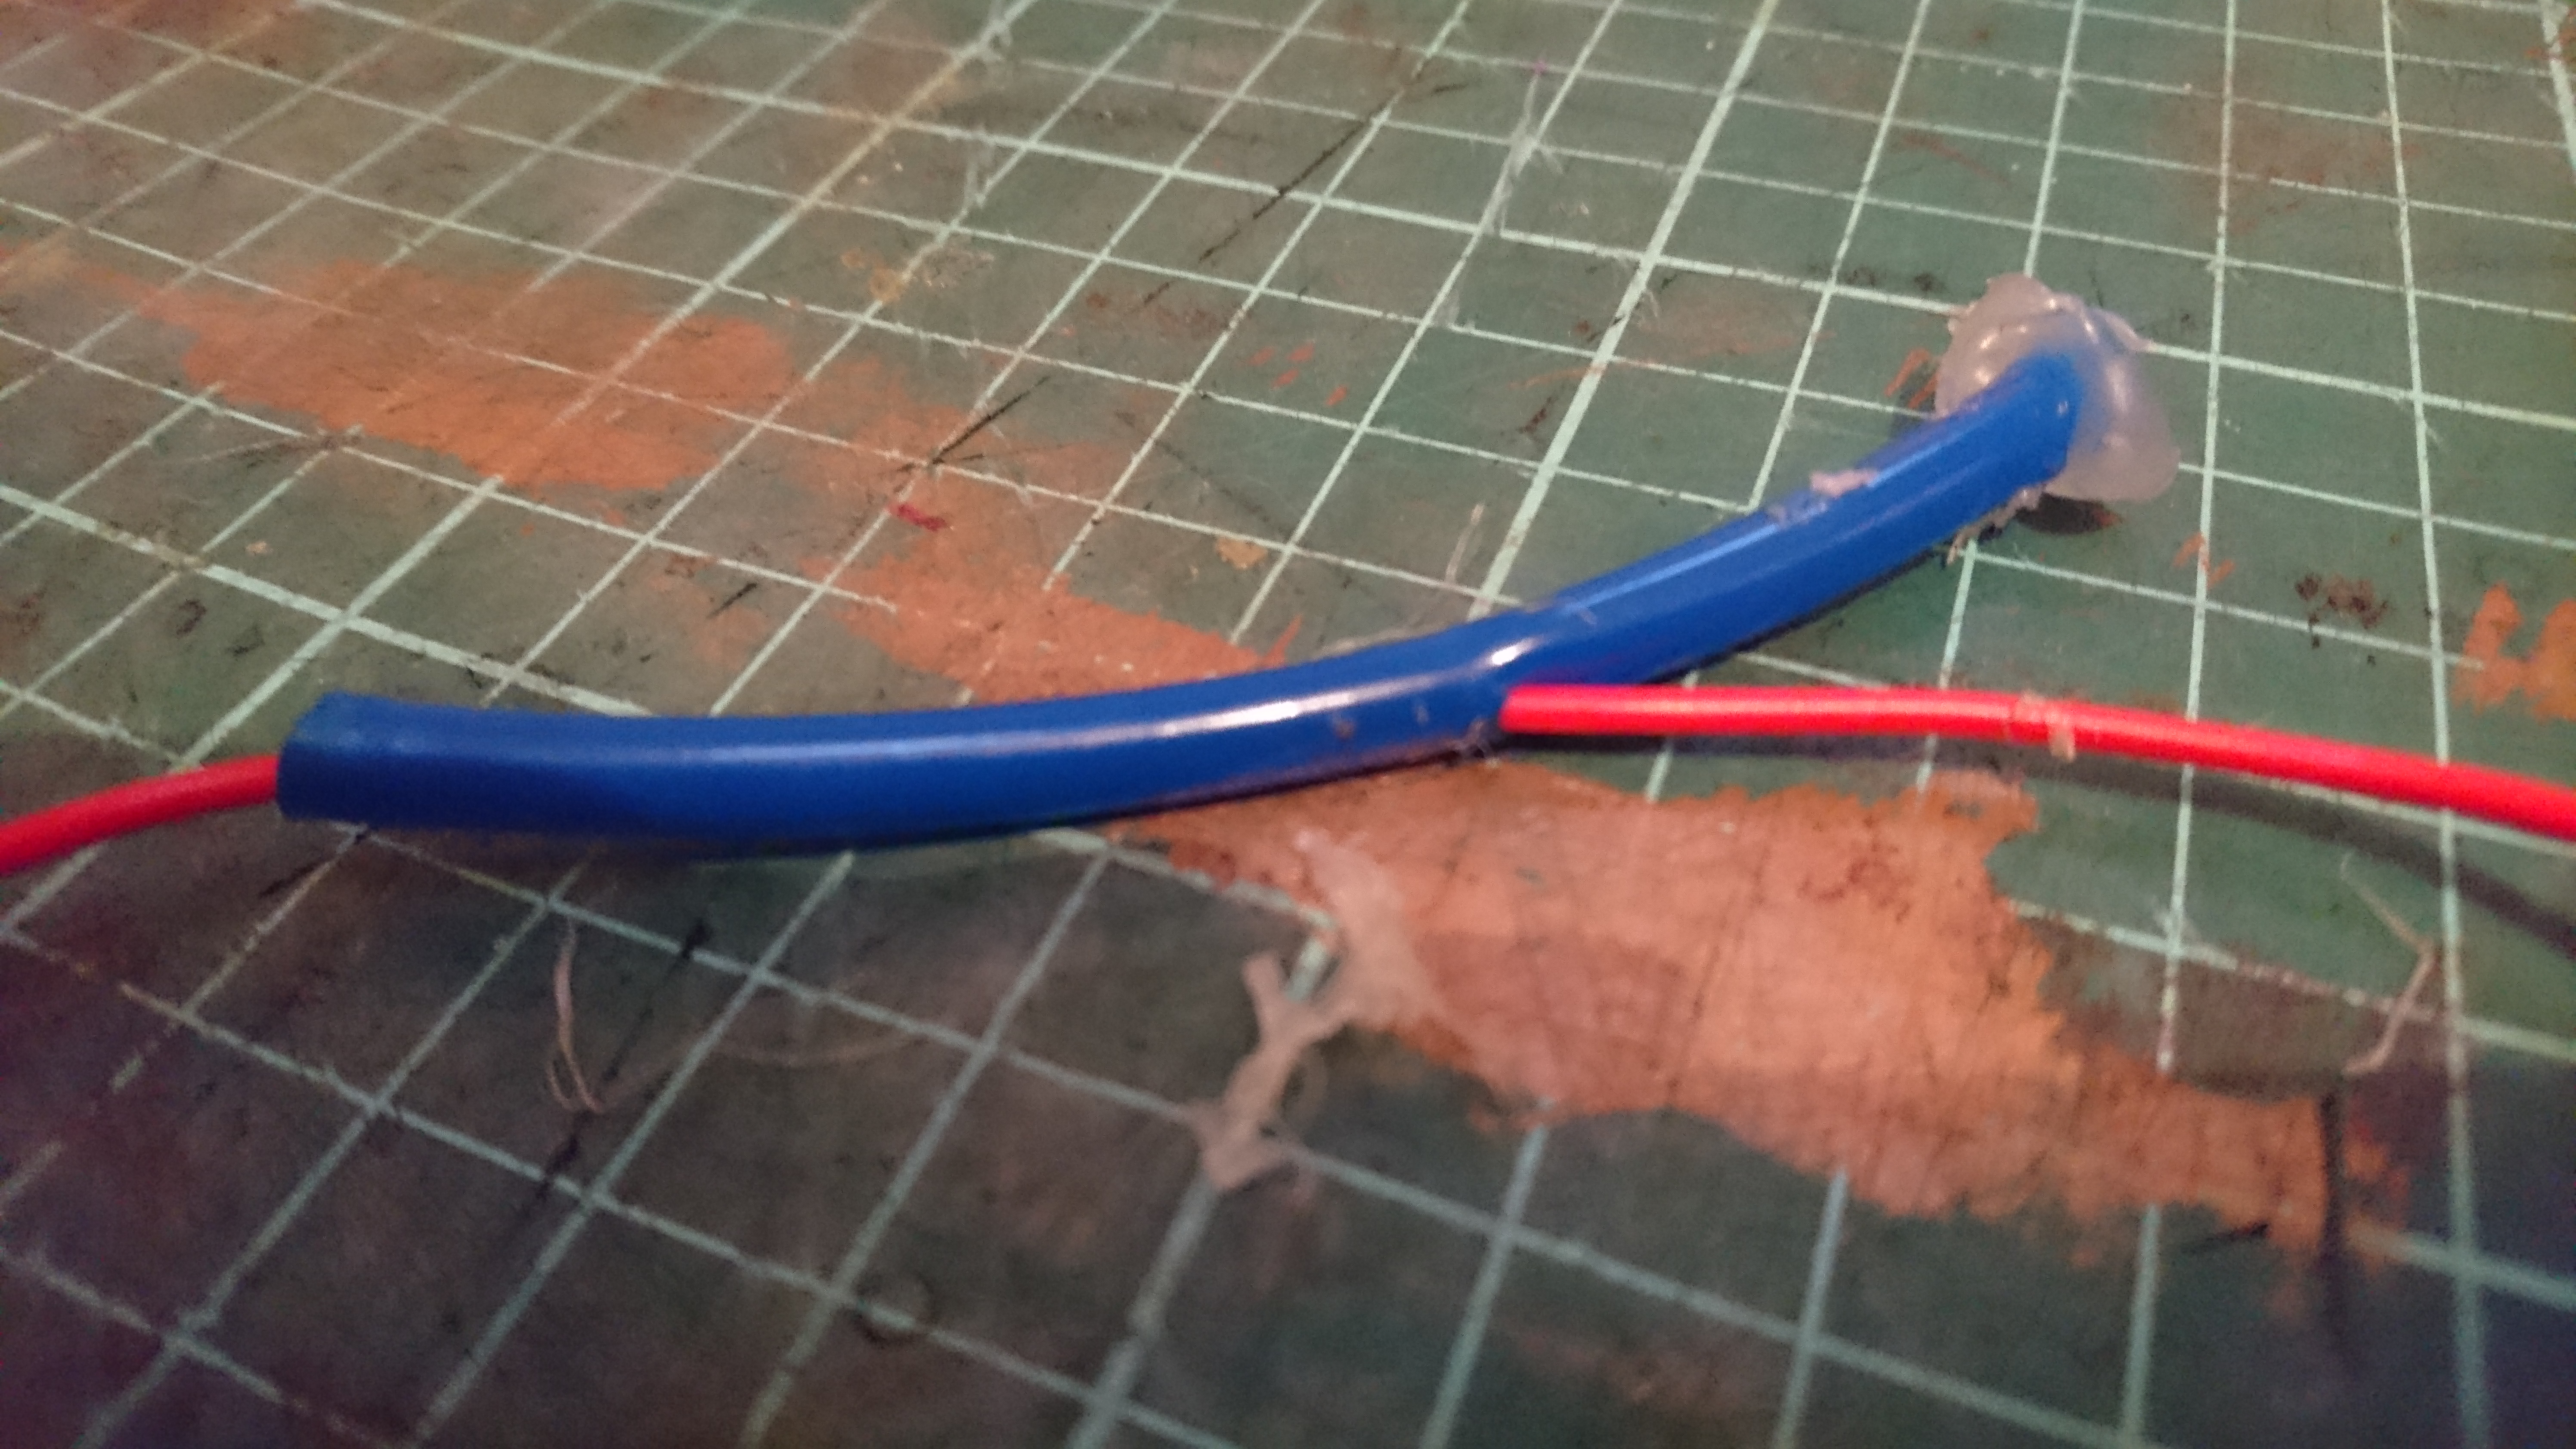
Assuming you have everything, the first step is to solder cables to your eGo Battery Connectors.Cut off two lengths of wire – black and red – around 20cm long. You’ll cut it to length later. Solder the positive (+, red) lead to the center of your connector, as per this photo. This is a fiddly job – I found that the best way to do this was to thread the lead through the hole in the side and solder from the top. It is absolutely critical that you don’t get any solder in the center of your battery connector, since this is where the air from your pump will flow through. If you’re messy at soldering like me, though, you’ll fill it with solder – if this happens, heat up the center part with your soldering iron and use a straw to blow through and clear out the molten solder. It’s a good idea to order more connectors than you need, though.Next, solder the negative (-, black) lead to your seal, like in this photo. This is a much easier job, and it doesn’t need to be in any specific spot, although I’d advise not putting it above the hole, since that’s a little more difficult (and who needs more work, right?).

Notes on using your smoke machines
First of all, some warnings:
- These get VERY warm. Hot, even. The longer you leave them on, the warmer they get, and it’s important to make sure you don’t use these for extended periods – a minute at a time, tops. They’re great for cosplay competitions and video/photo shoots, but don’t expect to be able to walk around all day at a convention pumping out smoke. They’re great to just quietly switch on while onlookers are taking photos of you, though, and as people notice the smoke they really go nuts. It’s a definite crowd-pleaser in terms of cosplay effects.
- Also, this means they are flammable. Be very, very careful where you mount these – don’t mount them where they’ll touch your flesh or your hair (that includes wigs). They WILL melt worbla, which is another reason I used EVA foam, as foam is a natural insulator.
- Likewise, the batteries can also get hot. That’s fairly typical for all NIMH batteries, so treat them the way you would camera batteries – charge them properly and don’t leave them in the charger once they’re fully charged.
- If the convention rules say no smoke machines allowed, DO NOT USE THEM. I haven’t tested this out, but it’s better to be safe than sorry. This meant that I couldn’t use these at PAX Australia, sadly.
These smoke machines are incredibly temperamental. But hey, you’re able to make smoke appear in your cosplay, and you’ve done it for under $30, so it’s absolutely worth it.The downside to these smoke machines is they have a tendency to become oversaturated, so don’t fill them up too far in advance – just before your shoot is fine. Don’t be like me and think you’re being smart by preparing them the previous night, only to find they’re soaked through and you need to quickly open up your cosplay and fix them ten minutes before you’re due for cosplay competition pre-judging.If they do get oversaturated, unscrew the e-cigarettes, open them up carefully while holding them upside down, and then (keeping them upside down) blow through the mouthpiece of the e-cig to clear it of fluid. Then screw it back in place, and they should work again.Likewise, these won’t work if you mount them upside down. The fog juice needs to saturate the wick at the bottom of the coil in order for these to work, so you need to mount them so the mouthpiece is facing upwards. I used velcro lined with EVA foam (for insulation and grip) to hold these in place inside my shoulder armor. I also found that you can add tubing to the end of the mouthpiece and run that to anywhere you like to direct the flow of the smoke, so I mounted the tubing inside the armor to direct the flow of the smoke downwards – it was a simple solution to not being able to mount the smoke machines upside down.Also note, these will stop working as the battery loses charge. Best practice is to keep some spare batteries with you and swap them out as they lose charge – if your smoke machines stop working, it’s almost guaranteed to be because the battery is drained.Finally, the reservoir only has a small space for fog juice, so if you use them frequently you’ll need to keep tabs on how much juice you’re using. I found I needed to refill the juice after every ten minutes of use (which is actually quite a lot of time if you only use it for a few seconds at a time). I needed one refill over the course of a day at Oz comic-con, so for ease of refilling I just carried spare pre-filled e-cigarettes and swapped them out as needed – they’re only $5 each.And that’s it! I’ve used these now at three conventions, and those are the only problems I’ve encountered. Keep all of this in mind while making these smoke machines – they’re definitely not plug and play tech, so a lot of testing is needed. Give everything a quick test before you put your cosplay on, as fixing problems is much easier before you get dressed.Hopefully this tutorial will help out my fellow cosplayers in taming the smoke monster and harnessing it to your mighty cosplays of doom. 4, 8, 15, 16, 23, 42!Read more: how to scroll through photos on windows 10
Last, Wallx.net sent you details about the topic “How To Make A Mini Smoke Machine❤️️”.Hope with useful information that the article “How To Make A Mini Smoke Machine” It will help readers to be more interested in “How To Make A Mini Smoke Machine [ ❤️️❤️️ ]”.
Posts “How To Make A Mini Smoke Machine” posted by on 2021-10-24 08:39:13. Thank you for reading the article at wallx.net


