How To Make A Bow And Arrow Part 3
Miss Part 1? What about Part 2?Things are getting interesting. Here’s an update of where we are in the process of how to make a bow and arrow.Reading: how to make a bowstringOur bow:
- is fully dried
- has an ultra-smooth back
- is starting to bend on the top and bottom limb
This is a good place to be. We’ve laid out our bow and are starting to learn how to remove wood from the belly evenly and efficiently.Our bow is starting to bend when we use the floor tillering method from Part 2. It is time to start bending our bow increasingly – but only in small increments. It’s time to put a string on our wood bow!
Making a Bow String
Contents
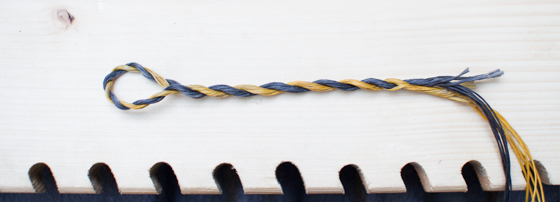
There are many ways to make a string for a traditional bow. You could simply get a piece of nylon string or 550 paracord that is a little longer than your bow, carve some grooves near the tips of your bow, and attach the string.What’s the problem with that?Well, think of the job of a bow string: to help cast an arrow as fast, accurate, and safe as possible.It might not seem like it, but a nylon string is relatively heavy. A heavy string means that our arrow is going to be cast much slower than if we were using a light string.Flight shooters (bowyers that shoot arrows in the range of 300-400 yards!), use ultralight – and therefore weaker – strings. We don’t need to go that far, as that can compromise the safety of our bow.Our goal is to create a string that is lightweight, but strong. The traditional bowstring was made from sinew (animal tendon) or animal intestines. Natural fibers were also used, but they are not as strong and can take many hours to make.The modern material of choice is a waxed polyester string: Dacron B-50. It comes in large spools and is about the diameter of thick dental floss. Depending on the strength of the bow, you will want to use 12-16 strands of Dacron B-50. For a bow that draws 50 pounds, I use 14 strands.Here’s how to make a bow string. Set up a “jig” for measuring how long to make your bowstring. Pound two nails into a board spread out the length of your bow PLUS 18 inches. Then with one spool of Dacron, wrap around the nails until you have 7 strands. Cut both ends.Repeat this with a different colored spool of Dacron.At this point, you have two different-colored bundles of 7 strands. If you have made cordage using the reverse-wrap method, you are in luck. If not, then you have some learnin’ to do.One end of our string will have a loop. This loop will be the side that we use to string and unstring our bow. This will live on the top of your bow. The other side will have a simple knot that is easy to tie and to untie. We will adjust this knot several times in the process of making our bow and arrow.Let’s create the loop that goes around one end of your bow. If you want to be fancy-like, call it by its proper name: the Flemish loop. It kind of gets caught in your throat, doesn’t it?Put your two bundles of 7 strands together. Starting 8 inches in from one end of your string, start making cordage TOWARD the short end of the string – in the opposite way that is intuitive.You only need 2-3 inches of cordage, but it needs to be in the middle of your string. You want to have 4-5 inches of “tail” that is unwrapped. You will see why in a moment.Make sure the loop is not too big or too small. Grab your bow and size the loop-to-be on one end of your bow. You only want to be able to slide it down about 6 inches. If the loop is too big, unwrap some cordage. If it doesn’t fit over the end, add a few more wraps of cordage.Now, join the unwrapped section on either side of the cordage. This is where having two different colored bundles comes in handy. Join the same colored strands together and continue wrapping down the string. If done correctly you will have a Flemish loop!
Making String Grooves

Tying a String to your Bow
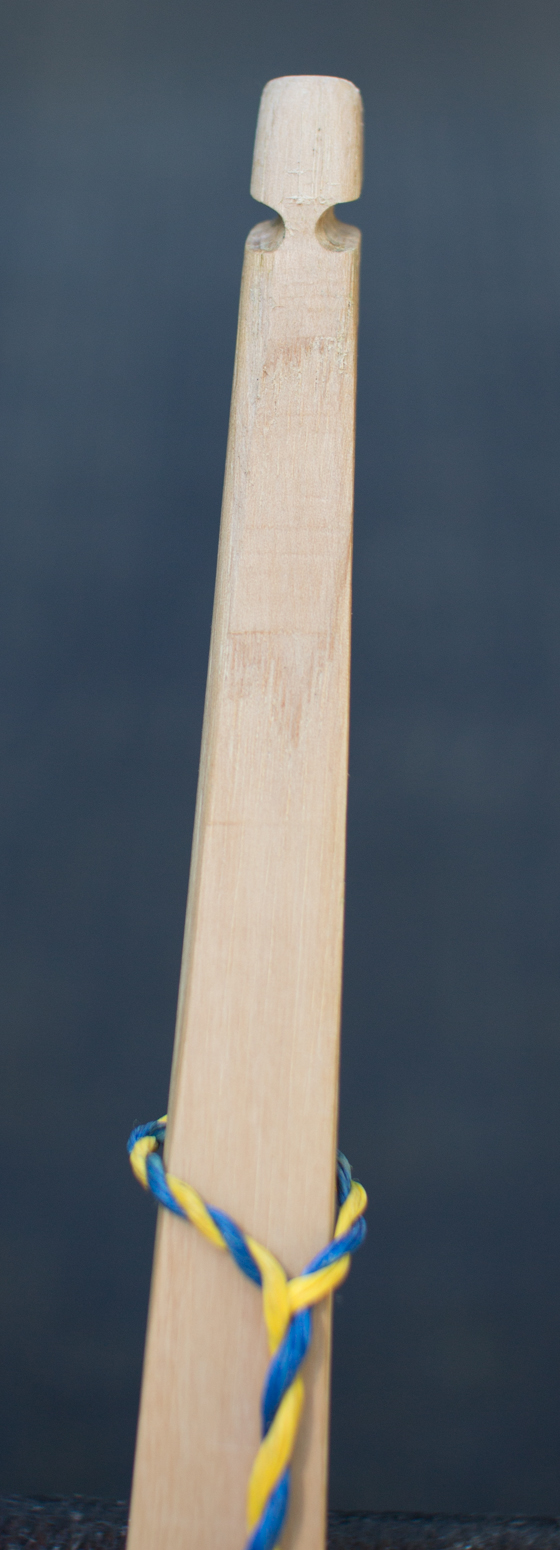
Last, we need to tie the string to your bow. One end is easy: simply place your Flemish loop into the groove. Nice!Use a timber hitch for the other end. The timber hitch is an awesome knot. If you use the bow drill fire starting technique, this is a good knot to use for your bow.Learn the timber hitch at my favorite knot website.
Loose-String Tillering
Whoa. There’s a string on your bow! This is an exciting time in the process of making a bow and arrow. You might even be tempted to pull your bow back just to see what happens. If you have this urge, I recommend you go inside and stick your head in the freezer for 7-10 minutes.You’ve made it this far. No need to get all crazy and ruin your bow.At this point, you only want to flex your bow as far as you were floor tillering – maybe 3-4 inches.As Yoda would say in a slightly creepy voice, “Patience.”In Part 2, we talked about the main goals of tillering:
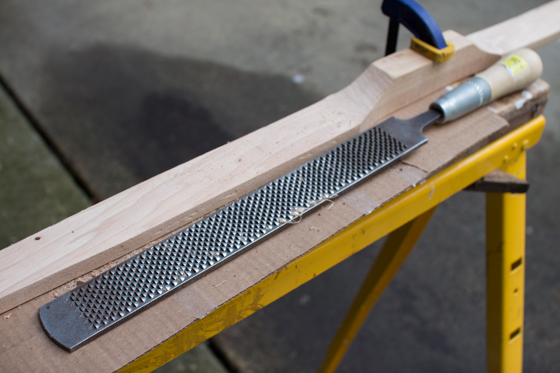
Another goal is to train our bow. That’s why this early stage is so critical. As we bend our bow further and further, we are compressing the fibers of the belly of our bow. If we bend our bow too far when it’s not ready, the bow will remember it. It can cause a permanent weak spot or, if it’s extreme, snap our bow.When the first two goals are met, our bow can be bent increasingly in 1-2 inch increments.But what if our bow limbs are not equal?Then do not bend your bow any further.With a loose string attached, place your bow on a tillering board. Make sure your bow is centered on the board – you can place a mark in the center of your bow and the center of the tillering board.Now flex your bow in a smooth motion so the tips bend 2-3 inches. Place the string in a notch or on a nail and stand back a few paces. How do the limbs look compared to one another?Is one side pulling down significantly farther? How does the top limb look?What about the bottom? Is there a smooth bend or are there “hinges”?This can be really challenging to see at first, but don’t despair. The details of your bow will get easier to see the further into tillering you get.The goal here is to get each limb taking an even amount of strain before pulling your bow any further. If you are a perfectionist, but save that for later. Go for close enough.If you haven’t already, it’s time to mark the top and bottom limbs. It doesn’t matter which is which at this point. You do want the Flemish loop on the top, though. I simply place a “T” and a “B” on each respective limb. This will help you remember which limb you are working on.While your bow is on the tillering board, get into the habit of marking areas where the bow is bending more or less. It’s totally worth it to liberally use a pencil. You might remember all the subtleties of your bow at first, but after repeating this process over and again you’ll be glad you made notes while your bow was on the tillering board.If the limbs are relatively close and there are no obvious hinges or weak spots, then it’s time to take the bow off the tillering board and make some wood shavings.Read more: how to make a table of contents in latexSafety Note: It is tempting to leave your string tied to your bow. It saves time, right? I recommend removing the string each time you are removing wood. I have cut strings with my tools and it is a real bummer. Also, your string is waxed. It has a tendency to pick up dust and shavings. This will weaken your string, so keep it off of the ground.
Stringing your bow
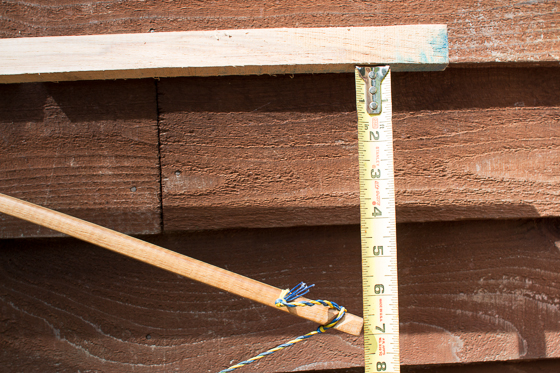
When your bow is bending consistently (aka without any hinges) at a full six inches on both sides, it’s time to string your bow. This can be very exciting and it can be a little nerve-wracking.

Last, Wallx.net sent you details about the topic “How To Make A Bow And Arrow Part 3❤️️”.Hope with useful information that the article “How To Make A Bow And Arrow Part 3” It will help readers to be more interested in “How To Make A Bow And Arrow Part 3 [ ❤️️❤️️ ]”.
Posts “How To Make A Bow And Arrow Part 3” posted by on 2021-11-01 23:49:38. Thank you for reading the article at wallx.net


