How To Install Minecraft On Linux Mint
Minecraft is one of the classic games loved by everyone. It’s a sandbox game where you can place boxes containing different elements and interact with the environment in a unique way. There are no specific rules on how to play this game; people are free to enjoy it in any way they like. There are some official modes like “Creative” or “Survival” but the real fun lies in the freedom. In this tutorial, let’s see how to play Minecraft on Linux Mint.
Minecraft on Linux Mint
Contents
If you don’t already know, Minecraft offers a Java version of the game. This allows to enjoy the game in any system that can run the JVM (Java Virtual Machine). This is a quick refresher on how Java programs work. Java codes, when compiled, turn into universal bitcodes. Those common bitcodes can be executed on a JVM running on any platform.
So let’s get started!
Step 1. Buy Minecraft
Developed by Mojang, they released Minecraft back in 2009. It’s 2019 and Minecraft is still one of the most popular games of all time. I bet many of you still enjoy playing it. However, it is not any free game. It costs about 30 USD. Download Minecraft.If you already bought Minecraft, you don’t need to buy it again. However, if you are planning to start a new account, make sure you are really interested in the game. Do not worry; it’s a one-time purchase; everything else is free!
Step 2. Install the appropriate driver
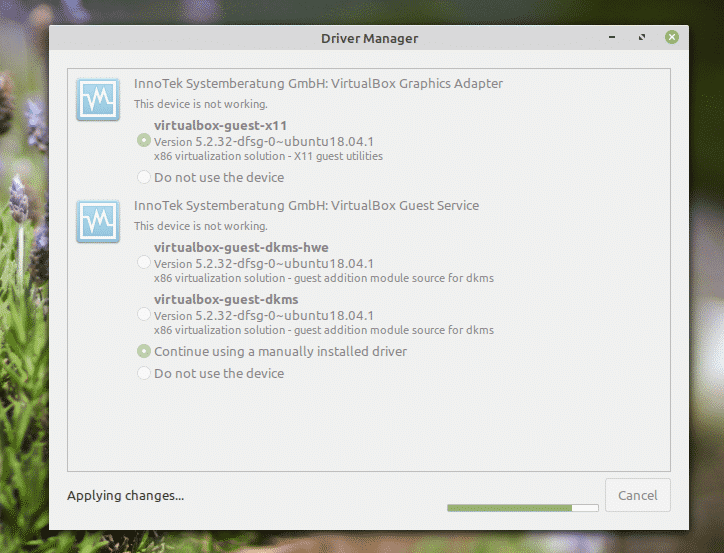
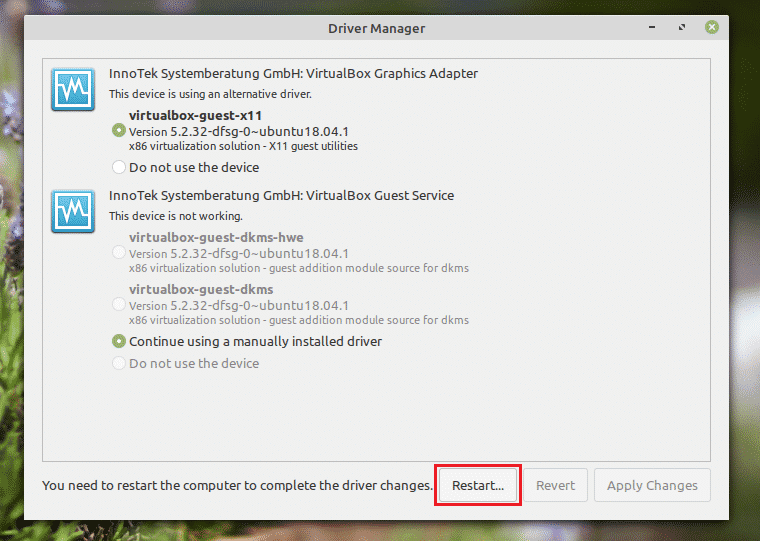
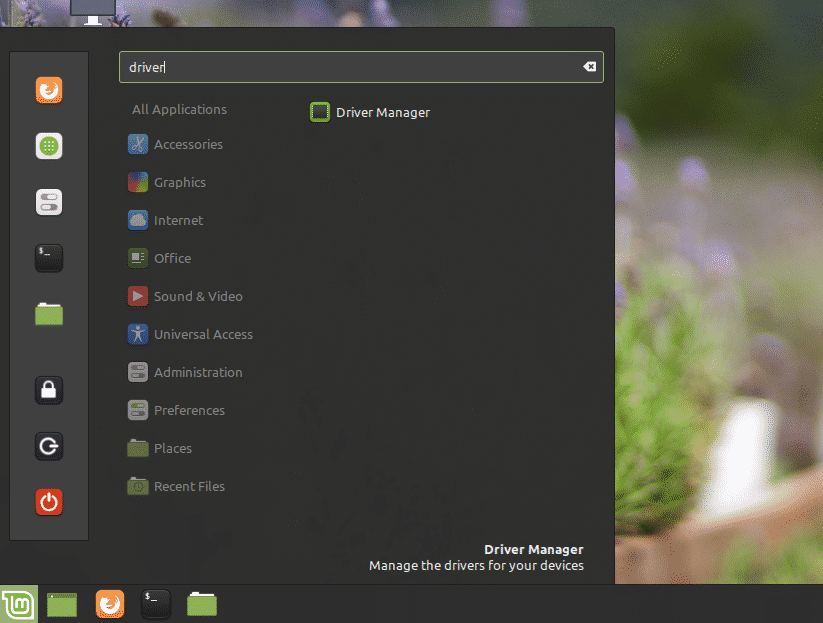
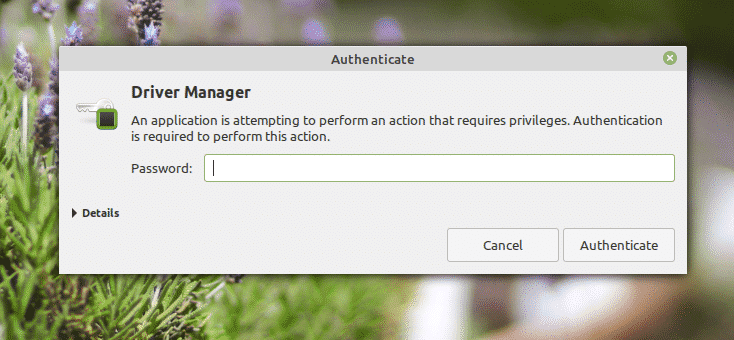
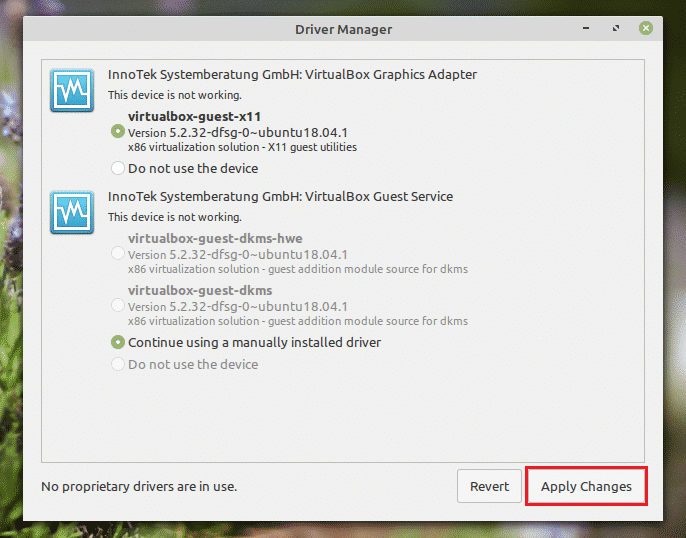
Minecraft was never a graphically intensive game. Even the most “potato” system can run Minecraft, no problem. It’s a 3D game, though, and it could greatly benefit from dedicated hardware for 3D processing, right? There are currently 3 main GPU vendors in the market: Intel (integrated GPU), NVIDIA and AMD. Graphics driver is proprietary. However, AMD has open source driver support. Regardless of which GPU you have, to get the right set of drivers, follow these steps From “Menu”, search for “drivers”.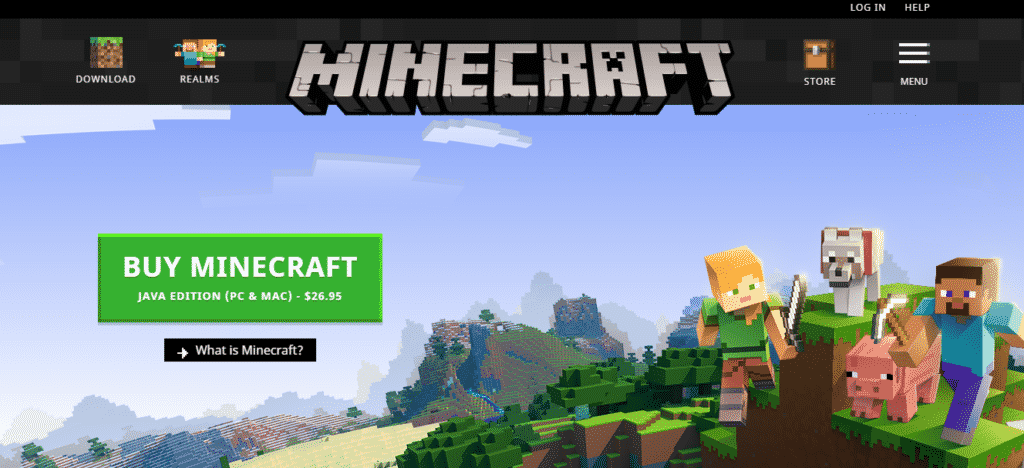
Step 3. Install the right JRE
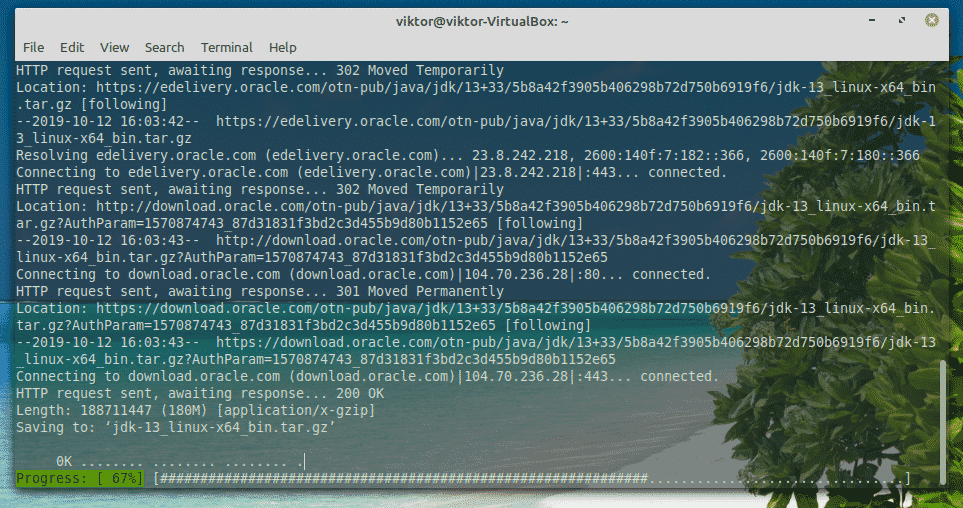
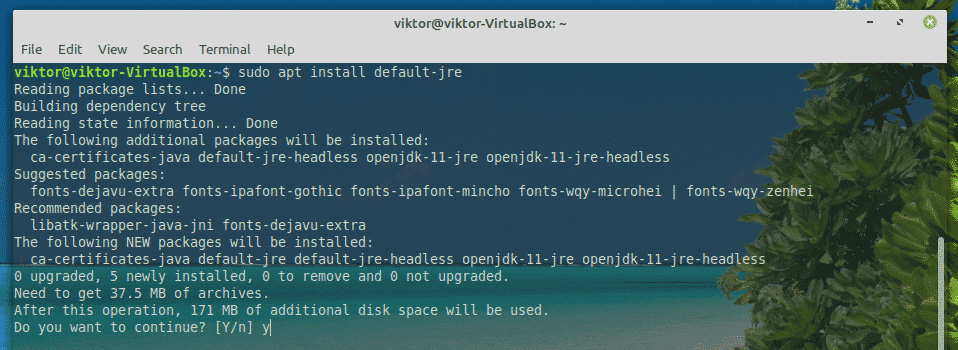
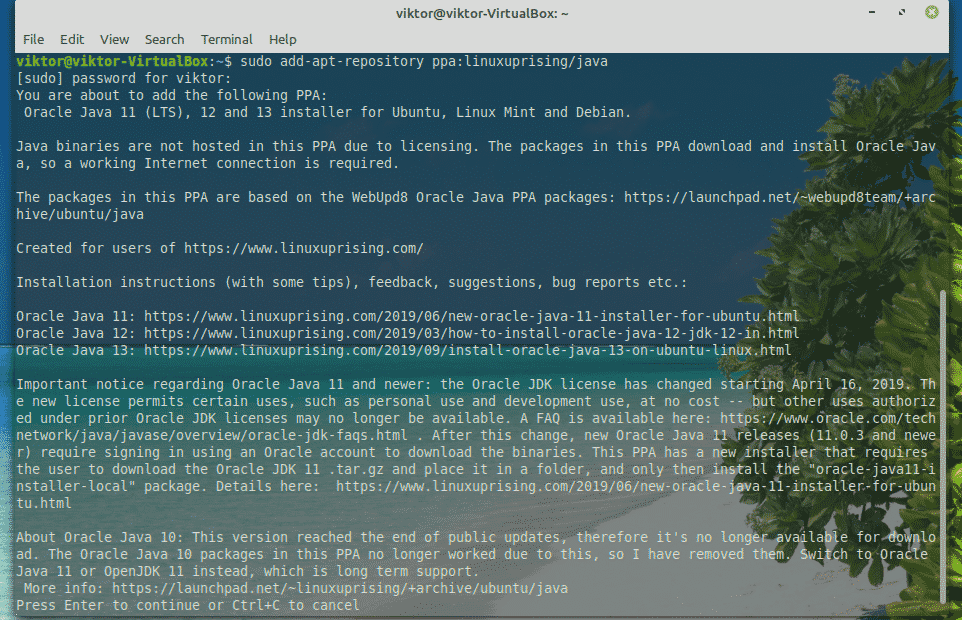
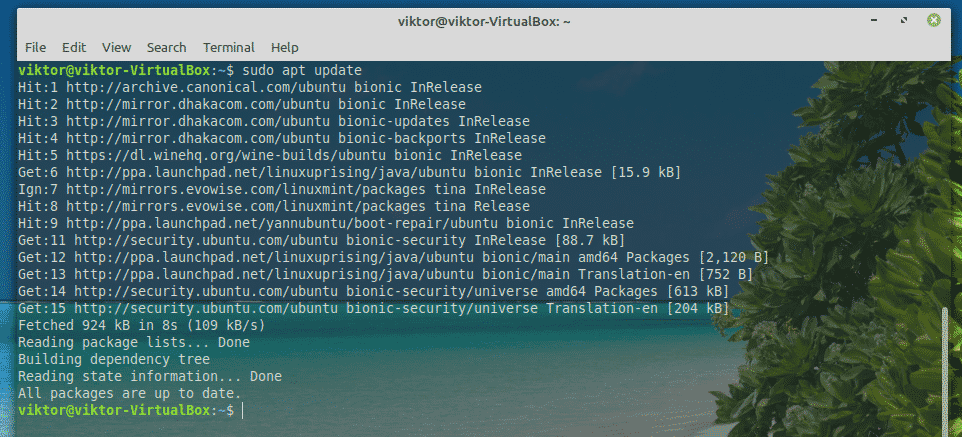
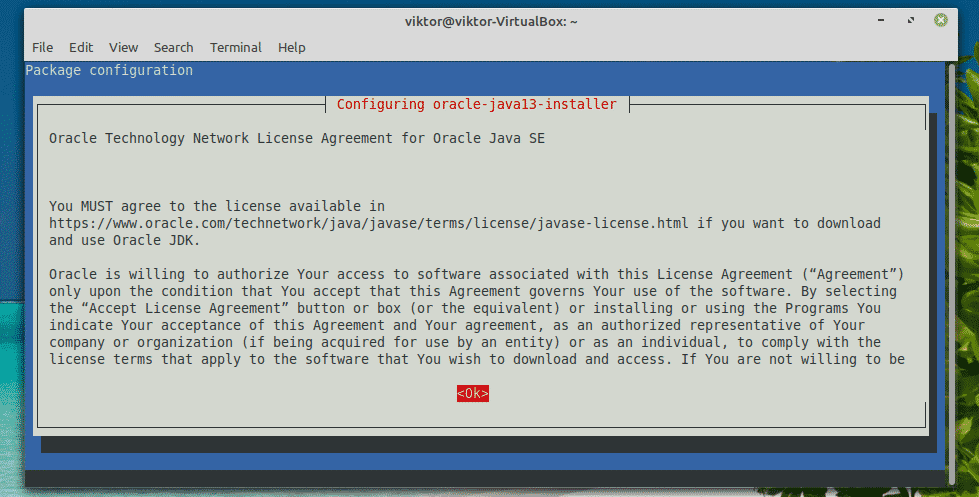
Here comes the somewhat complicated part. There are many JREs (Java Runtime Environment) available in the market. While OpenJDK works fine, the official recommendation for Minecraft is to use Oracle because that’s what the developers used to make the game. In the following, I will introduce how to install both OpenJDK JRE and Oracle JRE. If you have any problem with OpenJDK you must switch to Oracle.Install OpenJDK JREFire up a terminal and run the following command.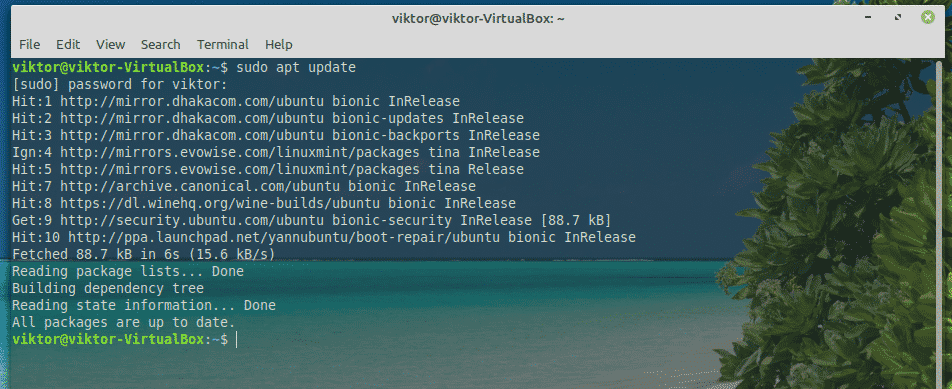
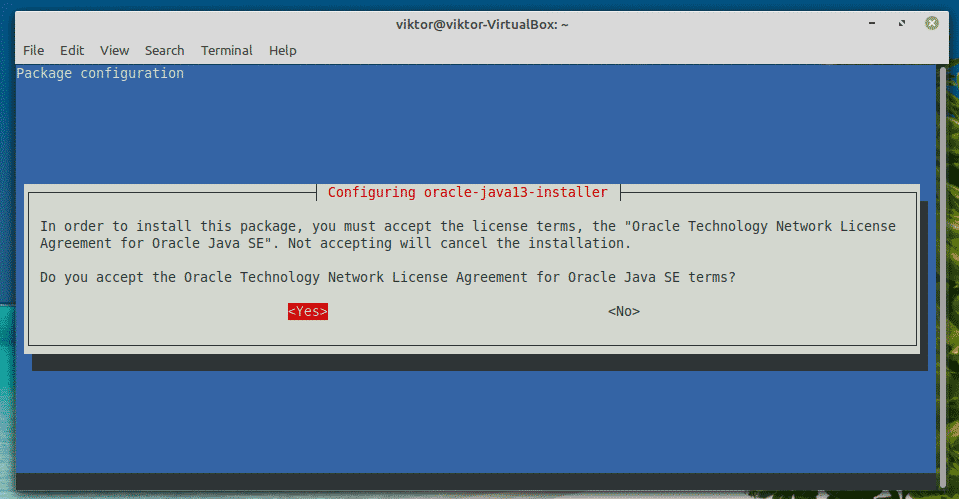
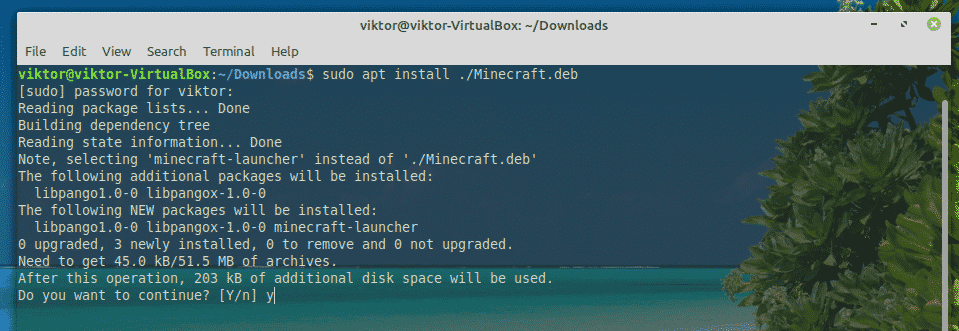
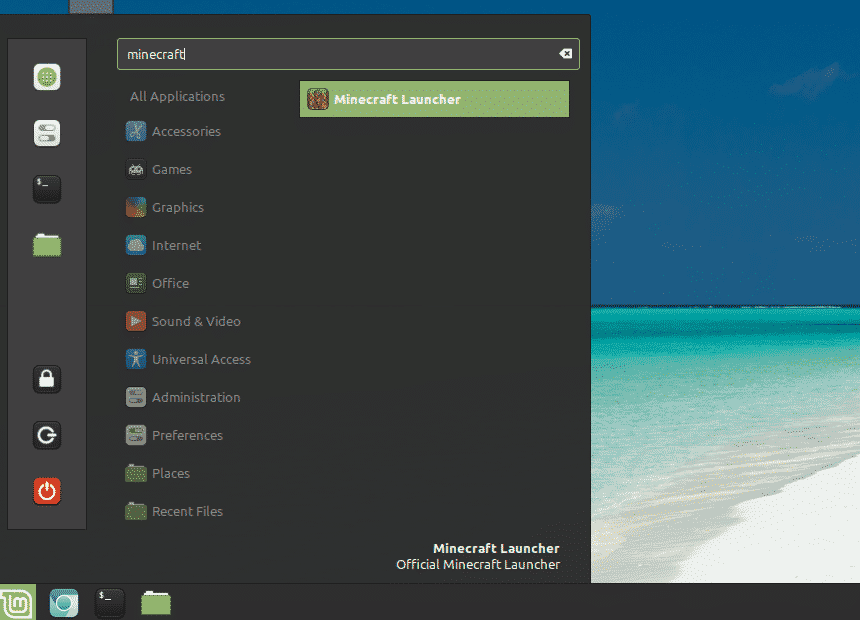
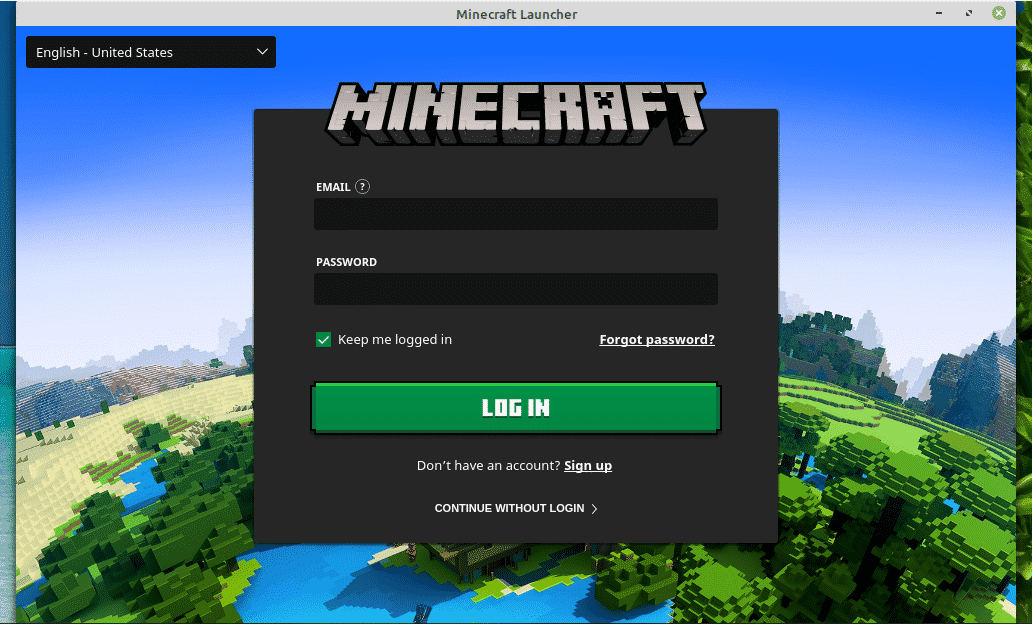
Step 4. Install and Play Minecraft
At first, make sure that the JRE is properly installed on the system. Fire up a terminal and run the following command.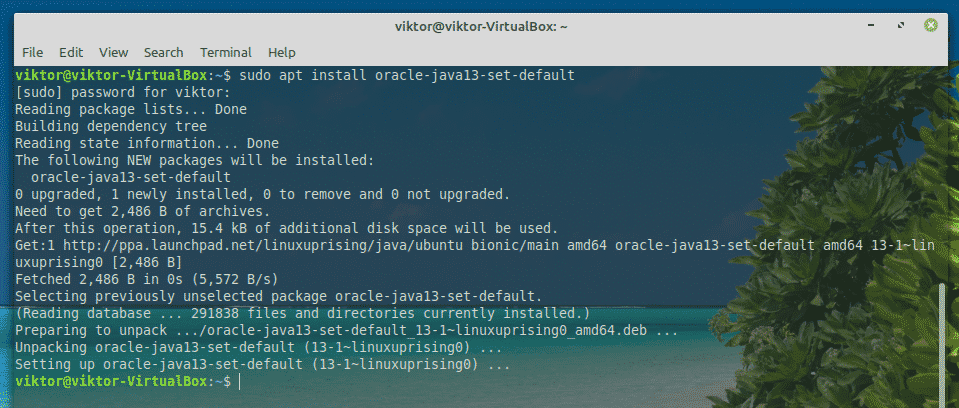

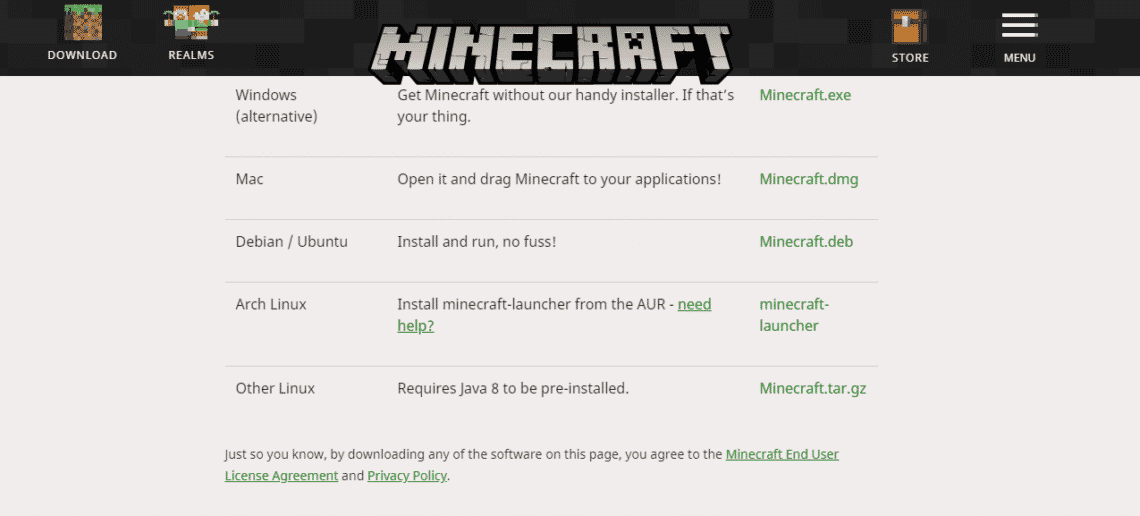
 Final thoughtsMinecraft is one of the simplest games to run for almost any computer. However, if you are interested in some advanced graphics features like ray tracing (exclusive to NVIDIA GPUs), you need some powerful hardware resources to handle that amount of stress. Enjoy Minecraft! Read more: how to make a better jump in basketball
Last, Wallx.net sent you details about the topic “How To Install Minecraft On Linux Mint❤️️”.Hope with useful information that the article “How To Install Minecraft On Linux Mint” It will help readers to be more interested in “How To Install Minecraft On Linux Mint [ ❤️️❤️️ ]”.
Posts “How To Install Minecraft On Linux Mint” posted by on 2021-10-24 12:33:12. Thank you for reading the article at wallx.net
