where is the blur tool in photoshop
Have you been on the lookout for a guide to the Blur Tool in Photoshop? If so, you’ve come to the right place.Photoshop’s Blur Tool can be useful in a number of scenarios. Maybe you want to blur someone’s face in an image. Or, maybe you want to prevent people from seeing some kind of identifying information about you or other people.Reading: where is the blur tool in photoshopBlurring is also a great way to make images appear a little softer and make your subject stand out from the rest of the image. In other words, you might want to create some depth of field in the image.Luckily for you, this guide will show you how easy it is to use the Blur Tool, one of Photoshop’s most utilized and useful tools.This article will:
- Describe what is the Photoshop Blur Tool
- Outline you how to use the Photoshop Blur Tool
- Describe other techniques and tools to blur images
As you follow along with this guide, we recommend that you have Photoshop open next to you. This will give you the chance to more easily see and practice each step. You might have a hard time remembering what to do if you just simply read this tutorial all the way through, and then start using the Blur Tool without a reference.We also recommend that you have the latest version of Photoshop CC installed, as Adobe updates it regularly. If you have an older version, your Photoshop window might look a little different. Some features may not exist or be in the same place.Fortunately, you can download Photoshop through Adobe’s Creative Cloud Plan for only $9.99/month.The Blur Tool lives in the toolbar on the left side of the Photoshop workspace window. To access it, located the teardrop icon, which you’ll find grouped with the Sharpen Tool and Smudge Tool. Photoshop groups these tools together because they are all designed to either focus or defocus images.To select any one of them, click and hold the tool icon that already appears in the toolbar. A small drop-down menu will appear, where you’ll find the rest of the tool options. The tool you select remains visible in the toolbar. Unlike most of the other tools, you cannot press a letter on the keyboard to select one of these three; you have to use the mouse.As described above, the Blur Tool makes parts of an image look fuzzy, or out of focus. The cursor itself is a circle and you can make it smaller or bigger by pressing the left or right bracket keys (pressing these also adjusts the sizes of other tools). The longer you click and hold the mouse, or stylus pen if you have one, the more you increase the amount of blur with the Blur Tool.The Blur Tool can make your images really pop. Let’s look at how you can achieve the results you want.First, open a picture you want to edit in Photoshop.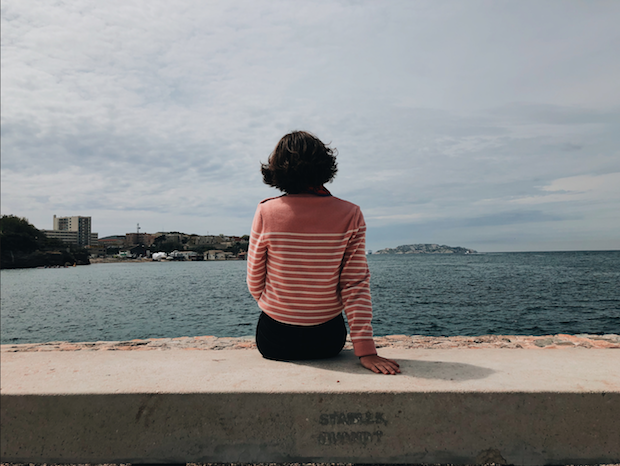
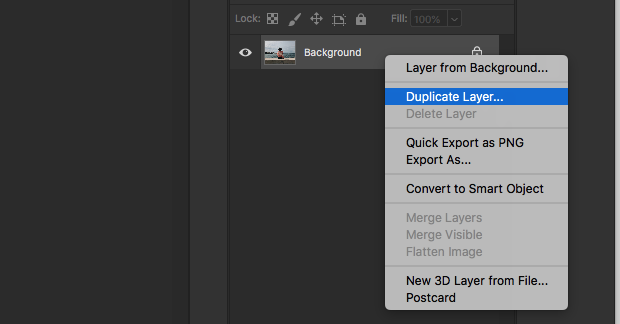
- First, if you don’t like the changes you make, you can easily start over by creating a new duplicate background layer.
- Second, you can compare any changes you make to the original image by clicking the eye icon next to the duplicate layer. When you select the icon, the duplicate layer “turns off,” so that you can see the layer immediately below it.
On the right side of the window, select the Blur Tool. Again, it might not be visible. If it’s not, click and hold it until the small drop-down window appears to reveal all three tool options.
Selective Blur
Contents
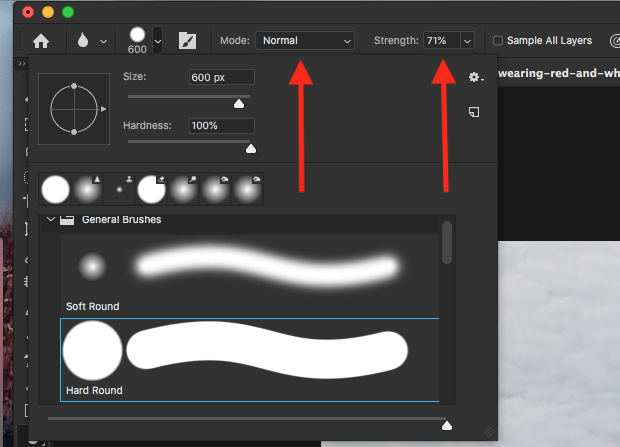
Next, use the Blur Tool to blur the areas of the image you want. Click and move the mouse around a little bit to start blurring the image. Note, simply clicking and holding the mouse in place will not do anything.
Isolate the Subject to Create Depth of Field
Now that you know the basics of the Blur Tool, let’s try a specific example. As we mentioned before, you may want to use the Blur Tool to isolate a subject so that it stands out. Essentially, you can use the Blur Tool to create limit the depth of field in an image.
Quick Selection Tool
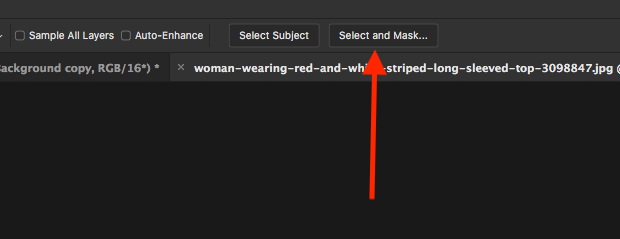
First, we need to select the subject. From the left-hand toolbar, choose the Quick Selection Tool.
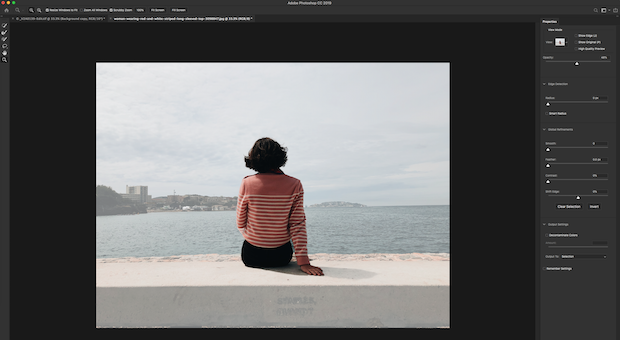
New Layer Mask
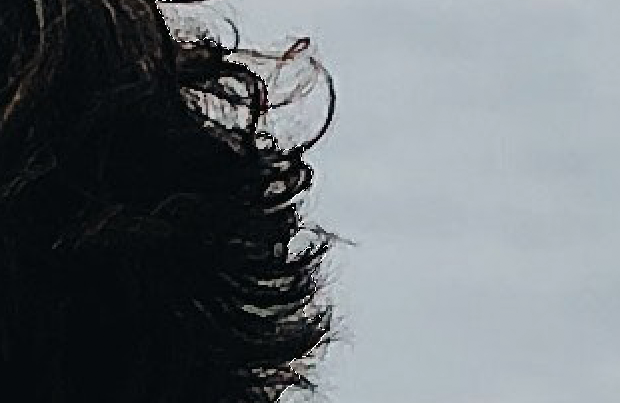
Once you are satisfied, choose New Layer with Layer Mask from the drop-down menu and click OK.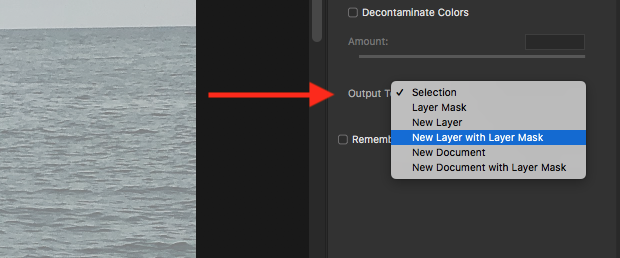
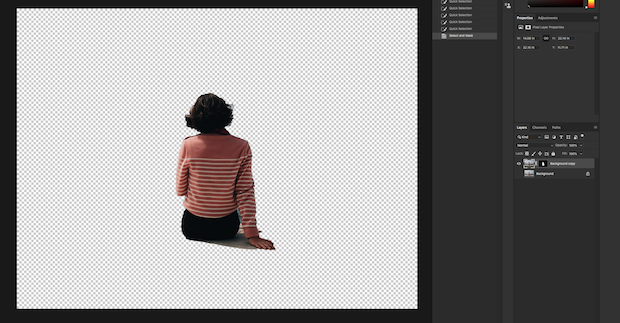

Content Aware Fill
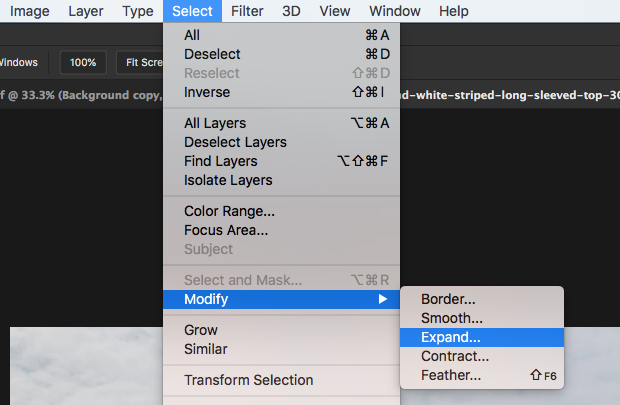
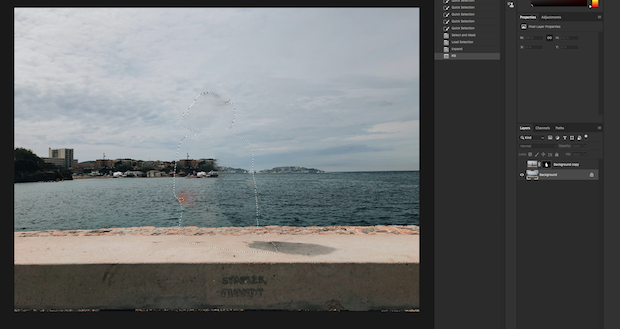
In the window that appears, choose around 10 pixels and click OK. Select the eye next to the duplicate layer to make it active again. Then, press Shift + Delete. In the Fill window that appears, choose Content Aware and click OK.Next, press Ctrl + D to deselect the selection. The subject is now no longer visible, except maybe for some bits and pieces.
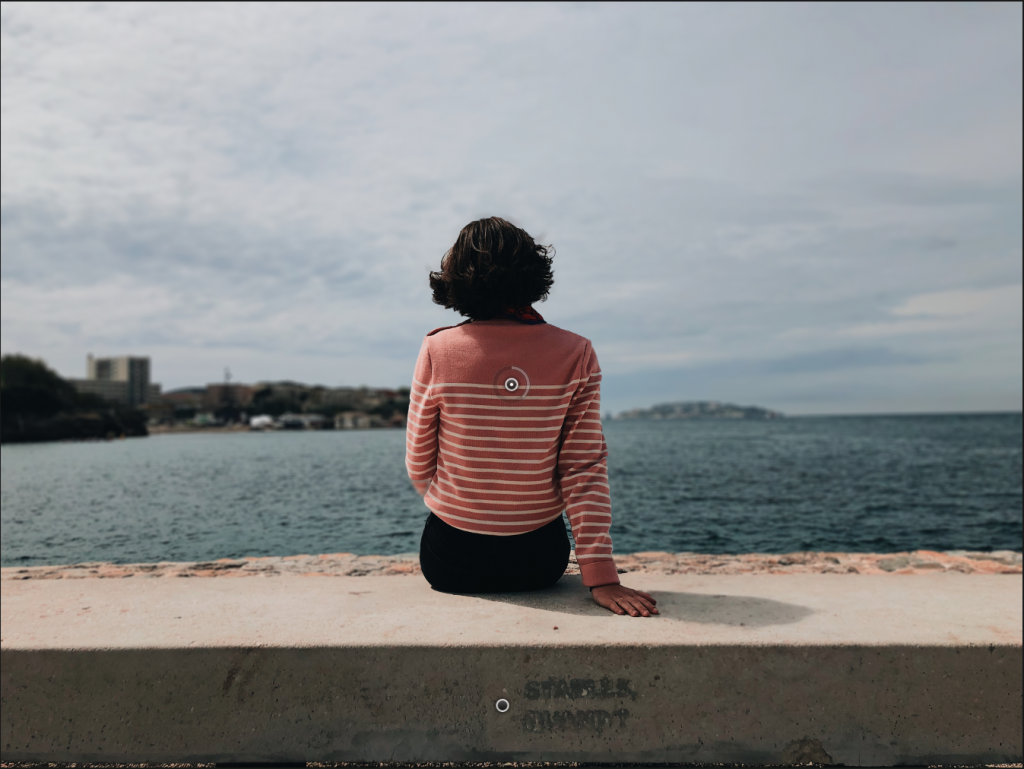
Using Field Blur
Make the subject visible again, and then make sure you select the background layer. Also, press Ctrl/Cmd + D to deselect the selection. On the top menu, click Filter and go down to Blur Gallery and then choose Field Blur.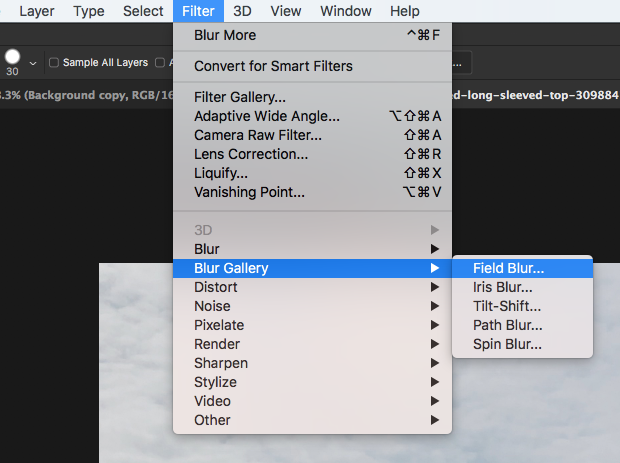
Other Ways to Blur Images in Photoshop
So far, we have looked at the Blur Tool and how to use it to isolate a subject in a photograph. But Photoshop offers a number of options to blur images. You can find them by choosing Filter in the top menu, and then Blur. Let’s take a closer look at some of them now and the best uses for the Photoshop Blur Tool.
Gaussian Blur
Gaussian Blur is named after German physicist and mathematician Carl Friedrich Gauss, who created an equation to blur images that’s used in graphic software today. This blur produces a nice, smooth effect.Gaussian Blur is perfect for blurring specific points in an image and reducing digital noise. You can also use Gaussian Blur to smooth skin. Given its wide range of uses, Gaussian blur is definitely one of the most popular blur effects.
Motion Blur
As you might guess, Motion Blur helps to create a sense of motion, speed and action in a picture. If you want to create a “speed trail” effect, this is the blur effect you’ll want to use. Motion Blur is perfect for those who want to make cars seem like they’re moving. You’ve definitely seen Motion Blur applied in car advertisements.
Radial Blur
Radial Blur also creates a sense of motion, but it creates a zoom effect. In camera, Photographers achieve this effect by quickly zooming in on their subject when shooting with a slow shutter speed. Fortunately, you can recreate this effect in Photoshop with Radial Blur. You can also use this blur option to make, for instance, the wheels of a car appear to be moving.
Average Blur
Average Blur helps to adjust or remove color casts in images. While Average Blur is similar to Gaussian Blur, it creates a less diffused effect. This blur tool works by taking all the colors in an image or selection and averaging them together, resulting in fewer colors throughout the image.
Field Blur
As you saw in the example above, Field Blur is very handy to add depth of field to a picture, especially when isolating a subject. And, by adding two or more pins, you can create various ranges of focus. Field Blur gives you a lot of creative flexibility.
Lens Blur
The Lens Blur filter gives you more control over the location and depth of your blur than other blur tools. Not to get too technical, but it works a little differently from the other blur filters in that it uses alpha channels, which are the color masks that define color values in an image. The result is a more precise, focused blur. If you want to create a more specific blur, try the Lens Blur option.
Box Blur
Box Blur uses the average colors of adjacent pixels to create a blur effect. In other words, it takes a pixel and averages the pixels around it, hence its name. You can adjust the radius of the blur, which means you decide how many pixels are included in the averaging of colors.Box Blur is a quick way to blur a picture, but it doesn’t always look very realistic. If you want to create some stylized special effects or blur someone’s face entirely, it’s a good option to use.
Conclusion
In this article, you learned how to use the Blur Tool to quickly blur images. You also learned a little bit about how Photoshop’s blur filters work to add blur to your photos. This information should get you off to a good start in creating unique images that catch people’s attention.Keep in mind though, as with other Photoshop tools, using and perfecting the Blur Tool and blur filters will take some practice. So, when you first start trying to blur images, play around a little bit. This is the only way to get a sense of what the variety of blurring options look like.Another suggestion is to use a simple picture with an obvious and uncomplicated subject. This way, you can more easily isolate it. Once you get more practice, work on more complex pictures.And remember, you can also zoom in to make your blur as accurate as possible. This is a good habit to get into when you edit photos.Hopefully you found this article helpful! If you are interested, check out these other Envira tutorials to boost your Photoshop skills:Guide to the Patch Tool17 Best Photo Editing Software for PhotographersHow to Merge a Picture with Background in PhotoshopGuide to the Clone Tool in PhotoshopAre you interested in improving your photography editing skills even more? Follow us on Twitter and Facebook to read more of our free WordPress tutorials and other resources.Read more: G Herbo takes Chicago street tales to Tricky Falls | Top Q&A
Last, Wallx.net sent you details about the topic “where is the blur tool in photoshop❤️️”.Hope with useful information that the article “where is the blur tool in photoshop” It will help readers to be more interested in “where is the blur tool in photoshop [ ❤️️❤️️ ]”.
Posts “where is the blur tool in photoshop” posted by on 2021-09-04 10:10:08. Thank you for reading the article at wallx.net
