Who was the asscrack bandit
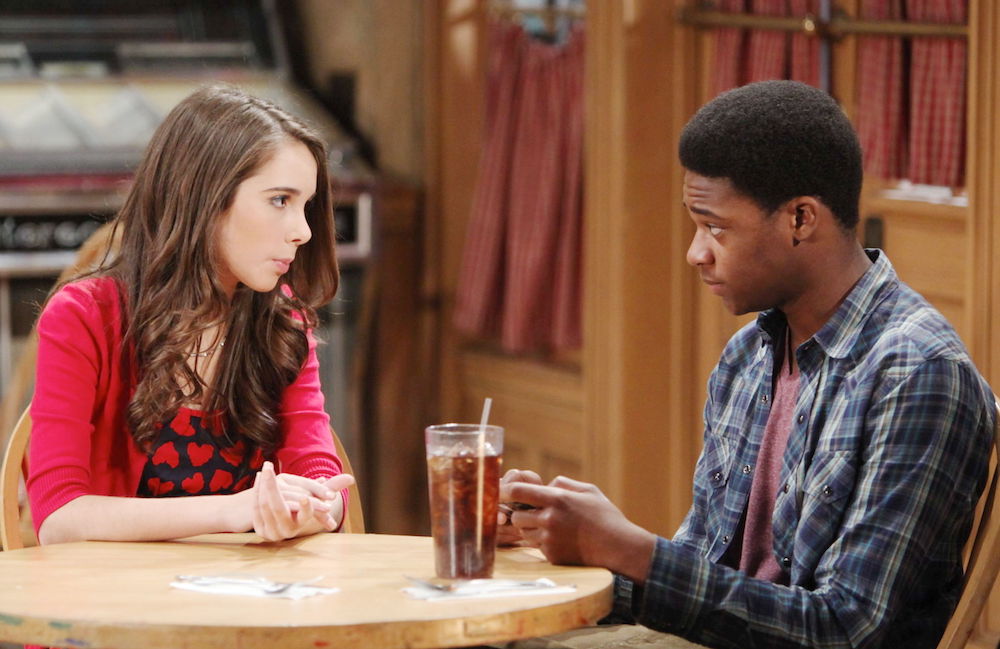
Video Who was the asscrack banditWe can’t say enough good things about the group’s final weekend episode, “Basic Intergluteal Numismatics,” which was not just the return of the Dan Harmon type, but the return of the type. second season. In fact, in an attempt to keep the art fresh, maybe Dan Harmon should just produce the episodes in a different year. “Basic Intergluteal Numismatics” is the stellar work of Zodiac, The Killing, Se7en and dozens of different criminal procedures. specifically designed to be inconspicuous. Who is the Ass Crack robber? Nobody knows, that’s how it goes. Read: Who’s the Bastard Bandit There is, however, a layer of Harmon satire that doesn’t bloom until the episode is over, and that’s how – intentionally or not – Harmon has impressed the identical form of sound theories. Web crackpot plot has exhibits that drag on exhibits like Breaking Dangerous and Mad Males (of which we’re a huge part of it now), only these conspiracy theories are a few men (or girl) … parasitic. in everyone’s coin slot. The Web is trying to unpack this episode in exactly the same way we’ve tried to get clues in heavier dramas, but the theories right here aren’t good at all. It’s by design, in fact, given that Harmon has dropped enough clues for different characters that it could really be anyone. Read more: Howie Long Bio: Career, Net Worth, College & Wife However, don’t speculate. Here are a few of my favorite theories, so far.1. Is it Britta? This Redditor outlined the (weak, sketchy) reasons why it might be: “He should be called a runaway bandit.” Britta learns of ACB’s message to the dean, and he or she adds this to herself: “We know that he either hates money or loves it or doesn’t care about money and hates it but loves it. they.” Annie noted that the robber got into the university lounge as a relief. With Duncan coming in again, and Duncan having “something” for Britta (say), he lets her in (and through) the waiting room. Britta Britta is her headline site for her psychology paper Who has as much black clothing as Britta (ACB wears all black)? , and Duncan’s cracked ass for revenge, which explains why Duncan why the Ass Crack Bandit is cracked. Read more: Someone may know who reported them on twitter2. Is it Abed? Check out this screen. Amidst the crowd, while the Dean is talking, you should be able to spot Abed. 10 seconds later, he’s… gone, that’s when the stands squeal. Eh, most likely nothing. However, this man reinforces Abed’s idea: It could be Abed. He was significantly absent from this episode. He appeared unusually tired of the case when Dean asked for assistance. Troy needs to text Abed a text message on his cell phone. What did Abed do that he couldn’t answer his cell phone? He may have been in the stands with night vision goggles, or it could have been his creation. This isn’t the first time we’ve seen a scene like this. Then he has the coin at the end of the episode, spinning it in his fingers like an evil genius. Other people’s scenes are smart. However, why does Abed have a 1/4? Read more: Who buys a man’s wedding ring
Last, Wallx.net sent you details about the topic “Who was the asscrack bandit❤️️”.Hope with useful information that the article “Who was the asscrack bandit” It will help readers to be more interested in “Who was the asscrack bandit [ ❤️️❤️️ ]”.
Posts “Who was the asscrack bandit” posted by on 2022-05-08 03:30:11. Thank you for reading the article at wallx.net